Nostalgia isn’t just a vibe anymore—it’s a market. From artists imagining Instagram as a beige 1980s computer app, to viral posts about floppy disks and brick phones, retro tech is suddenly cool again. One trending example: illustrator Luli Kibudi’s “Once Appon a Time” series, where she reimagines modern apps as ’80s gadgets, has been shared across social media—and it taps into something real. People miss devices they could actually open, tinker with, and fix.
If you’ve got an old cassette deck, Game Boy, VHS player, stereo receiver, or 90s PC stashed away, now is the perfect time to pull it out. Not just to display on a shelf—but to get it working again. Below are five practical, step‑by‑step repair tips to help you safely revive and maintain older electronics, instead of letting them gather dust or paying collector prices for “refurbished” nostalgia.
1. Safely Powering Up Old Electronics After Years in Storage
Before you plug anything in “just to see if it works,” you want to avoid the classic puff-of-smoke moment. Old capacitors, dried-out power cords, and dust can all cause short circuits or worse.
Step-by-step:
Visual inspection first
- Look for cracked plastic, burned spots, swelling or leaking capacitors (little cylinders on circuit boards), and frayed power cords. - If anything is melted, charred, or smells burnt, do not plug it in yet.
Check the power cord and plug
- Flex the cord gently along its length—if you see cracks or exposed copper, replace the cord before powering the device. - Test the plug blades: they should be straight, not loose, and not corroded green or black.
Clean the vents and ports
- Use a can of compressed air to blow dust out of vents, fans, and ports (do this outside if possible). - For stubborn debris, use a soft paintbrush to gently loosen dust while blowing it away.
Use a surge protector (or, ideally, a power strip with a switch)
- Plug the device into a surge-protected strip, not directly into the wall. - Keep the device’s power switch OFF, then flip the strip’s switch on first. This gives you a safer way to cut power instantly if something goes wrong.
Power up slowly and watch closely
- Turn the device on and stay nearby for the first minute—watch for smoke, listen for unusual buzzing or popping, and note any strong chemical/burning smell. - If anything seems off, power down immediately and unplug it. Don’t keep forcing it.
2. Cleaning Vintage Audio Gear: Tape Decks, CD Players & Receivers
Retro audio is having a moment—vinyl, cassettes, and big silver receivers are all over TikTok and Instagram. But most of this gear has a simple enemy: grime. Heads get dirty, volume knobs get scratchy, and CD players skip. Basic cleaning solves many of these problems without touching a soldering iron.
Step-by-step:
Unplug, then open access points only where intended
- For cassette decks, open the tape door. For CD players, extend the tray if possible (while powered, then unplug with tray out), or look for top-loading lids. - Avoid opening the main chassis unless you’re comfortable and the warranty (if any) is long gone.
Clean tape heads and pinch rollers (cassette decks)
- Use 90%+ isopropyl alcohol and cotton swabs. - Gently wipe the shiny metal heads, capstan (small metal shaft), and pinch roller (rubber wheel) until the swabs come away clean. - Let everything dry fully (a few minutes) before playing a tape.
Fix scratchy knobs and sliders (receivers, amps, stereos)
- If you can access the rear of the knobs/sliders, apply a small amount of contact cleaner (like DeoxIT D5) to the opening where the shaft enters the body. - Rotate or slide the control fully back and forth 20–30 times to work the cleaner in. - Wipe away excess with a cloth; let it dry before use.
Clean optical lenses (CD players)
- Do not use alcohol on plastic lenses—it can craze or cloud them. - Use a camera lens cleaning solution or a single drop of distilled water on a microfiber swab, then very gently wipe the lens in a circular motion. - Dry with a clean, dry microfiber swab.
Check and clean speaker terminals
- Dust and oxidation on screw terminals or spring clips can weaken sound. - Use a dry toothbrush or small brass brush to clean metal contact areas. - For push-in terminals, press the tab, insert fresh stripped speaker wire (copper shiny, not blackened), and release.
3. Reviving Old Game Consoles & Handhelds (Game Boy, NES, etc.)
Retro gaming is booming—original Nintendo and Sega hardware is more popular than ever, and people are rediscovering their childhood Game Boys and DS systems. Most issues in these devices are surprisingly fixable: bad cartridge connections, dead screens, and weak buttons are all common, manageable repairs.
Step-by-step:
Start with contacts: clean before you panic
- Many “dead” cartridges and systems just have dirty pins. - For cartridges, use isopropyl alcohol and a cotton swab on the metal edge connector until clean. - For console slots, use a thin, clean card wrapped in a microfiber cloth slightly dampened with alcohol; insert and remove gently several times.
Check power supply and batteries
- For handhelds, remove old batteries immediately—leaked alkaline can corrode contacts. - Clean battery terminals with a cotton swab and vinegar (for alkaline corrosion), followed by alcohol and thorough drying. - For consoles, confirm your power adapter is the correct voltage/polarity and not a cheap, mismatched modern replacement.
Fix unresponsive buttons
- If you’re comfortable opening the device (look up a specific teardown guide for your model), remove the front shell carefully. - Clean rubber button pads and the underlying PCB contacts with isopropyl alcohol and a lint-free cloth. - Re-seat everything carefully; don’t over-tighten screws when reassembling.
Address dim or dead screens (especially Game Boy-era)
- Many older handhelds use front- or side-lit LCDs that degrade. Sometimes, bad contrast is just dirty contrast dials or poor battery voltage. - If the screen is cracked or badly faded, you may consider a modern replacement LCD kit—these are widely available for popular units and often include brighter, more efficient screens. - Follow the kit’s instructions carefully; expect to deal with ribbon cables and precise alignment.
Improve cooling and longevity on older consoles
- Consoles like the Xbox 360, PS2, and original Xbox benefit from dust removal and new thermal paste. - If you’re intermediate-level DIY: disassemble to access the heatsink, clean the old, dried-out thermal paste, and apply a fresh, thin layer of quality paste. - While inside, blow out dust from fans and vents; this reduces heat stress and extends life.
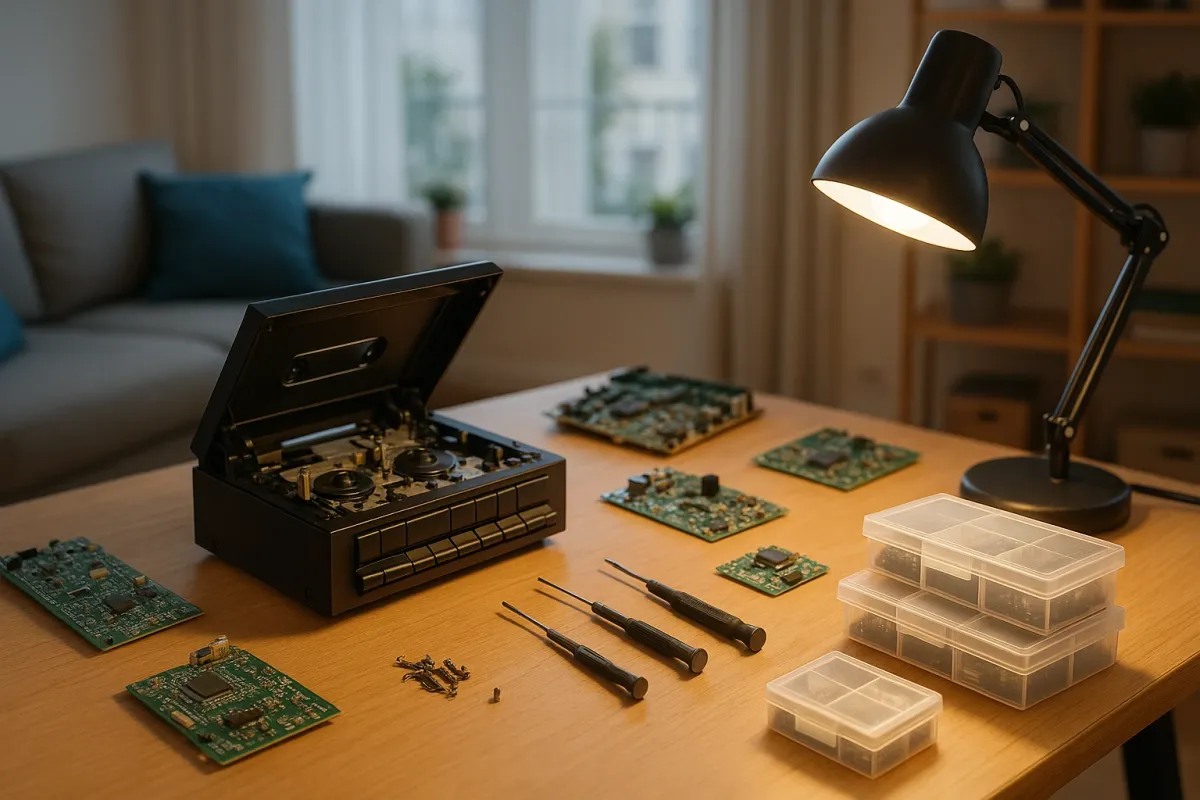
4. Dealing With Leaky Capacitors in Vintage Electronics
As retro aesthetics go mainstream, more people are rescuing old 80s and 90s gear from basements and thrift stores. One of the most serious age-related issues is failing electrolytic capacitors—especially in older PCs, monitors, audio gear, and game consoles. The good news: early detection can prevent complete failure.
Step-by-step:
Recognize the signs of bad capacitors
- Bulging tops (should be flat), leaks (brown, crusty, or oily material at the base), or split vents (X or K-shaped cuts on top opening). - Symptoms: random shutdowns, failure to power on, distorted audio, flickering displays, or high-pitched whining.
Decide if this is a DIY job or a pro job
- Capacitor replacement requires soldering skills and careful polarity alignment. - CRT TVs and monitors carry dangerous high voltage even unplugged—avoid those unless you are trained and know safe discharge procedures. - Start with smaller, low-voltage boards (old PC motherboards, powered speakers, VCRs) if you want to learn.
Document before you touch anything
- Take clear photos of the board from multiple angles—front and back. - Note capacitor values (printed on the side: capacitance in µF and voltage rating) and polarity (which side is marked “–” on the body and by the PCB).
Carefully desolder and remove the bad caps
- Use a temperature-controlled soldering iron and desoldering braid or a pump. - Heat just long enough to melt solder; gently pull the capacitor out without tearing pads off the board. - Clean remaining solder from the holes with braid.
Install quality replacements
- Use capacitors with the same capacitance and equal or higher voltage rating. - Match polarity: negative lead to the negative pad (often shaded or marked on the PCB). - Solder quickly but cleanly, trim leads, and inspect for bridges or cold joints before reassembling.
5. Protecting Old and New Tech From Today’s Power & Environment Risks
As more homes mix brand-new smart devices with 30-year-old electronics, power and environmental protection becomes even more important. Modern houses are full of cheap power strips, fast chargers, and sensitive components—all plugging into the same grid your old stereo or console uses.
Step-by-step:
Use quality surge protection, not $5 strips
- Look for surge protectors with a joule rating (the higher, the better), clamping voltage listed, and a UL listing. - Replace surge protectors every few years or after a major power event—they wear out.
Isolate heavy loads from sensitive electronics
- Avoid plugging high-draw devices (space heaters, air conditioners, microwaves) into the same strip as your vintage gear or gaming setup. - Voltage dips and spikes can stress older power supplies.
Control dust and humidity where you store and display gear
- Keep electronics off the floor and away from radiators or windows. - Ideal: a cool, dry place with moderate humidity (around 40–60%) and some airflow. - Use covers or closed cabinets with venting for gear that’s on display but not used daily.
Avoid stacking heat-generating devices tightly
- Vintage receivers, amplifiers, and consoles get hot. - Give at least a couple of inches of clearance above and behind for airflow; don’t seal them in unventilated shelves. - If you notice them getting uncomfortably hot to the touch, consider adding quiet external fans.
Label and rotate use for your oldest devices
- If you have multiple retro devices, don’t run them all for hours daily just because they’re cool. - Label power adapters clearly so you don’t mix voltages and polarities—using the wrong adapter is a fast way to fry electronics. - Rotate use: enjoy them regularly, but don’t stress the oldest, most irreplaceable gear every single day.
Conclusion
The internet’s obsession with retro tech—from 1980s-styled app art to viral photos of brick phones and Walkmans—proves something important: people still value devices they can hold, open, and fix. You don’t need a full workshop to join in. With a few careful checks, basic cleaning, and some simple repair habits, you can safely bring old electronics back from retirement and keep them running in a modern, high-tech home.
Before you toss or “upgrade,” take a second look at what you already own. That dusty cassette deck or old console might not just be a conversation piece—it could be your next repair win.
Key Takeaway
The most important thing to remember from this article is that following these steps can lead to great results.


