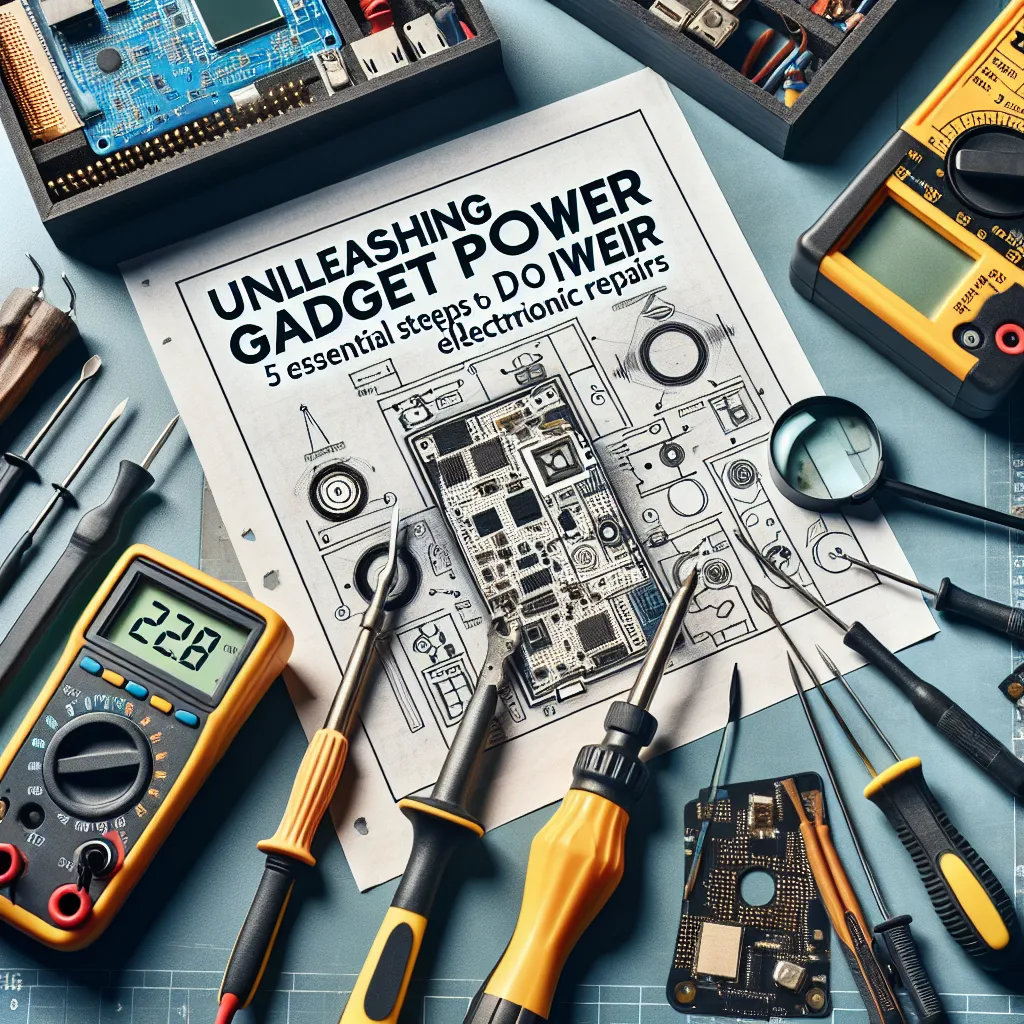
Are your favorite gadgets acting up? Don't rush to replace them just yet. With some basic troubleshooting knowledge and a bit of patience, you might be able to bring them back to life. Here's our step-by-step guide on how to perform DIY electronic repairs.
Remember, safety comes first. Always unplug devices before working on them and use the right tools to avoid injury.
Step 1: Diagnose the Problem
Before you can fix anything, you need to figure out what's wrong. Use the device's manual or search online for common issues. If it's a software issue, a simple reset might do the trick. If the problem persists, it might be a hardware issue.
Step 2: Gather Your Tools
For most repairs, you'll need a set of precision screwdrivers, a multimeter, and possibly a soldering iron. Don't forget to keep a clear, well-lit workspace and a tray to keep spare parts and screws in order.
Step 3: Open the Device
Carefully unscrew any visible screws and gently pry open the device. Be mindful of fragile components and ribbon cables.
Step 4: Locate and Repair the Issue
Once the device is open, look for obvious signs of damage like broken parts, loose cables, or burned-out components. Test suspicious-looking parts with your multimeter and replace as necessary. If you're unsure about anything, take pictures before you disconnect or remove anything to use as a reference later.
Step 5: Test and Reassemble
After repairing or replacing the faulty component, it's time to put things back together. But before you do, it's a good idea to test the device if possible. Once you're sure it's working, reassemble the device, making sure everything fits back into place.
Conclusion
DIY electronic repairs can be a rewarding and cost-effective way to prolong the lifespan of your gadgets. However, always remember to prioritize safety and don't hesitate to seek professional help when needed. Happy repairing!


