In the world of ever-evolving technology, our gadgets often seem to have an all-too-brief lifespan. But what if you could extend the life of your beloved tech toys? Instead of rushing to replace your old electronics, consider giving them a new lease on life with some practical DIY repair techniques. This article will guide you through five simple yet effective repair hacks that can help you revive your vintage tech.
Understanding the Basics
Before you dive into the repair, it's important to understand the basic structure of your gadget. Familiarize yourself with the various parts and their functions. This knowledge will not only make the repair process easier but also minimize the risk of causing additional damage. Try to find a repair manual or a relevant tutorial online to guide you.
Using the Right Tools
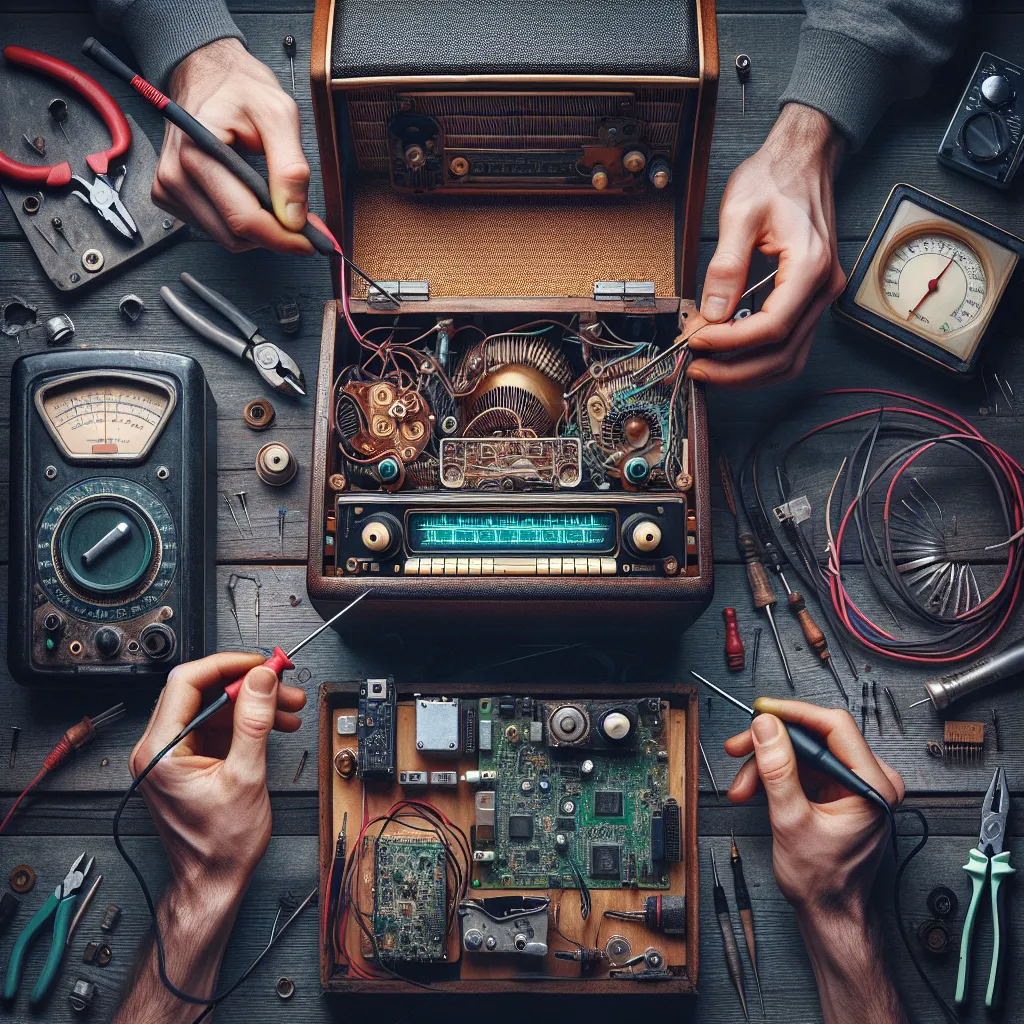
The type of tools needed largely depends on the gadget you're repairing. However, some common tools that come in handy include a set of screwdrivers, a multimeter for testing circuits, soldering equipment for fixing loose connections, and a magnifying glass for examining small components. Investing in a good quality repair kit can make a huge difference in the effectiveness of your repairs.
Diagnosing the Problem
This is the most critical step in the repair process. Be patient and meticulous in identifying the root cause of the problem. A systematic approach can help you isolate the issue. For instance, if your gadget doesn't power on, check the power source first before moving on to internal components.
Repairing or Replacing Components
Once you've identified the faulty component, determine whether it can be repaired or if it needs replacing. Small issues like loose connections can often be fixed with some soldering. However, more severe problems like a fried motherboard or a cracked screen will likely require a replacement.
Testing and Safety Measures
After completing the repair, it's time to test your gadget. Always remember to disconnect your device from any power source before you start testing. This crucial step can prevent possible electric shocks or further damage to the device. If the gadget is still not working correctly, don't lose hope. It might take a few tries to fully resolve the issue.
Conclusion
Reviving your vintage tech can be an exciting and rewarding process. By understanding the basics, using the right tools, properly diagnosing the problem, and taking necessary safety measures, you can breathe new life into your old electronics. Happy repairing!