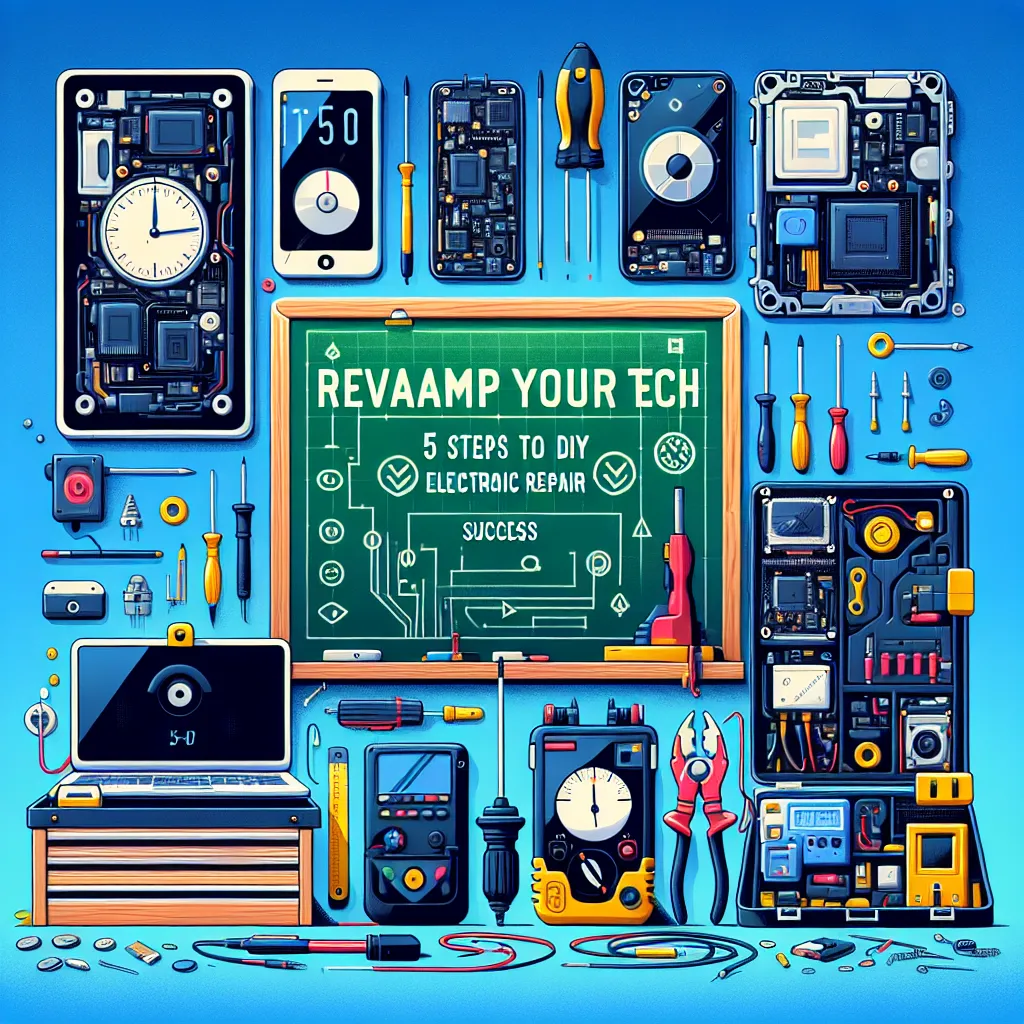
Step 1: Diagnose the Issue
Before reaching for your toolkit, it's crucial to understand what's wrong with your device. The internet is a goldmine of information, with countless forums and guides dedicated to troubleshooting electronic issues. Use these resources to diagnose the problem and determine if it's something you can fix yourself.
Step 2: Gather Your Tools
Investing in a basic electronics repair toolkit is a must for any DIY enthusiast. These kits typically include a variety of screwdrivers, tweezers, spudgers, and other tools specifically designed to handle the delicate components inside your devices.
Step 3: Follow a Guide
Once you've identified the problem and gathered your tools, it's time to start repairing. Online platforms like iFixit offer step-by-step guides for a wide range of devices, making it easy to follow along. Remember to take your time and keep track of all screws and components.
Step 4: Be Patient
Patience is key when repairing electronics. These devices are complex and delicate, and rushing the process can lead to further damage. If you encounter a problem, take a step back and do more research before proceeding.
Step 5: Know When to Seek Professional Help
While many electronic issues can be fixed at home, some repairs are better left to the professionals. If you're dealing with water damage, motherboard issues, or anything beyond your comfort zone, it's best to consult a professional repair service.
Conclusion
DIY electronics repair is a practical skill that can save you money, extend the life of your devices, and even reduce electronic waste. By following these steps, you'll be well on your way to becoming a proficient DIY repair enthusiast. Remember, practice makes perfect, so don't be discouraged if your first repair attempt isn't a success. Keep learning, be patient, and most importantly, enjoy the process.


