From smartphones and laptops to gaming consoles and headphones, technology is at the heart of our daily lives. However, these devices can sometimes fail us. While it's often tempting to replace them immediately, a better (and more environmentally friendly) option might be to try your hand at repairing them first.
Know Your Tools
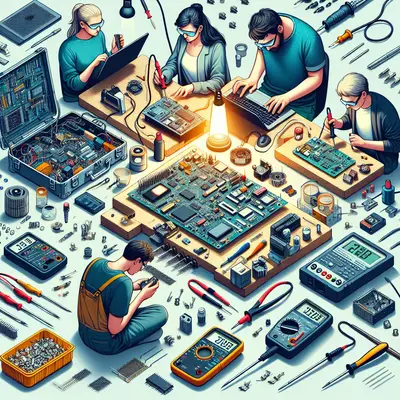
Before you start, ensure you have the right tools. A basic electronics repair kit should include screwdrivers, tweezers, and a soldering iron. Also, consider investing in an anti-static wrist strap to safeguard the sensitive components of your device from static electricity. Familiarize yourself with these tools, understanding their specific uses and handling.
Diagnosis is Key
Once you've got your toolkit ready, it's time to diagnose the problem. Use the symptoms your device presents to identify the possible issue. For instance, a laptop that won't turn on might have a dead battery or a faulty power supply. Online forums and repair guides can be invaluable resources for troubleshooting.
Dismantle with Care
After pinpointing the issue, you might need to disassemble your device to access the problematic component. Always remember to power off your device before starting, and be gentle to avoid causing further damage. Keep track of all screws and parts, as they can be easy to lose and hard to replace.
Repair or Replace?
Depending on the issue, you might need to repair a component (like soldering a loose wire) or replace it entirely. For replacements, ensure you purchase the correct parts by matching the specifications of the original component. Remember, safety first! If you're unsure or uncomfortable performing a repair, consult a professional.
Testing and Reassembly
After completing the repair or replacement, it's time to reassemble your device and test it. If it's still not working correctly, you may need to reassess your initial diagnosis. Don't be discouraged if your first attempt isn't successful. It often takes a few tries to get the hang of it.
Conclusion
Embarking on a DIY repair journey can be empowering, cost-effective, and even fun. With patience, practice, and the right resources, you'll soon be able to revive your malfunctioning gadgets. Remember, every professional was once a beginner. So, start small, keep learning, and turn your tech troubles into triumphs!


