Remember, safety first! Always disconnect your device from power before starting any repair, and if you're uncomfortable or unsure, seek professional help.
1. Diagnose the Problem
Identifying the problem is the first step to a successful DIY repair. Keep a keen eye and ear out for unusual sounds, smells, or behaviors. Is the device not turning on? Is the screen flickering? Are there any burn smells? Noting these symptoms will guide you in determining the potential issues and the corresponding solutions.
2. Equip Yourself with the Right Tools
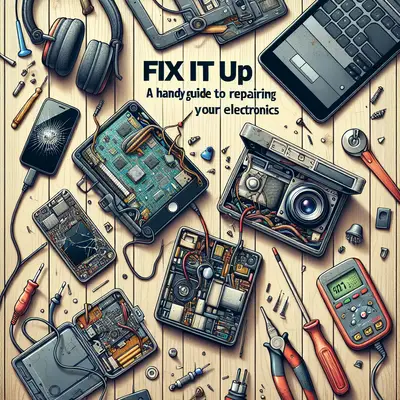
Having the correct tools is essential for any successful repair. For electronics, you may need a set of small screwdrivers, tweezers, a multimeter for electrical testing, and a soldering iron for making or repairing connections. Always keep these tools handy for a smooth repair process.
3. Check the Connections
A common cause of electronic malfunction is loose or broken connections. Inspect all connections - wires, solder joints, and plugs – for any signs of damage. If you spot any loose wires, use a soldering iron to reattach them. Remember, a well-soldered joint is shiny and smooth.
4. Clean Your Device
Dust and debris can interfere with the operation of electronics. Use a can of compressed air to gently blow out any dust from your device. For stubborn grime, use a small brush or cotton swabs lightly dampened with isopropyl alcohol. Remember, moisture and electronics don’t mix, so make sure your device is completely dry before powering it back on.
5. Replace Faulty Components
Some components like batteries, capacitors, and fuses often fail and need replacement. If a part appears swollen, leaky, or burnt, it's likely the culprit. Always replace these components with ones of the same specification to maintain the device's performance.
Conclusion
With these tips, you are armed to tackle some common electronic repairs. Remember, patience is key in DIY repair. If a problem persists, don't hesitate to consult a professional. Happy repairing!


