Electronics don’t have to be mysterious or disposable. With a few focused techniques and the right mindset, you can bring “dead” gadgets back to life, stretch their lifespan, and avoid unnecessary replacements. This guide walks through five practical, step-by-step repair moves that apply to lots of devices—game consoles, speakers, laptops, routers, and more—so you can troubleshoot confidently instead of guessing.
Start With a Safe, Smart Setup
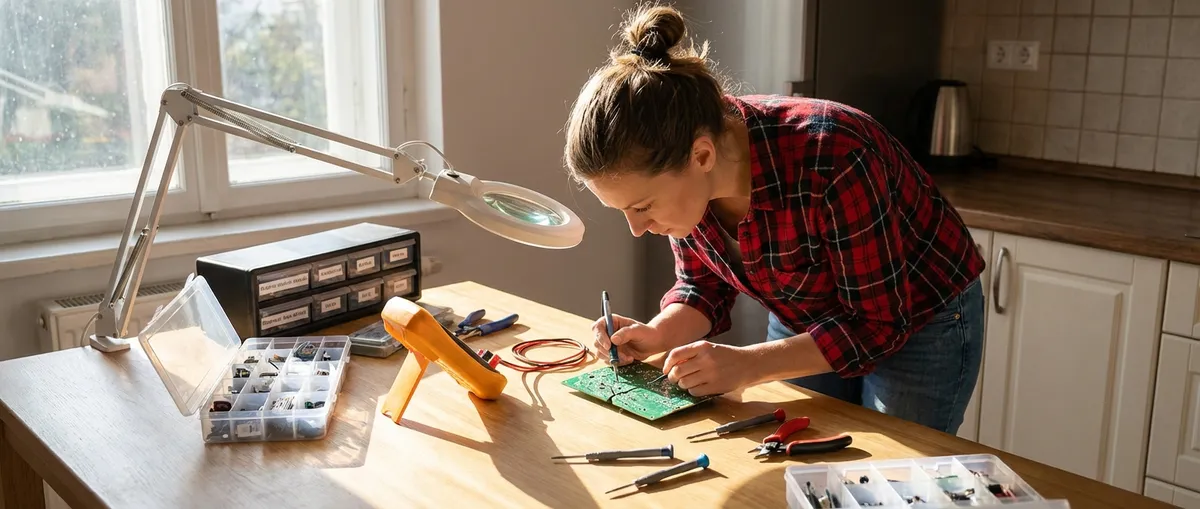
Before touching a single screw, you’ll save time and avoid damage by setting up a proper work area and approach.
Create a clean, well-lit space where small screws and components won’t roll away. A simple white towel, silicone mat, or baking tray works well as a parts-catching surface. Unplug the device and remove its battery if possible, then hold the power button for 10–15 seconds to discharge any leftover energy in the system. Static electricity can silently kill sensitive parts, so ground yourself by touching a metal water pipe, computer case, or use an anti-static wrist strap clipped to something grounded. Keep a basic toolkit nearby: precision screwdrivers, plastic spudgers or old gift cards, tweezers, cotton swabs, 90–99% isopropyl alcohol, and a small flashlight. As you open the device, take pictures at each step—your own photo trail becomes a reassembly map, which is often more useful than generic diagrams.
Tip 1: Solve “Dead” Devices With a Systematic Power Check
Many “dead” electronics are actually victims of simple power issues that you can track down logically.
Start at the wall or power strip: test the outlet with another device to confirm it’s live, and check that surge protectors haven’t tripped. Inspect the power cord or adapter for kinks, fraying, burn marks, or a loose barrel connector; gently wiggle the cable near its ends while the device is on—if power flickers, the cable or connector is suspect. For devices with removable batteries, check for corrosion (white or green crust), bulging, or leaking; if you see any of that, stop using the battery and replace it. Clean battery contacts with a cotton swab and isopropyl alcohol, then let them dry before reinstalling. If your gadget uses a USB power source, try a different cable and a different charger block, ideally one from a reputable brand with the same voltage and equal or higher current rating. Finally, look for a tiny recessed reset hole labeled “RESET” or similar; with the device unplugged, press gently with a paperclip for 10–15 seconds, then plug it back in and test.
Tip 2: Rescue Sound Gear by Fixing Loose Connections
Speakers, headphones, soundbars, and receivers often fail because of mechanical wear at connection points, not deep electronic faults.
If audio cuts in and out, gently flex the cable near each connector while playing sound at a low volume; static, crackling, or dropouts usually mean a broken wire inside the cable. For headphones with detachable cables, swap in a known-good cable to confirm whether the problem is in the cable or the headphones themselves. Inspect 3.5 mm plugs and jacks for lint, dust, or bent contacts—compressed air or a dry wooden toothpick can clear debris, and a light wipe with an alcohol-dampened swab can remove grime. On speakers and receivers, tighten spring clips or binding posts and make sure bare speaker wire isn’t frayed and touching adjacent terminals (this can cause shorts and protection shutdowns). If a jack is loose inside the device (it wiggles or pushes in), open the case and look where the jack meets the circuit board; often you’ll see cracked solder joints. If you’re comfortable with a soldering iron, you can reflow these joints: heat each broken joint briefly and add a small amount of fresh solder until it forms a shiny, solid connection—just avoid bridging nearby pins.
Tip 3: Cure Overheating by Clearing Airflow and Replacing Thermal Paste
Random shutdowns, slow performance, or devices that feel unusually hot often point to heat problems you can fix with cleaning and a little thermal maintenance.
Unplug the device and, if it’s a laptop, remove the battery if it’s user-accessible. Open the case carefully, following a guide or using your own photos for reference. Use short bursts of compressed air to blow dust away from fans, vents, and heatsinks—hold the fan blades still with a toothpick or plastic tool while blowing so you don’t over-spin and damage the motor. For desktops and some laptops, you can go further by refreshing the thermal paste between the CPU (or GPU) and its heatsink: gently twist and lift the heatsink free, then clean both surfaces with isopropyl alcohol and lint-free wipes until they’re shiny. Apply a small pea-sized dot (or thin line, depending on the chip shape) of new, high-quality thermal paste in the center of the processor, then reinstall the heatsink evenly and tighten screws in a cross pattern. Reassemble the device, check that vents aren’t blocked when it’s in normal use, and consider using it on hard surfaces instead of soft beds or couches so it can breathe properly.
Tip 4: Revive Sticky Buttons, Keys, and Game Controllers
Unresponsive buttons and keys often just need cleaning, not replacement, especially in remotes, keyboards, and game controllers.
For simple TV remotes, remove the batteries and open the case—often screws hide under labels or the battery cover. Lift out the rubber button membrane and circuit board. Wash the rubber pad in warm soapy water, rinse, and let it dry completely. Clean the gold or black contact points on the circuit board with a cotton swab lightly moistened with isopropyl alcohol; avoid soaking the board. Reassemble and test; if some buttons are still unreliable, the conductive pads might be worn, and you can use a conductive paint repair kit designed for remotes. On keyboards, start with a keycap puller or flat plastic tool to gently pry up individual keys; clean around and underneath with compressed air and a small brush. Sticky keys can be wiped with alcohol on a cloth (not dripping) and gently worked up and down until they press smoothly again. For game controllers, open carefully, clean analog stick bases and trigger mechanisms with alcohol swabs, and reseat any ribbon cables firmly in their connectors before closing things up.
Tip 5: Bring Water-Exposed Gadgets Back From the Brink
Liquid damage looks catastrophic, but if you act quickly and correctly, some devices can be saved.
First, power the device off immediately—don’t press extra buttons or try to “test” it. Unplug it, remove the battery or power source if possible, and take out SIM cards, memory cards, and removable covers. Gently shake out visible liquid without whipping the device around (you don’t want to spread moisture deeper inside). Avoid hair dryers and ovens; high heat can warp plastics and damage components. Instead, open the device as much as you safely can and blot accessible areas with lint-free cloths or paper towels. Use isopropyl alcohol (90–99%) and a soft brush or cotton swab to clean any visible residue or corrosion, especially on connectors and exposed circuit boards—alcohol helps displace water and dissolve contaminants. Let the device air-dry in a warm, low-humidity area for at least 24–48 hours before reassembly. Once completely dry, reconnect the battery or power and test; if it still behaves oddly, professional ultrasonic cleaning or board-level repair may be the next step, but your early actions dramatically improve the odds of recovery.
Conclusion
Most everyday electronics problems start with simple causes: dust, loose connections, worn contacts, heat buildup, or minor liquid exposure. By working methodically—checking power first, examining physical connections, managing heat, cleaning interfaces, and responding correctly to spills—you can solve a surprising number of failures at home. Document your steps, stay patient, and stop if a repair goes beyond your comfort level; knowing when not to proceed is part of being a capable DIYer. Over time, these core repair moves turn “unfixable” gadgets into satisfying saves and keep more electronics in service instead of in the trash.
Sources
- [U.S. Consumer Product Safety Commission – Safety Guidelines for Home Repairs](https://www.cpsc.gov/Safety-Education/Safety-Guides) - Covers general electrical and product safety practices useful when working on electronics
- [iFixit Repair Guides](https://www.ifixit.com/Device) - Step-by-step teardown and repair guides for thousands of devices, including laptops, phones, and controllers
- [Intel – Thermal Interface Material Application Guidelines](https://www.intel.com/content/www/us/en/support/articles/000005791/processors.html) - Explains proper thermal paste application and cooling best practices for processors
- [Mayo Clinic – Electric Shock: First Aid](https://www.mayoclinic.org/first-aid/first-aid-electrical-shock/basics/art-20056695) - Provides essential guidance on what to do in case of electrical shock during DIY work
- [US EPA – Electronics Stewardship](https://www.epa.gov/smm-electronics) - Discusses the importance of repairing and reusing electronics to reduce environmental impact
Key Takeaway
The most important thing to remember from this article is that this information can change how you think about Electronics.


