When a favorite gadget starts acting up, most people either panic-buy a replacement or dread the repair bill. In reality, a lot of “dead” electronics are just suffering from simple, fixable issues. With a bit of patience and basic tools, you can often bring them back to life at home—and learn useful skills along the way.
This guide walks through five practical, step‑by‑step fixes for common electronics problems. They’re chosen to be realistic for DIYers with basic tools and no formal training.
Before You Start: Safety and Tools You Actually Need
Working on electronics doesn’t have to be dangerous, but it does require respect for electricity and a few simple precautions.
Basic safety rules:
- Always unplug devices before opening them.
- For battery-powered devices, remove the batteries before you start.
- Never work on devices that connect directly to mains power without a transformer (like some old lamps or heaters) unless you fully understand the risks.
- If you see or smell burning, or notice melted plastic, stop and reassess—there may be a serious fault.
Core toolkit that covers most of the repairs in this article:
- Small Phillips and flathead screwdrivers (a precision set is ideal)
- Plastic pry tools or an old plastic card (for opening cases without scratching)
- Isopropyl alcohol (≥90%) and cotton swabs or lint‑free cloth
- A basic digital multimeter (for checking continuity and battery voltage)
- Canned air or a hand blower
- Tweezers
- Small flashlight or headlamp
Optional but useful:
- ESD (anti‑static) wrist strap
- Soldering iron with fine tip, solder, and desoldering braid (for advanced repairs)
- Magnetic screw mat or labeled containers to track tiny screws
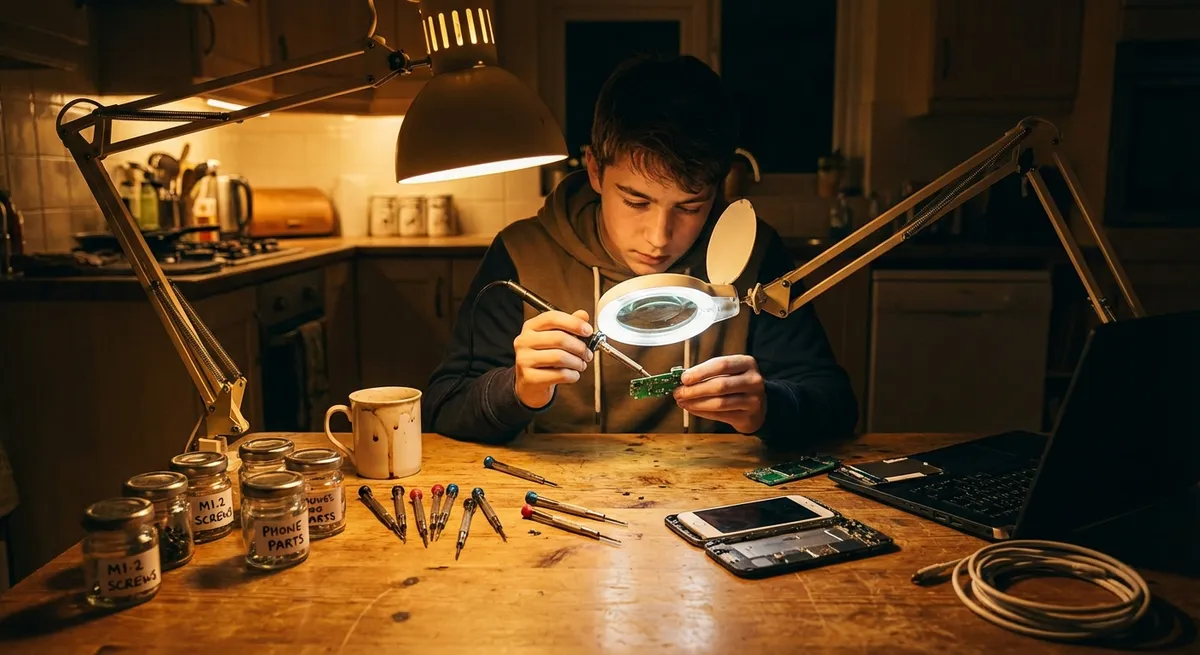
Set up a clear, well-lit workspace, take photos as you disassemble, and keep all screws organized—this alone prevents a shocking amount of accidental damage.
Step‑By‑Step Tip 1: Revive a Phone That Won’t Charge
A phone that “suddenly” stops charging often isn’t suffering from a bad battery—it’s a dirty or loose charging port.
What you’ll need: Flashlight, wooden toothpick or plastic pick, canned air, isopropyl alcohol, soft brush or cotton swab.
Steps:
- Power down the phone. Turn it off completely and disconnect any cables. This reduces the risk of short circuits while you’re cleaning.
- Inspect the charging port. Use a flashlight to look inside. If you see lint, dust, or fuzz, that’s likely preventing the connector from seating fully or making good contact.
- Clear loose debris. Hold the phone with the port facing down. Blow short bursts of compressed air into the port. Avoid holding the can upside down (which can spray cold propellant).
- Gently scrape out packed lint. Use a wooden toothpick or plastic pick; never use metal. Insert it gently into the port and lightly drag it along the bottom surface to hook and pull out compacted lint. Work slowly to avoid bending the small metal pins.
- Clean contacts with alcohol. Lightly dampen (not soak) a small brush or cotton swab with isopropyl alcohol. Gently clean inside the port walls. Let it dry fully for 5–10 minutes.
- Test with a known‑good cable and charger. Plug in a charger you know works with other devices. Wiggle the connector slightly—if charging cuts in and out, you may have a worn port or damaged cable.
- Check charging in safe mode (Android) or after a restart. Sometimes software glitches make it seem like the phone isn’t charging. Booting into safe mode or doing a full restart eliminates a lot of software noise.
If cleaning doesn’t help and the cable is definitely good, the port may be physically damaged or soldered joints may be cracked—at that point, port replacement is often needed and may be better handled by a pro unless you’re comfortable with micro‑soldering.
Step‑By‑Step Tip 2: Rescue a Laptop Overheating or Shutting Down
Laptops that run hot, spin fans loudly, or shut down mid‑use often just need a thorough cleaning and better airflow.
What you’ll need: Screwdrivers, canned air, isopropyl alcohol, soft brush, lint‑free cloth.
Steps:
- Shut down and unplug. Turn off the laptop completely, remove the charger, and if possible, remove the battery (some models allow this easily).
- Access the vents and fan area.
- For many laptops, you can remove a bottom panel with a few screws.
- If your model is more complex, look up a disassembly guide by model number before proceeding.
- Blow out the vents. Use short bursts of compressed air through the intake and exhaust vents. Hold the fan blades with a toothpick or plastic tool so they don’t spin wildly; overspinning can damage bearings.
- Remove visible dust bunnies. With the panel open, gently brush away dust clumps from the fan, heat sink fins, and surrounding areas. Use canned air to blow remaining dust out and away from the device.
- Clean external vents. Wipe them down with a slightly alcohol-dampened cloth. Make sure nothing is blocking airflow when the laptop sits on a desk.
- Reassemble and test. Reinstall any panels and screws, reconnect the battery if removed, then power on the laptop. Use it for a while and pay attention to fan noise and surface temperature.
- Improve everyday airflow. Avoid using laptops on soft surfaces (beds, couches) that block vents. A simple laptop stand or even a couple of spacers under the back edge helps air circulation dramatically.
If overheating continues, dried thermal paste between the CPU and heat sink might be the culprit—replacing it is doable but more advanced. It’s a good “next step” project once you are comfortable with basic disassembly.
Step‑By‑Step Tip 3: Bring a “Dead” TV or Monitor Back With Basic Checks
When a TV or monitor won’t turn on, it’s tempting to blame the screen. Often, the issue is external or power‑related—and fixable without opening the case.
What you’ll need: Multimeter (optional but helpful), known‑good power cable, flashlight.
Steps:
- Confirm power at the outlet. Plug in another device (like a lamp or phone charger) to be sure the outlet is live. If it’s on a power strip, test the strip in another outlet or try a different one.
- Inspect and reseat cables.
- Unplug and replug the power cable at both ends.
- If the cable is detachable and uses a standard IEC connector, swap it with another known‑good cable.
- Look for standby indicators.
- Check for a small LED on the front or bottom edge of the TV/monitor.
- If it lights up when plugged in, the internal power supply is at least partly working.
- Try a direct wall connection. Bypass surge protectors or smart plugs and plug directly into the wall. Some TVs draw more current at startup, and old strips can cause problems.
- Perform a soft reset.
- Unplug the device from power.
- Hold down the power button on the TV or monitor (not the remote) for 15–30 seconds to discharge residual power.
- Leave it unplugged for 5–10 minutes, then reconnect and try again.
- Test the remote vs. physical buttons.
- Use physical power buttons on the device to rule out a dead remote.
- If that works, your issue is with the remote (see Tip 5).
- Check for “backlight only” failure. Turn the TV/monitor on in a dark room and shine a flashlight at an angle on the screen. If you faintly see a menu or image, the backlight may have failed—this is usually an advanced repair.
If you still have no signs of life (no LED, no click when powering on, no response to any input), the internal power supply or main board could be faulty. At that point, compare the age and value of the screen vs. the cost and complexity of part replacement.
Step‑By‑Step Tip 4: Fix a Bluetooth Speaker That Won’t Connect or Cuts Out
Bluetooth speakers often feel disposable, but many connection issues come down to pairing confusion or simple interference problems rather than hardware failure.
What you’ll need: Your phone or tablet, access to Bluetooth settings, possibly a small pin if there’s a reset hole.
Steps:
- Fully charge the speaker. Low battery can cause unstable connections. Use the original charger if possible and charge until any battery indicator shows full or steady.
- Clear old pairings on the speaker.
- Many speakers support a “factory reset” or “Bluetooth reset” via a button combo or tiny reset hole.
- Check the manual or the manufacturer’s website for the exact method for your model.
- Forget the speaker on your device.
- On your phone/tablet, go to Bluetooth settings.
- Tap the speaker name and select “Forget” or “Remove.”
- Turn Bluetooth off and back on.
- Re-enter pairing mode correctly.
- Usually, holding the power or Bluetooth button for several seconds triggers pairing mode (often indicated by a flashing LED or voice prompt).
- Confirm that your device is actually discoverable, not just turned on.
- Pair in a clean environment.
- Move away from Wi‑Fi routers, microwaves, and crowded electronics just for the pairing step.
- Try connecting with only one device nearby to avoid the speaker latching onto a previously paired device.
- Test range and obstacles. Once connected, walk around and watch for cutouts.
- Keep the speaker and phone in the same room first.
- If connections improve when closer, you might be dealing with interference or a weak antenna.
- Update firmware (if available). Some higher-end speakers have firmware updates through a companion app. Check the manufacturer’s app or website; connection bugs are often fixed this way.
If the speaker still won’t appear in any device’s Bluetooth list after a proper reset and pairing attempt, the Bluetooth module or internal antenna may be damaged. At that point, it’s more of a component-level repair, often not cost‑effective unless it’s a high‑end model you’re willing to tinker with.
Step‑By‑Step Tip 5: Restore a “Dead” Remote Control
When a remote stops responding, the reflex is to blame the batteries. While that’s frequently true, corrosion and dirty contacts are just as common—and often reversible.
What you’ll need: Fresh batteries, isopropyl alcohol, cotton swabs, small flathead screwdriver, possibly fine sandpaper or a pencil eraser.
Steps:
- Verify the remote is actually dead.
- Use your phone’s camera (on most smartphones, the rear camera will work).
- Point the remote’s IR (infrared) LED at the camera and press a button.
- If you see a blinking light in the camera view, the remote is sending signals; the issue may be with the TV/device receiver instead.
- Replace the batteries carefully.
- Install new, good‑quality batteries, ensuring polarity (+/−) matches the markings.
- If the remote works now, your fix is done.
- Check for corrosion.
- Remove the batteries and examine the compartment.
- White or bluish-green crust indicates battery leakage.
- Clean corroded contacts.
- Wear disposable gloves if possible; avoid breathing in dust.
- Lightly scrape off heavy crust with a small flathead screwdriver or wooden pick.
- Follow with a cotton swab dampened with isopropyl alcohol to clean residue.
- Allow to dry fully before inserting new batteries.
- Open the remote if buttons stick or only some work.
- Most remotes snap together; some have hidden screws under stickers or inside the battery compartment.
- Gently pry the case open with a plastic tool.
- Clean the rubber keypad and board.
- Use a lightly alcohol-dampened cloth or swab to wipe the back of the rubber buttons and the contact pads on the circuit board.
- Avoid soaking; just remove grime and skin oils.
- Reassemble and test. Clip the case back together, insert fresh batteries, and test the remote again (with your device and the camera trick). If only certain buttons still fail, the conductive coating on those pads may be worn—repair kits exist, but at this point a replacement remote may be easier.
Conclusion
Most “dead” gadgets aren’t truly dead—they’re blocked, dirty, misconfigured, or suffering from simple wear. Learning to methodically check power, connections, software settings, and basic physical issues can save you money and keep electronics out of landfills.
Start with the low‑risk fixes: cleaning ports, reseating cables, resetting devices, and checking batteries and airflow. As you get comfortable, you can move into deeper repairs with more confidence.
If you found these step‑by‑step tips useful, share this guide with someone who’s about to give up on a “broken” gadget—it might just earn their favorite device a second life.
Sources
- [Apple Support – If your iPhone or iPad won’t charge](https://support.apple.com/en-us/HT204566) - Official guidance on charging issues, cable checks, and port inspection
- [Dell Support – How to clean the air vents in your Dell computer](https://www.dell.com/support/kbdoc/en-us/000132766/how-to-clean-the-air-vents-in-your-dell-computer) - Practical instructions for safely cleaning laptop vents and fans
- [Samsung – TV or projector won’t turn on](https://www.samsung.com/us/support/troubleshooting/TSG01109749/) - Manufacturer troubleshooting steps for TVs that appear dead or unresponsive
- [Sony – Bluetooth pairing troubleshooting](https://www.sony.com/electronics/support/articles/00008657) - Common solutions for Bluetooth connection and pairing issues
- [U.S. Consumer Product Safety Commission – Safety tips for charging devices](https://www.cpsc.gov/Safety-Education/Safety-Education-Centers/Portable-Generator/Charging-Devices) - General safety information on powering and charging electronic devices
Key Takeaway
The most important thing to remember from this article is that this information can change how you think about Electronics.


