When a favorite gadget stops working, most people jump straight to “I need a new one.” Often, that’s money wasted. Many electronics fail in predictable, fixable ways—loose connections, dirty contacts, tired batteries, and stressed cables. With a bit of methodical troubleshooting and some basic tools, you can often bring them back to life or at least confirm they’re truly done.
This guide walks through five practical, step-by-step repair tips that DIYers can use across phones, laptops, game consoles, speakers, remotes, and more.
1. Revive “Dead” Devices with a Systematic Power Check
A surprising number of “dead” electronics have a boring power problem, not a fatal one. Before assuming the worst, walk through a structured power check.
Step-by-step:
Confirm the outlet or USB port works
- Plug in a different device you know works. - For USB power bricks, try another wall outlet and another USB cable. - For surge protectors, make sure the switch is on and reset any built-in breaker.
Inspect the power cable and adapter closely
- Look for kinks, frays, exposed wire, or melted insulation. - Wiggle the cable near the plug and the device while watching for intermittent power or flicker. - Test with a known-good adapter or cable with the same voltage and connector (and correct polarity).
Check the device’s power jack or port
- Shine a flashlight into the port: look for bent pins, lint, or corrosion. - Gently try the plug: if it feels loose or wobbly, the solder joints or jack may be cracked. - For USB-C / micro-USB, remove lint with a wooden toothpick (never metal) and short, gentle strokes.
Test or replace removable batteries
- Use a battery tester or multimeter if you have one; many “new” batteries from drawers are already weak. - Clean the battery contacts in the device with a cotton swab and a tiny bit of isopropyl alcohol (at least 70%). - Replace alkaline batteries as a full set; mixing old and new can cause weird behavior.
Force a deep restart on smart devices
- Phones/tablets: hold power + volume key (varies by brand) for 10–20 seconds. - Laptops: disconnect power, remove battery if possible, then hold the power button 15–30 seconds before reconnecting. - Game consoles: unplug from power for a full minute, then plug directly into a wall outlet and try again.
If the device still shows no signs of life after these checks, you’ve at least ruled out simple external power issues and can move on to internal troubleshooting or professional repair.
2. Fix Glitchy Buttons, Remotes, and Controllers with Contact Cleaning
Sticky buttons, remotes that only work if you press really hard, and game controllers that miss inputs are often victims of dirt, skin oils, or worn conductive pads.
Step-by-step:
Start with a non-opening clean
- Remove batteries or disconnect power. - Wipe the surface with a cloth slightly dampened with isopropyl alcohol. - Press each button repeatedly to help work debris out from the edges.
Try a quick internal refresh (for remotes)
- Take out the batteries. - Press every button firmly several times to discharge any residual static and move dust. - Replace with fresh batteries and test again. Many “dead” remotes come back here.
Open the case carefully (if you’re comfortable and it’s out of warranty)
- Look for screws under labels, rubber feet, or battery covers. - Use a small Phillips screwdriver and a plastic pry tool to avoid cracking the shell. - Take photos as you go so you can reassemble correctly.
Clean circuit board contacts and rubber pads
- You’ll typically see a circuit board with small copper or carbon-colored pads, and a rubber sheet with “domes.” - Dip a cotton swab in isopropyl alcohol and gently scrub the pads on the board. - Wipe the underside of the rubber button sheet where it touches the board. Let everything dry fully (5–10 minutes).
Inspect for physical damage
- Torn rubber domes or pads that are worn shiny can cause permanent weak response. - For cheap remotes, replacement units may be easier; for game controllers, you can often buy replacement rubber pad kits designed for your model.
Once reassembled, most remotes and controllers with contact-related problems feel almost new again.
3. Tame Overheating Laptops and Consoles with a Cooling Refresh
Thermal throttling, random shutdowns, loud fans, and hot-to-the-touch cases usually point to poor airflow or dried-out thermal paste. While full thermal repasting is more advanced, cleaning airflow paths is achievable for many DIYers.
Step-by-step:
Confirm it’s really a heat issue
- Feel for hot air from vents; fans that never spin up or spin at full blast constantly are both warning signs. - Many laptops and PCs let you monitor temperatures using software (e.g., built-in tools or vendor utilities). - Note if the device fails during heavy tasks (gaming, video editing) but not while idle.
Give vents and fans a surface clean
- Power down and unplug the device; remove batteries if possible. - Use a soft brush to loosen dust from vents. - Blow short bursts of compressed air across the vents, not straight into them, to avoid forcing dust deeper inside.
Access internal fans and heat sinks (for those comfortable opening cases)
- Check the manufacturer’s service manual or a trusted teardown guide before opening. - Remove bottom covers or side panels as documented. - Use compressed air and a small brush to clean fan blades and heat sink fins—hold the fan blades steady while blowing so you don’t overspin them.
Re-seat and tidy cables
- Cables draped over fans can block airflow. - Gently re-route small cables away from vents and fans, using existing clips or guides.
Improve external cooling conditions
- Avoid using laptops on soft surfaces (beds, couches) that block vents. - Use a firm, flat surface or cooling pad when doing intensive tasks. - For consoles and desktops, leave several inches of space around all vents and avoid enclosed cabinets when gaming.
If overheating persists even after cleaning, the thermal paste between the CPU/GPU and heat sink may need replacement—a doable but more advanced job that’s worth researching specifically for your model.
4. Restore Sound from Crackling Speakers and Headphones
Distorted audio, crackling, or channels cutting in and out often come down to dirty jacks, cable stress, or failing connections—not always blown speakers.
Step-by-step:
Rule out software and settings
- Check volume levels on both the device and app. - Ensure balance is centered and no odd sound effects or equalizer modes are enabled. - Test with multiple apps and audio files; if only one app sounds bad, it’s likely software.
Test with different cables and devices
- Plug your headphones into another phone or computer. - Use a different cable or AUX cord with your speakers if they’re detachable. - Swap ends: sometimes one connector is more worn than the other.
Clean audio jacks and plugs
- Power down devices. - Dampen a cotton swab or lint-free cloth with a tiny amount of isopropyl alcohol and clean plugs. - For jacks, insert and remove the plug several times after applying a small amount of contact cleaner (if you have it) to the plug itself.
Inspect and support stress points on cables
- Gently bend the cable near each plug while listening for sound cutting in/out—this often reveals internal breaks. - If you find a “sweet spot” where sound comes back, you likely have a broken conductor near that end. - For detachable cables, replacement is ideal. For hardwired headphones, repair usually means cutting out the bad section and soldering, which is an intermediate skill.
Check speaker cones and grills
- Remove grills if possible and look for tears, debris, or objects touching the cone. - Very small tears can sometimes be stabilized with thin tissue paper and flexible adhesive, but large damage usually means replacement. - Tighten any loose mounting screws to stop rattling.
By methodically separating source, cable, and speaker/headphone issues, you can often pinpoint a cheap, targeted fix instead of replacing the whole setup.
5. Rescue Devices from Minor Liquid Spills (The Right Way)
Spill coffee on a keyboard or splash water on a remote? Quick, correct action can dramatically improve the odds of survival. The goal is to remove power and moisture as safely and fast as possible.
Step-by-step:
Kill power immediately—don’t test it “just once”
- Unplug from the wall or charger. - For phones and tablets, turn them off right away; don’t press extra buttons. - If the battery is removable, take it out promptly.
Remove external parts and absorb excess liquid
- Take off cases, covers, and accessories. - Gently blot (don’t rub) visible liquid with paper towels or a soft cloth. - Position the device so gravity helps drain the spill away from internal boards (e.g., for laptops, tilt into an inverted “V” shape, keys facing down).
For simple devices like remotes and basic keyboards, open and dry
- Remove batteries first. - Open the case carefully; separate the rubber keypad, top shell, and circuit board. - Rinse sticky spills (like soda) from non-electronic plastic parts with clean water, then dry thoroughly. - Very lightly clean circuit boards with isopropyl alcohol to displace water and remove residue; let dry completely.
Allow extended drying time
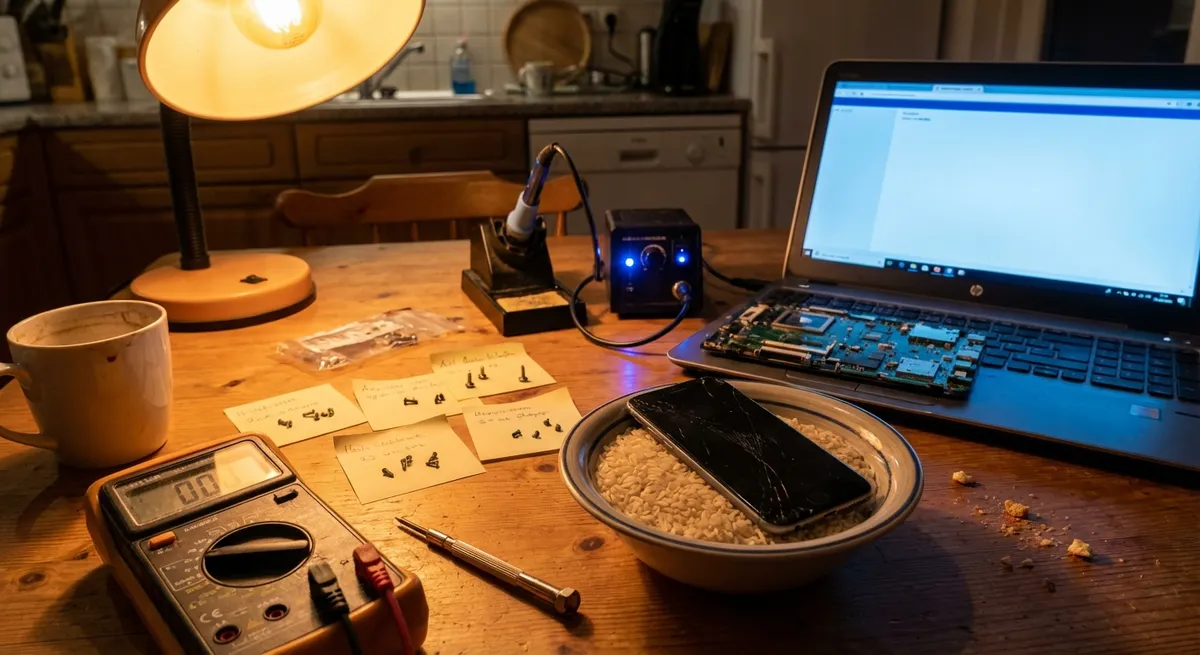
- Place the device in a dry, well-ventilated area for at least 24–48 hours. - Avoid hair dryers on high heat; gentle airflow at room temperature is safer. - Silica gel packs (the “do not eat” kind) around but not inside ports can help; uncooked rice is less effective and can leave dust.
Reassemble and test only after you’re sure it’s dry
- Reinstall batteries or reconnect power. - Power on and test all functions, not just “does it turn on.” - If you smell burning or feel abnormal heat, turn it off and disconnect immediately.
For expensive devices that were heavily soaked (especially with salt water or sugary drinks), professional cleaning and inspection are often worth it, as corrosion can continue to spread long after the spill.
Conclusion
Most electronic “failures” start as simple, fixable problems: interrupted power, dirty contacts, clogged vents, or stressed cables. By approaching each problem methodically—checking power, cleaning connections, clearing airflow, and handling minor spills correctly—you can extend the life of your gear, avoid unnecessary replacements, and build real troubleshooting confidence.
You don’t need a lab’s worth of tools to get started: a small screwdriver set, isopropyl alcohol, compressed air, and patience go a long way. When you hit the limits of what’s safe or comfortable, you’ll at least be able to explain the issue clearly to a repair shop—and avoid paying for guesswork.
Sources
- [U.S. Department of Energy – Home Electronics Tips](https://www.energy.gov/energysaver/home-electronics-and-computers) – General guidance on using and caring for home electronics efficiently
- [iFixit – Electronics Repair Guides](https://www.ifixit.com/Device) – Step-by-step teardowns and repair guides for specific models of phones, laptops, game consoles, and more
- [Apple Support – If your iPhone or iPod touch gets wet](https://support.apple.com/en-us/HT204104) – Official advice on handling liquid exposure for mobile devices
- [Dell Support – Cleaning Your Computer](https://www.dell.com/support/kbdoc/en-us/000132288/how-to-clean-your-computer) – Manufacturer recommendations for safe cleaning and dust removal
- [Mayo Clinic – Electrical injury first aid](https://www.mayoclinic.org/first-aid/first-aid-electrical-shock/basics/art-20056695) – Safety information relevant to avoiding injury when working around powered electronics
Key Takeaway
The most important thing to remember from this article is that this information can change how you think about Electronics.


