When your favorite gadget suddenly dies, it’s tempting to panic or jump straight to replacing it. But a lot of “dead” electronics are only suffering from small, fixable issues you can tackle at home with basic tools and a calm, methodical approach. This guide walks through five practical, step-by-step repair moves you can use as first aid for common electronics problems—before you reach for your wallet.
Start Smart: Safety and Tools Before Any Repair
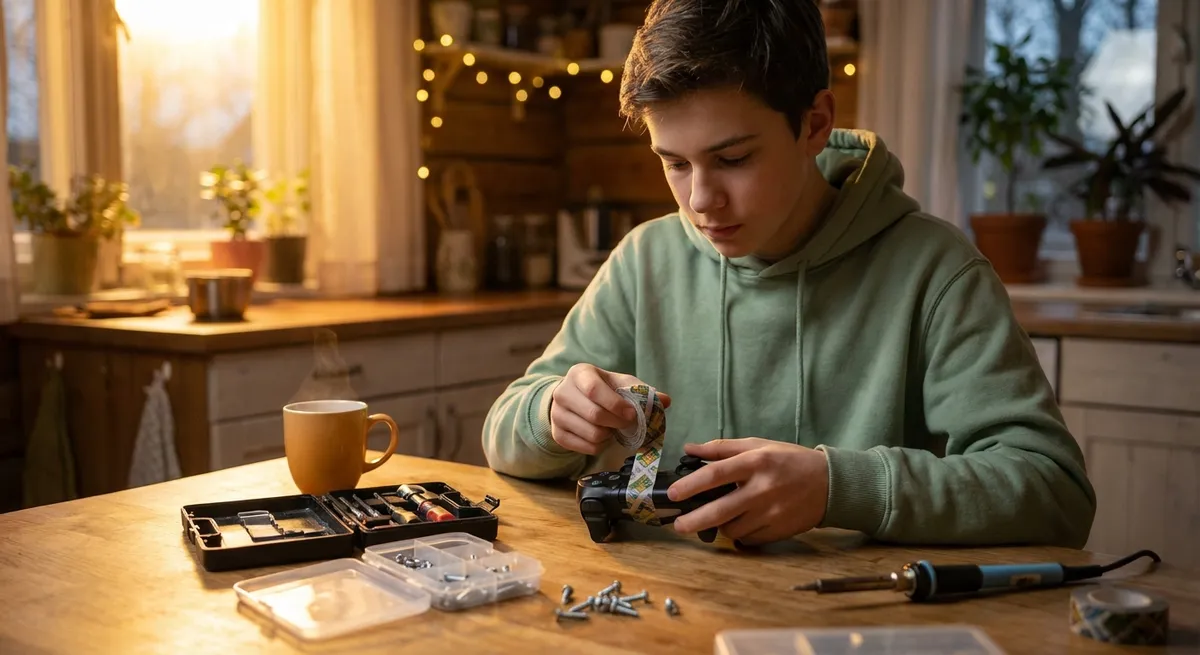
Before touching a screw or cable, get your safety and basic kit in order. This keeps you from damaging your gear—or yourself—and makes your fixes cleaner and faster.
- Disconnect power every time.
Unplug devices from the wall. For battery-powered gear, remove the battery if you can. On laptops or phones that don’t open easily, shut them down completely and disconnect chargers.
- Discharge static electricity.
Static can quietly destroy delicate components. At minimum, touch a grounded metal object (like a plugged-in but switched-off computer case) before handling internals. Better yet, use an anti-static wrist strap clipped to ground.
- Use the right basic tools.
A practical starter kit includes:
- Precision screwdriver set (Phillips, flat, Torx)
- Plastic spudger or pry tools (avoid using metal knives)
- Tweezers
- Isopropyl alcohol (90% or higher) and cotton swabs
- Soft brush (clean paintbrush or dedicated electronics brush)
- Work where you can find dropped parts.
Use a light-colored towel or tray as your “work zone.” Tiny screws love to escape; a magnetic parts tray or labeled cups help you keep track of where things go.
- Document as you go.
Take photos with your phone each time you remove a part or cable. This turns into your own reassembly guide and cuts guesswork at the end.
Step 1: When a Device Won’t Power On – Power Path Check
A “dead” device often has a very simple problem in the power chain. Before assuming serious damage, walk through this controlled check from outlet to internal power.
- Verify the outlet and power strip.
Plug in something you know works (a lamp, another charger) to confirm the outlet is live. If you use a power strip or surge protector, check that its switch is on and any built-in breaker hasn’t tripped.
- Inspect the power cable carefully.
Look and feel along the entire length:
- Kinks, exposed copper, or melted spots are warning signs.
- Wiggle the cable at both ends (wall and device) while watching for flicker or intermittent power.
If you see or feel damage, stop using it and replace the cable or adapter immediately—don’t tape over it.
- Test with a different known-good charger or cable.
For phones, laptops, gaming controllers, or monitors:
- Swap to a charger that you know powers another device.
- Use a different outlet as well, in case of wiring issues.
- Check for signs of life with a “hard reset.”
- Disconnect power and remove the battery (if removable).
- Hold the power button down for 15–30 seconds.
- Reconnect power and try turning it on again.
- Inspect the power port.
- Look for bent pins, debris (lint, dust), or corrosion.
- For debris, gently loosen it with a wooden toothpick, then blow it out with short bursts of compressed air.
On many devices (laptops, game consoles, some monitors), a hard reset clears a power lockup:
Use a flashlight to check the device’s charging or power jack:
If the device only works with pressure on the plug or at a specific angle, the internal jack may be loose and need professional repair—but you’ve at least ruled out the easy wins.
Step 2: Fix Loose or Intermittent Connections
Random shutdowns, flickering screens, and devices that work when you “just hold it right there” often trace back to loose connections rather than failed components.
- Power down and remove every detachable cable.
Unplug HDMI, USB, power, audio, and network cables. This alone sometimes breaks a minor oxidation issue that built up over time.
- Inspect connectors closely.
Check both ends:
- Look for bent or missing pins.
- Inspect for dirt, sticky residue, or corrosion (green/white buildup).
- Clean with isopropyl alcohol.
- Dampen (don’t soak) a cotton swab with isopropyl alcohol.
- Wipe the metal contacts gently.
- Let them air dry completely before reconnecting.
For tight ports (like USB-C), use a small brush and a touch of alcohol rather than stuffing a swab inside.
- Reseat internal connectors when accessible.
On desktop PCs, some TVs, and certain speakers, you can:
- Remove the case or back panel after confirming no warranty stickers will be broken.
- Gently press cable connectors and plug-in cards straight into their sockets to ensure they’re fully seated.
- Test one connection at a time.
- If problems reappear after a specific cable is reconnected, you’ve found your suspect.
- Try replacing that cable before assuming the device itself is bad.
Reconnect cables one by one and test the device after each:
This approach is especially effective for problems like “no signal” TV inputs, flaky monitors, or audio dropouts.
Step 3: Beat Overheating – Clean and Restore Airflow
Fans that suddenly get loud, laptops that shut off under load, or consoles that crash mid-game often suffer from overheating due to dust buildup and clogged vents.
- Shut down and unplug the device.
For laptops, also disconnect the charger and remove the battery if it’s accessible. Let hot devices cool for at least 10–15 minutes.
- Locate all air vents.
- On laptops: sides, back edge, and underside.
- On gaming consoles: rear and sometimes the top or sides.
- On desktops: front, rear, top, and sometimes the bottom of the case.
- Use compressed air correctly.
- Hold the can upright to avoid spraying liquid.
- Blow short, controlled bursts into vents from different angles.
- On desktop PCs or removable covers, open the case and blow dust away from components, not deeper into them.
- Hold fans in place while cleaning.
If you can see a fan:
- Clean external surfaces and soft dust carefully.
Use a soft brush to lift dust from grills and vents, then vacuum around (not directly on) the device to collect it. Avoid harsh cleaners; a lightly damp microfiber cloth is enough for the exterior.
After cleaning, check whether the device runs cooler and quieter. If overheating persists, internal thermal paste or failing fans may be the issue, which is a more advanced repair but still often DIY-able with proper guides.
Step 4: Save Devices from Minor Liquid Spills
Spills on keyboards, remotes, and even phones happen fast—but your response matters more than what you spilled. Time is the enemy; move quickly and methodically.
- Kill the power immediately.
- Unplug from the wall.
- Turn off the device; if it’s a phone or laptop, hold the power button until it shuts down.
- If the battery is removable, take it out right away.
- Remove external accessories and covers.
Take off cases, covers, SIM trays, memory cards, and detachable batteries. Separate wet components so liquid doesn’t stay trapped between layers.
- Blot, don’t rub.
Use paper towels or a clean cloth:
- Gently press to absorb liquid on surfaces and between keys.
- Tilt the device to guide liquid out of openings, not deeper inside.
- Let it dry thoroughly and patiently.
- Place the device in a dry, well-ventilated area.
- Leave it powered off for at least 24–48 hours.
- Ignore rice myths; it’s less effective than simply dry air and time. Silica gel packs (from packaging) in a container with the device can help if available.
- Inspect before powering back on.
- Check for lingering moisture in ports or under screens.
- Smell for a burnt or odd odor, which could indicate damage.
- Reassemble and power on only once you’re confident it’s fully dry.
If you see corrosion (white or green crust) inside after a spill, you can carefully clean the affected area with isopropyl alcohol and a soft brush—if the device opens safely. For critical or expensive gear, professional ultrasonic cleaning might be worth it.
Step 5: Diagnose and Calm a Noisy or Stuck Fan
Whining, grinding, or rattling noises inside electronics often come from a struggling fan. Addressing this early can extend the life of your device and keep temperatures under control.
- Identify the source of the noise.
- Listen closely around the device while it’s running.
- Gently tilt or rotate it (without blocking airflow) to see if the sound changes; this often confirms a fan issue.
- Shut down, unplug, and open the case if possible.
- For desktops and some consoles, remove the side panel or back cover.
- For laptops, remove the bottom cover if you’re comfortable and it doesn’t void the warranty.
- Clean the fan thoroughly.
- Hold the blades still with a cotton swab.
- Blow dust off with compressed air from several angles.
- Use a small brush to dislodge stubborn buildup from fan blades and heat sinks.
- Check for obstructions and wobble.
- Make sure no cables are touching the fan blades.
- Gently spin the fan with your finger (power off). It should move freely and smoothly.
- If it catches, grinds, or wobbles heavily, the bearing may be failing.
- Consider fan replacement if noise persists.
- Note the fan size and connector type (often printed on a label).
- Look up a compatible replacement based on model number of the device or fan.
- Many fans in desktops and some consoles are user-replaceable with a screwdriver and careful cable routing.
A quieter, smoother-running fan not only makes your workspace more pleasant but also protects against heat-related failures down the line.
Conclusion
Most electronics don’t fail dramatically—they quietly develop small, fixable problems in power delivery, airflow, or connectivity. By working through these five first-aid steps—checking power paths, securing connections, restoring cooling, handling spills properly, and taming noisy fans—you can rescue a surprising number of “dead” or misbehaving devices without a trip to the repair shop. Take your time, stay safe, and document your process; the confidence you build with each successful fix will make every future repair feel less intimidating and more like a skill you own.
Sources
- [U.S. Fire Administration – Electrical Fire Safety](https://www.usfa.fema.gov/prevention/outreach/electrical.html) - Guidance on safe handling of electrical devices and cords, helpful for safe power troubleshooting
- [U.S. Consumer Product Safety Commission – Product Safety Guidance](https://www.cpsc.gov/Safety-Education) - Covers general safety principles relevant to working with consumer electronics
- [Apple Support – Cleaning Your Apple Products](https://support.apple.com/en-us/HT204172) - Official recommendations on safely cleaning electronics surfaces and ports
- [Dell Support – Computer Overheating Troubleshooting](https://www.dell.com/support/kbdoc/en-us/000132453/how-to-fix-overheating-and-fan-noise-issues) - Practical reference on fan cleaning, dust removal, and thermal issues
- [iFixit – Electronics Repair Guides](https://www.ifixit.com/Guide) - Step-by-step community repair guides for specific devices and components
Key Takeaway
The most important thing to remember from this article is that this information can change how you think about Electronics.


