When a favorite gadget dies, most people jump straight to “replace” instead of “repair.” That’s expensive, wasteful, and often unnecessary. Many common electronics issues can be fixed at home with basic tools, a steady hand, and a little patience. This guide walks through five practical, step‑by‑step repair tips that DIY enthusiasts can use to bring everyday devices back to life—without diving into advanced electronics theory.
Before You Start: Safety, Tools, and Smart Limits
Before grabbing a screwdriver, set yourself up for a safe and successful repair.
Unplug and power down everything. For anything with a battery, shut it off completely, disconnect chargers, and if possible remove the battery. Never work on live circuits. For devices with big capacitors (like TVs and desktop power supplies), don’t open them unless you understand how to safely discharge stored energy—these can hold dangerous voltage even when unplugged.
Gather a basic electronics repair kit. At minimum, you’ll want: a precision screwdriver set (Phillips and Torx), plastic spudger or pry tools, tweezers, isopropyl alcohol (90%+), cotton swabs, a soft brush, a flashlight or headlamp, and a magnetic tray or cup for screws. A cheap digital multimeter and a basic soldering iron (with rosin-core solder) open up a lot more repair options.
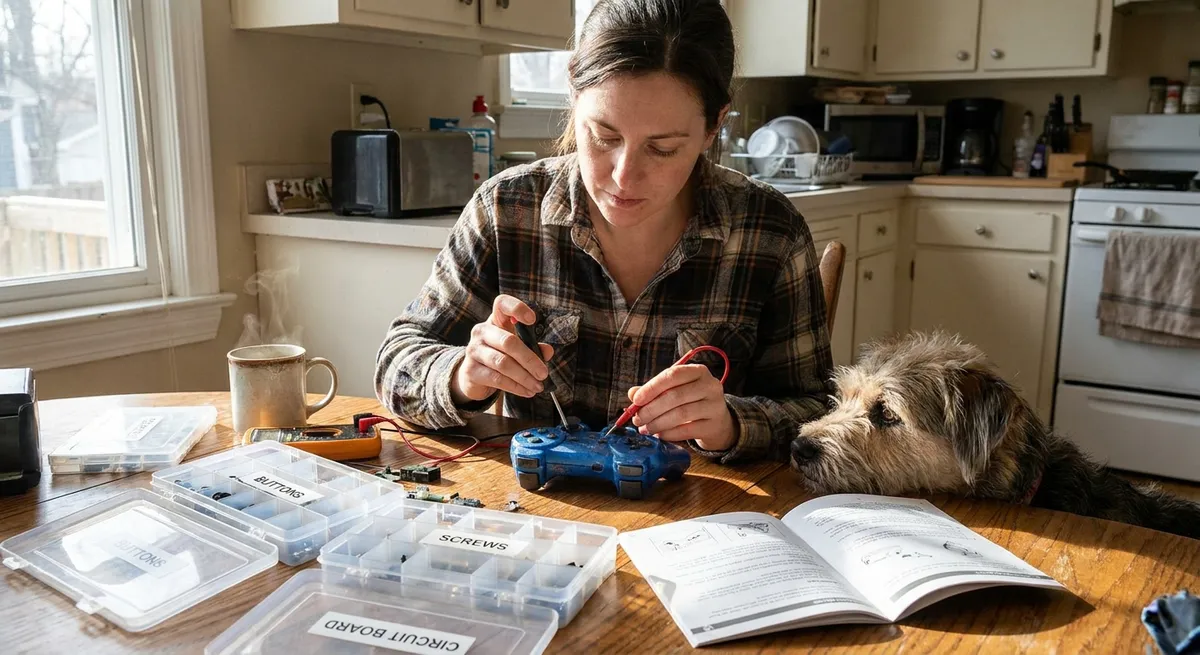
Take photos as you go. Every time you remove a cover or cable, snap a quick picture with your phone. This is your reassembly map later. Keep screws grouped by step—small containers or labeled tape strips work well.
Know when to stop. If a device smells burnt, shows signs of swelling or melting, or you see cracked lithium batteries, don’t force a DIY fix. The same goes for mains-powered devices with exposed high-voltage sections if you’re not experienced. In those cases, recycling or professional repair is the safer route.
Tip 1: Rescue a Phone That Won’t Charge (Port & Cable Fix)
A phone that “won’t charge” is often fine—the problem is usually the charging port or cable, not the electronics inside.
Step 1: Rule out the easy stuff
Try a different wall adapter and a different cable (preferably a known-good one from another working phone). Test at another outlet. If it charges with a different cable or adapter, you’ve already found the fault: replace the bad piece.
Step 2: Inspect the charging port
Use a bright light to look inside the port (USB‑C, Lightning, or micro‑USB). Pocket lint and dust can compact inside and block proper contact. Compare what you see to a clear photo of a clean port from the manufacturer’s site or a teardown guide.
Step 3: Clean the port safely
Power the phone off. Using a wooden toothpick or plastic dental pick (never metal), gently scrape along the bottom of the port to pull out lint. Do not pry against the delicate pins. Turn the phone so debris can fall out, and blow gently (or use short bursts from a can of compressed air). Avoid strong, continuous blasts that can push debris deeper.
Step 4: Check for looseness or damage
Insert the cable and gently wiggle it. It should feel snug. If it’s very loose or only charges at a certain angle, the port may be mechanically damaged or desoldered from the board. That’s fixable with microsoldering but usually not a beginner job. At this point, weigh repair shop pricing versus device value.
Step 5: Test again and adjust habits
Recharge the phone and watch for a solid connection symbol. If cleaning solved it, avoid stuffing the phone in pockets with keys or coins, and periodically check the port. A dust plug or case that covers the port can help prevent repeat issues.
Tip 2: Bring a “Dead” TV or Monitor Back with Power Checks
A blank screen doesn’t always mean a dead screen. Often, the issue is power or a simple setting.
Step 1: Confirm it’s getting power
Check that the power cable is fully seated in both the TV/monitor and the wall or surge protector. Try another outlet that you know is working, and if you use a power strip, bypass it temporarily. Look for any sign of standby power: a small LED light or a click when pressing the power button.
Step 2: Test the power cable and adapter
If it uses a detachable power cable (like a standard “figure‑8” or “PC” style cord), swap it with one from another device that works. For monitors with external power bricks, see if the LED on the brick lights up (if it has one). When in doubt, use a multimeter (set to DC voltage) to check the brick’s output against the rating on the label.
Step 3: Try the built-in menu and different inputs
Turn the device on and shine a bright flashlight at the screen from up close. If you can faintly see menus or images, the backlight is likely out, but the electronics are alive. Also cycle through input sources using the “Input” or “Source” button and try another HDMI cable and device (like a laptop). The problem can be as simple as a bad cable or wrong input.
Step 4: Power-cycle correctly
Unplug the device from the wall. Hold the power button (on the device, not the remote) for 15–30 seconds to discharge residual electricity. Leave it unplugged for 5–10 minutes, then plug back in and try powering on again. This simple reset can clear some power board glitches.
Step 5: Decide if you’ll open the case
If there’s no sign of life (no LEDs, no response) but the power outlet and cable are good, the internal power supply may be at fault—commonly swollen or leaking capacitors. Opening modern TVs is not a beginner’s first project, and parts of the power board carry dangerous voltage. If you choose to open it, do thorough research on your specific model and prioritize safety gear and procedures; otherwise, a repair shop or recycling may be the smarter decision.
Tip 3: Silence a Noisy Laptop Fan and Prevent Overheating
Overheating and loud fans are often caused by dust, not a dying computer. Cleaning the cooling system can extend its life significantly.
Step 1: Back up and shut down
Back up critical data if possible. Fully shut down the laptop (not sleep), unplug it, and remove the battery if it’s user-removable. Hold the power button for 10 seconds to discharge residual power.
Step 2: Access the vents and fan
Check the underside and sides of the laptop to locate air intakes and exhaust vents. For some models, you can remove a dedicated service hatch; others require taking off the whole bottom panel. Look up a model-specific disassembly guide or video so you don’t break hidden clips.
Step 3: Blow out loose dust
Take the laptop to a well-ventilated area. Using compressed air, blow short bursts into the vents at an angle, allowing dust to exit, not just move around inside. Hold the fan blades still with a toothpick or plastic tool if you can see them—spinning them with compressed air can damage the bearings or generate voltage back into the board.
Step 4: Clean more deeply (if you open it)
If you remove the bottom panel, use a soft brush and air to gently clean dust from the fan, heatsink fins, and surrounding areas. Avoid touching other components unnecessarily. If the thermal paste between the CPU/GPU and heatsink looks dry and flaky and you’re comfortable with intermediate repairs, you can remove the heatsink and reapply fresh thermal paste following a reputable guide.
Step 5: Reassemble and monitor temperatures
Reassemble the laptop carefully, making sure no cables are pinched and all screws are secured. Once powered back on, use a temperature monitoring app (like HWMonitor or your system’s built‑in tools) to see idle and load temps. Fans should be quieter and should ramp down more quickly after short bursts of activity. Keep vents unobstructed when using the laptop in the future—avoid soft surfaces that block airflow.
Tip 4: Fix Sticky or Unresponsive Remote Controls
A TV or set‑top box remote that barely responds is usually suffering from dirty contacts or weak batteries, not a fatal failure.
Step 1: Confirm the basics
Replace the batteries with fresh, correctly oriented ones. Test again. If it’s still unresponsive, check that nothing is blocking the path between the remote and the device, and that the device’s own IR receiver window is clean.
Step 2: Verify the remote is sending a signal
Most smartphone cameras can “see” infrared light. Open your phone’s camera, point the remote at it, and press buttons. You should see a flashing white or purple light in the camera preview at the remote’s emitter end. If there’s no flash at all, the remote isn’t sending a signal.
Step 3: Open the remote carefully
Remove batteries. Look for screws under labels or inside the battery compartment. Many remotes snap together; use a plastic pry tool or guitar pick along the seam to gently separate the halves. Work slowly to avoid cracking the plastic.
Step 4: Clean the contacts and keypad
Inside, you’ll find a rubber keypad and a circuit board with small contact pads. Dip a cotton swab in isopropyl alcohol (90%+) and gently clean the contact pads on the board and the matching conductive pads on the rubber keypad. Remove any spilled liquid, crumbs, or corrosion. Let everything dry completely (alcohol evaporates quickly).
Step 5: Reassemble and test
Once dry, reassemble the remote, reinstall fresh batteries, and test again with your smartphone camera and then with the actual device. If only some buttons still don’t work, the conductive coating on those pads may be worn. Conductive paint kits or replacement keypads for common remotes are available online and can restore function if you’re willing to do a small additional repair.
Tip 5: Revive Battery Gadgets That Won’t Turn On (Contact & Switch Fix)
Flashlights, toys, handheld tools, and other battery-powered gadgets often fail due to poor connections rather than dead electronics.
Step 1: Remove all power sources
Take out batteries and disconnect any external power. Inspect batteries for leaks, swelling, or corrosion (white or green powder). If you see damage, handle with care—wear gloves, and recycle batteries according to local regulations.
Step 2: Clean corroded terminals
If you see corrosion on battery contacts, dip a cotton swab in white vinegar or lemon juice to neutralize alkaline battery residue. Gently scrub the contacts until the corrosion loosens, then wipe clean and follow with a swab dipped in isopropyl alcohol to remove moisture. Let everything dry thoroughly.
Step 3: Improve mechanical contact
Check that the metal springs and tabs are not bent out of shape. If the spring is flattened, gently stretch it a bit so it presses more firmly against the battery. Make sure the battery compartment door closes tightly; if it’s loose, the batteries may not stay in contact.
Step 4: Check for a hidden switch or lockout
Many devices have hidden lockout switches, child safety sliders, or modes that look like “dead” when engaged. Look closely around the body for small switches or labels in the manual (you can usually find PDFs online). Also check if the device has a reset hole that can be pressed with a paperclip.
Step 5: Test with known-good batteries and patience
Install brand new, high-quality batteries. Turn the device on and leave it for a minute—some electronics need a brief initialization time. If it still doesn’t respond, listen and feel for any sign of life (clicks, slight vibration, brief light flicker). If there’s absolutely nothing, the internal switch or wiring may be damaged; for inexpensive gadgets, that’s often the cutoff point where replacement is more practical than a deep dive repair.
Conclusion
Being able to diagnose and fix basic electronics issues is one of the most useful skills a DIYer can develop. Many “dead” devices only need cleaned contacts, better airflow, or a simple reset—not a trip to the landfill. By working methodically, respecting safety limits, and starting with the most likely failure points, you can save money, reduce e‑waste, and build confidence for more advanced repairs down the road. The next time a gadget misbehaves, treat it as a small investigation rather than an automatic replacement—and keep these five step‑by‑step fixes in your toolkit.
Sources
- [U.S. Environmental Protection Agency – Managing and Reducing Wastes: A Guide for Commercial Buildings](https://www.epa.gov/smm/managing-and-reducing-wastes-guide-commercial-buildings) - Provides background on why repair and waste reduction (including e‑waste) matter
- [iFixit Repair Guides](https://www.ifixit.com/Device) - Model-specific tear-downs and step‑by‑step guides for phones, laptops, remotes, and more
- [Apple Support – If your iPhone or iPod touch won’t charge](https://support.apple.com/en-us/HT201569) - Official troubleshooting steps for charging issues that inform best practices for port and cable checks
- [U.S. Consumer Product Safety Commission – Battery Safety](https://www.cpsc.gov/Safety-Education/Safety-Education-Centers/Battery-Safety) - Guidance on safe handling and disposal of consumer batteries in DIY repairs
- [Harvard University – Environmental, Health & Safety: Compressed Gas Safety](https://www.ehs.harvard.edu/node/7392) - Provides general best practices relevant to using compressed air safely when cleaning electronics
Key Takeaway
The most important thing to remember from this article is that this information can change how you think about Electronics.


