Step 1: Troubleshooting
Before diving into any repair, it's essential to identify the issue. This process, known as troubleshooting, involves checking the device's settings, testing its functions, and observing any abnormal behavior. For example, if your device isn't turning on, it could be a power issue, which can be fixed by replacing the battery or power cord. Knowing the problem is half the repair done.
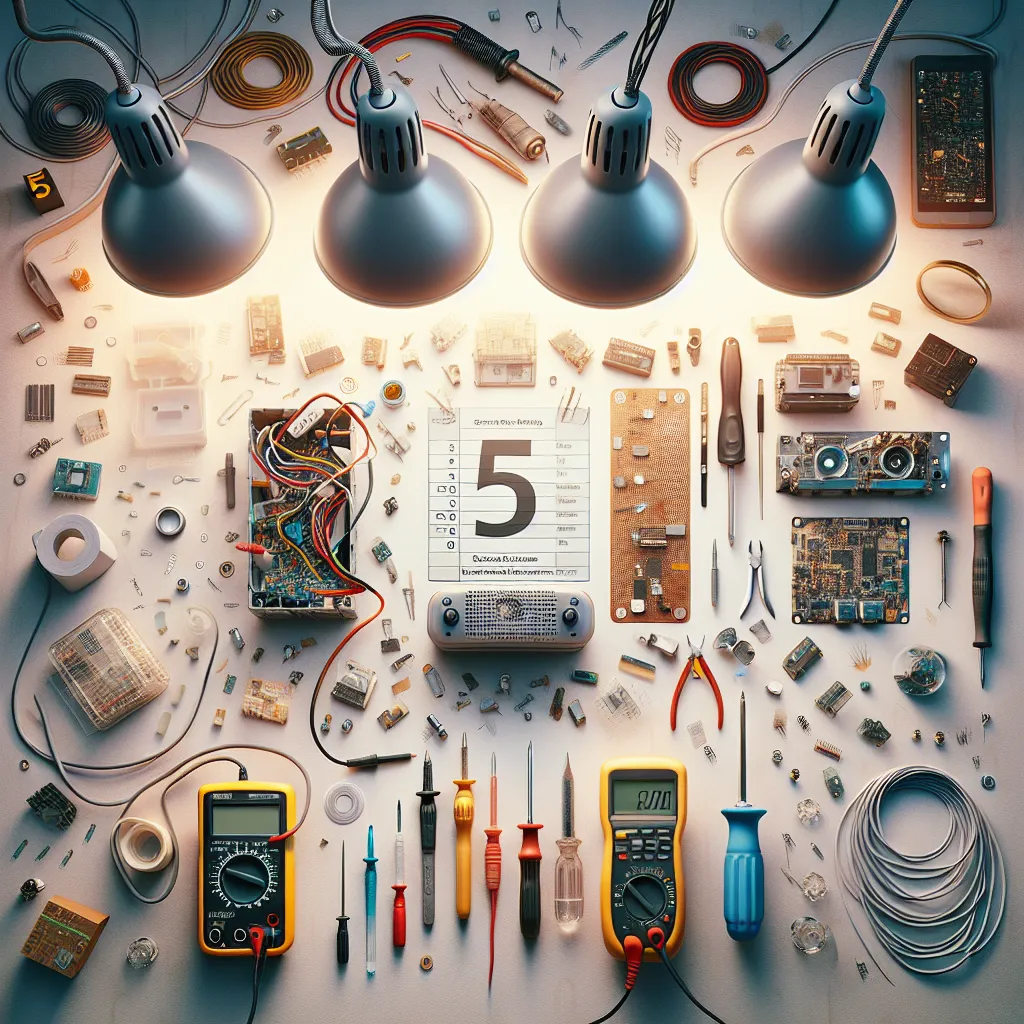
Step 2: Gather Your Tools
Once you have identified the problem, gather the necessary tools. This may include a set of screwdrivers, pliers, tweezers, a magnifying glass, and a multimeter for testing electrical circuits. Remember, using the right tool for the job prevents damage and makes the process smoother.
Step 3: Open the Device Safely
Safety first! Before opening any electronic device, ensure it's unplugged or switched off to avoid electric shock. Use your tools carefully to open the device without causing any damage. Keep track of all screws and small parts, as they're easy to lose and hard to replace.
Step 4: Repair or Replace the Damaged Part
Once you've accessed the inner workings of the device, locate the damaged part. Depending on the issue, you may be able to repair it. For instance, a loose wire can be re-soldered. However, if the part is beyond repair, like a broken screen, you'll need to replace it. You can often find replacement parts online.
Step 5: Reassemble and Test
After repairing or replacing the part, it's time to reassemble the device. Follow your steps in reverse order to put everything back together. Once done, test the device to ensure it's working properly. If not, you might need to recheck your repair or consult a professional.
Conclusion
Repairing electronics at home can be a fun and rewarding experience. Not only does it save money, but it also gives you a sense of accomplishment. Remember, patience and precision are key. Always take your time and follow safety precautions. Happy repairing!