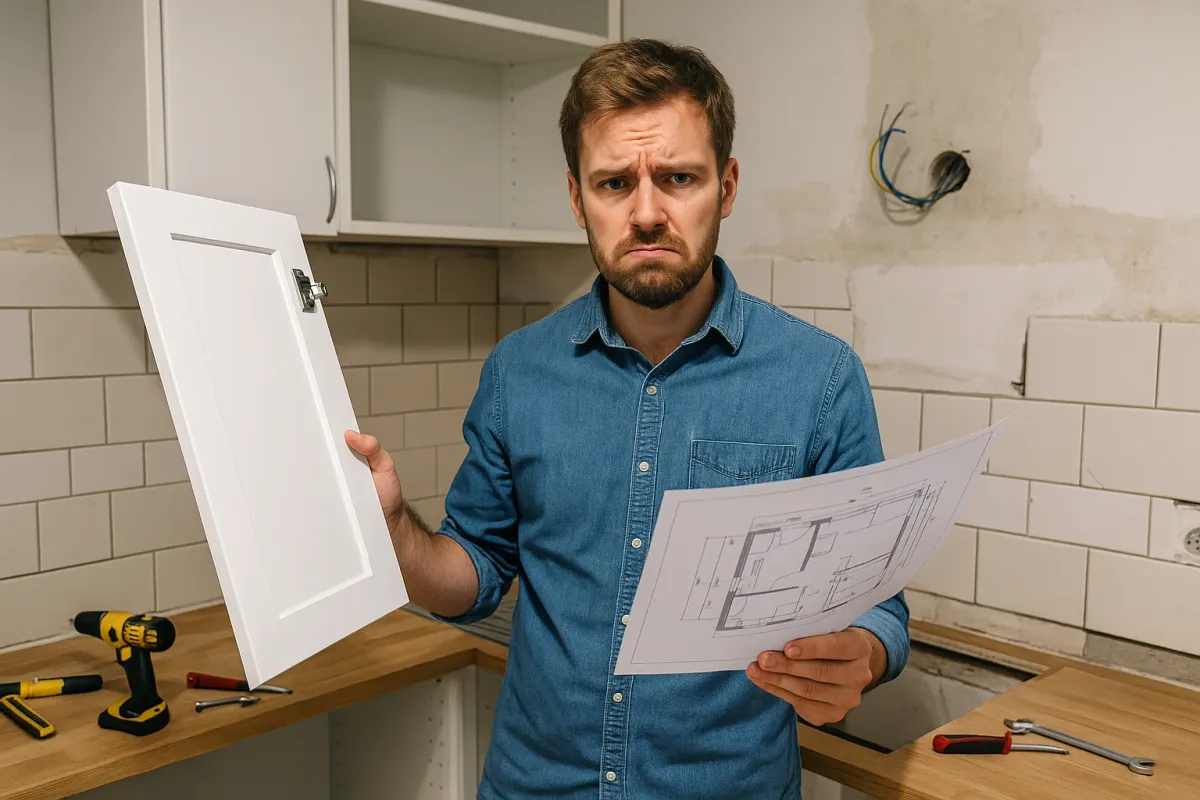
If you’ve scrolled social media this week, you’ve probably seen those “Not My Job” photos going viral again—like the Bored Panda roundup of workers who did the bare minimum and walked away. Paint lines stopping mid‑door, outlets half-covered by tile, stairs to nowhere… funny online, frustrating when it’s inside your house.
But here’s the problem: a lot of homes actually do have “not my job” repairs hiding in the walls, under the sink, and behind trim. Maybe the previous owner DIY’d it, maybe a rushed contractor cut corners, or maybe you’ve inherited someone else’s half-finished project. The good news: many of these messes are fixable with some patience, basic tools, and a plan.
Below are five practical, step-by-step fixes for the kind of lazy or incomplete work homeowners discover all the time—so you’re not stuck living in a meme.
1. Crooked, Sloppy Caulk Lines Around Tubs, Sinks, and Backsplashes
Those viral photos of caulk smeared like frosting? That happens in real bathrooms and kitchens—especially when someone rushed a “flip” to get it on the market.
Goal: Remove bad caulk and reapply a clean, watertight seal.
You’ll need:
- Caulk remover (gel or spray) or a plastic scraper/razor
- Utility knife
- Painter’s tape
- 100% silicone caulk (for bath/shower) or paintable latex (for trim/backsplash)
- Caulk gun (if using tubes)
- Paper towels and a damp rag
- Rubbing alcohol or mild cleaner
Steps:
- Identify the right caulk.
- Wet areas (shower, tub, sink rim): Use 100% silicone, labeled for bath/kitchen, mold-resistant.
- Dry trim or backsplash gap: Use paintable latex caulk.
- Remove the old caulk completely.
- Apply caulk remover (if you have it) and let it sit per directions.
- Gently slice along both edges of the old bead with a utility knife.
- Peel away as much as possible, then scrape the remainder with a plastic scraper.
- Don’t gouge the tub or countertop—light pressure is key.
- Clean and dry the surface.
- Wipe with mild cleaner, then with rubbing alcohol to remove soap scum and oils.
- Let everything dry fully; silicone will not adhere to damp surfaces.
- Tape your lines like a pro.
- Run painter’s tape about 1/8" from the joint on both sides.
- This creates a “channel” for a perfectly straight bead.
- Apply the new caulk.
- Cut the caulk tube tip at a 45° angle, with a small opening.
- Pull the gun along the joint (don’t push) while squeezing steadily.
- Aim for one continuous bead, slightly overfilling the gap.
- Tool the bead and pull the tape.
- Lightly drag a damp finger or caulk tool along the bead to smooth it.
- Immediately pull off the tape away from the bead so it doesn’t smear.
- Wipe any excess with a paper towel.
- Cure before use.
- Follow the label—most silicones need 24 hours before getting wet.
- Avoid touching or pressing on the new bead.
2. “Not My Job” Paint Lines: Fixing Messy Edges and Overlaps
Those social posts of walls half-painted, trim splattered, or outlets covered in paint? Someone decided “close enough” and moved on. Fixing it is tedious but very doable.
Goal: Sharpen paint lines around trim, switches, and fixtures without repainting the whole room.
You’ll need:
- Painter’s tape (good quality, delicate surface if on fresh paint)
- Angled sash brush (1.5–2")
- Matching wall paint and/or trim paint
- Fine-grit sandpaper or sanding sponge
- Small artist brush (for tight spots)
- Damp rag
Steps:
- Assess what’s actually wrong.
Common issues:
- Wall color slopped onto trim
- Trim color onto walls
- Wavy lines at ceiling or corners
- Painted-over outlets/switch plates
- Prep the area.
- Lightly sand raised drips or ridges with fine-grit sandpaper.
- Wipe dust with a damp rag and let dry.
- Remove outlet/switch covers—never paint them in place.
- Mask smart, not everywhere.
- For walls: tape along the edge of trim, pressing tape firmly with a fingernail.
- For trim: tape along the wall side if you’re repainting trim edges.
- At ceilings, run tape along the ceiling edge if the wall line is messy.
- Use the right brush technique.
- Load brush lightly (no drips).
- Start slightly away from the tape, then “pull” paint toward the edge.
- Work in short strokes and feather the outer edge so it blends with existing paint.
- Fix small mistakes immediately.
- If you slip, wipe fast with a damp rag.
- For tiny errors, wait until dry and use an artist brush for touch-ups.
- Remove tape while the paint is still slightly wet.
- Pull the tape back on itself at a 45° angle.
- If it starts to pull paint with it, score the edge lightly with a utility knife.
- Reinstall covers and hardware.
- Once paint is dry, reinstall outlet and switch plates.
- If they’re already caked with old paint, replacing them is often the cleanest fix.
3. Wobbly, Poorly-Installed Wall Shelves
Those “Not My Job” memes of a single screw barely holding up a shelf? That’s a real-world hazard. Many previous owners mounted shelves straight into drywall with random screws—no anchors, no studs.
Goal: Re-secure a loose shelf safely so it can actually hold weight.
You’ll need:
- Stud finder (or small nail and hammer for test holes)
- Level
- Drill + bits
- Appropriate wall anchors (toggle bolts, self-drilling, or expansion anchors)
- Wood screws
- Pencil
- Screwdriver
Steps:
- Empty the shelf and inspect the brackets.
- Remove everything so you’re not fighting weight.
- Check if brackets are bent, stripped, or cracked; replace if damaged.
- Find the studs behind the shelf.
- Use a stud finder to locate studs along the bracket line.
- Mark stud centers with a pencil.
- If you don’t have a stud finder, use small test nails every 1/2" in a hidden area behind the bracket to find solid wood.
- Decide your mounting strategy.
- Best case: At least one screw per bracket into a stud.
- Where no stud aligns, use heavy-duty anchors rated for more weight than you plan to load.
- Remove the shelf and reposition if needed.
- If existing holes don’t hit studs, take the whole shelf down.
- Hold the bracket where you want it, level it, and mark new screw holes aligned with stud marks.
- Drill pilot holes.
- For studs: Drill a pilot slightly smaller than the screw diameter.
- For anchors: Follow the anchor manufacturer’s drill size recommendation.
- Install anchors and brackets.
- Insert anchors where you don’t have studs.
- Screw brackets into place, starting with stud locations first for maximum strength.
- Use a level across the brackets before fully tightening.
- Reattach the shelf and load smart.
- Set shelf onto brackets and secure if there are set screws.
- Place heaviest items over stud-supported brackets, not in the middle of a long span.
4. Loose, Rocking Toilets From “Good Enough” Installs
A toilet that rocks or shifts is more than annoying; it can damage the wax ring and leak—often the result of a rushed install. This is one “not my job” fix you don’t want to ignore.
Goal: Stabilize a wobbly toilet and replace the wax ring if needed.
You’ll need:
- Adjustable wrench
- New wax ring (or wax-free ring) sized for your flange
- Old towels or sponge
- Putty knife
- Disposable gloves
- Utility knife
- Optional: plastic toilet shims, silicone caulk
Steps:
- Confirm the wobble source.
- Gently try to rock the toilet side to side.
- If only the seat moves, tighten the seat hardware.
- If the whole bowl moves, you’re dealing with a flange/bolting issue.
- Turn off water and drain the toilet.
- Shut off the valve behind the toilet.
- Flush and hold handle until the tank is mostly empty.
- Use a sponge/towel to remove remaining water in tank and bowl.
- Disconnect and remove the toilet.
- Disconnect the water supply line from the tank.
- Pop off bolt caps at the base and remove nuts with a wrench.
- Gently rock and lift the toilet straight up (get help if it’s heavy) and set it on an old towel or cardboard.
- Inspect the flange and wax ring.
- Scrape off old wax from both the flange and the bottom of the toilet with a putty knife.
- Check if the flange is cracked, too low, or corroded.
- Minor damage can be handled with repair rings; major damage might need a plumber.
- Install the new wax ring.
- Press the new wax ring onto the toilet outlet or onto the flange (follow ring instructions).
- Align new closet bolts in the flange slots so they stand upright.
- Reset the toilet carefully.
- Lift the toilet and lower it straight down over the bolts.
- Wiggle slightly to compress the wax; don’t twist hard.
- Add washers and nuts, then tighten alternating sides gradually—snug but not enough to crack the porcelain.
- Shim and caulk for stability.
- If there’s still a tiny wobble, slip plastic shims under the base until solid.
- Trim excess shim with a utility knife.
- Caulk around the base (leaving a small gap at the back to detect leaks) and smooth with a wet finger.
- Reconnect the water line, turn on the valve, and test for leaks.
5. Mystery Loose Outlets and Switches in Old Walls
Those “Not My Job” photos of outlets half-buried in tile or dangling from the wall? That’s often what you find behind old faceplates: devices not secured to the box, boxes sitting too deep, or no box at all.
Goal: Make outlets/switches sit solidly and flush with the wall for safety and appearance.
Safety note: If you’re not comfortable working around electrical, hire an electrician. Always turn off power at the breaker before starting.
You’ll need:
- Non-contact voltage tester
- Screwdriver set
- Outlet/switch spacers (or #6/32 machine nuts as improvised spacers)
- Longer device screws (if needed)
- Plastic electrical box extenders (if box is too deep)
- Level
Steps:
- Cut power and confirm it’s off.
- Turn off the breaker that feeds the outlet/switch.
- Verify with a non-contact voltage tester; do not skip this.
- Remove the faceplate and inspect.
- Unscrew the cover and gently pull it off.
- Check if:
- The outlet/switch is securely screwed to the box
- The electrical box sits recessed far behind the wall surface
- There’s an actual box (if not, call an electrician—this is a fire risk).
- Tighten any loose device first.
- If the outlet or switch is just loose, snug the mounting screws.
- Don’t overtighten; if the ears dig into soft drywall, you may need spacers or repair plates.
- Use box extenders for deep boxes.
- If the box sits more than ~1/4" behind the wall surface (common with tile or added paneling), install a plastic box extender.
- Remove device screws, slide the extender over the device and into the box, then reinstall screws.
- Add spacers to bring device flush.
- For devices that sink back when you tighten:
- Use purpose-made outlet spacers, stacking until the device face is flush with the wall surface.
- In a pinch, stack small #6/32 nuts on the screws behind the mounting ears as improvised spacers.
- Square it up.
- Before fully tightening, hold a small level against the device face.
- Adjust slightly so outlets and switches sit straight—tiny detail, big visual difference.
- Reinstall the cover and test.
- Screw on the faceplate; it should sit flat without bending.
- Turn power back on and test the outlet/switch function.
Conclusion
The “Not My Job” photos going viral right now are funny because they’re extreme—but the same mindset shows up in real houses all the time. Sloppy caulk, lazy paint lines, wobbly shelves, rocking toilets, and loose outlets are all symptoms of someone rushing just to be done.
You don’t need to accept those shortcuts in your own home. With a few basic tools and a methodical approach, you can quietly undo the “good enough” work left behind and upgrade it to something safe, solid, and clean.
Next time you see one of those meme-worthy fail photos, let it be a reminder: in your house, you’re the one who cares—and you’ve got the skills to fix it.
Key Takeaway
The most important thing to remember from this article is that following these steps can lead to great results.


