If you’ve scrolled social media this week, you’ve probably seen those “Not My Job” photo threads blowing up again—workers doing the absolute bare minimum in hilariously lazy ways. It’s funny when a crosswalk is painted over a manhole cover. It’s a lot less funny when the same attitude shows up in your kitchen: a new dishwasher that doesn’t drain, a stove that rocks when you open the door, or a washing machine that “was installed” but shakes like a jet on takeoff.
Those viral “Not My Job” moments are a good reminder of a very real problem: rushed or careless appliance installs. Even big-name retailers and contractors sometimes leave loose drain hoses, missing leveling, or half-done electrical work. The result? Odds are higher that you’ll be calling for a “repair” that’s really an install fix.
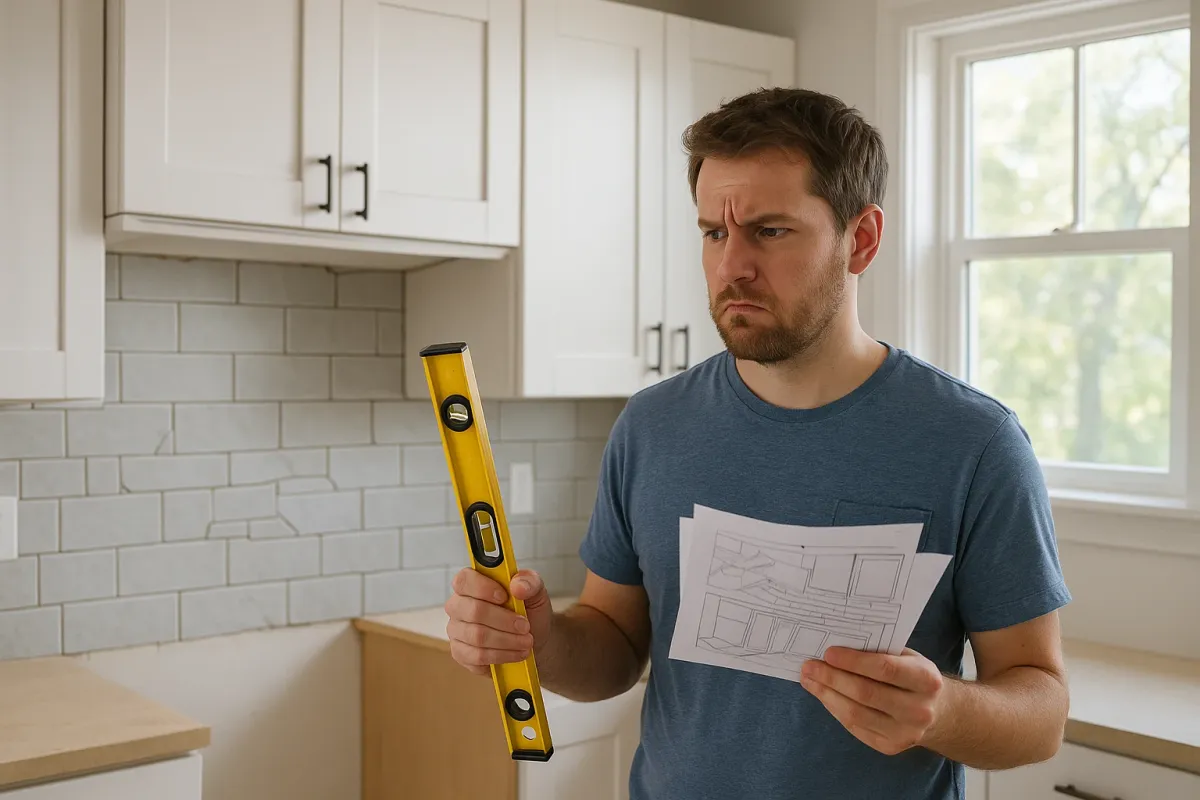
Here’s how to spot and safely correct the most common installer slip‑ups—before you waste money on a service call.
1. Dishwasher Won’t Drain After a “Professional” Install
A brand‑new dishwasher that leaves water in the bottom after the first run is often a plumbing shortcut, not a broken pump.
What usually went wrong
- The installer forgot to remove the knockout plug in the garbage disposal inlet.
- The drain hose was routed incorrectly (no high loop or air gap).
- The hose is kinked or crushed behind the machine.
Step‑by‑step check
Kill the power and water
Turn off the breaker to the dishwasher and close the water shutoff valve under the sink.
Check the garbage disposal inlet
- If your dishwasher drain hose connects to the side of a garbage disposal, disconnect the hose clamp. - Shine a flashlight into the nipple. If you see solid plastic blocking the opening, the knockout plug is still there. - Insert a flat screwdriver and gently tap with a hammer to knock it out. Remove the plastic piece from inside the disposal so it doesn’t jam the blades.
Inspect the drain hose path
- Pull the dishwasher out a few inches if you can. Look for kinks or crushed sections in the hose. - Under the sink, make sure the hose rises up to the underside of the countertop (a “high loop”) before dropping to the disposal or drain line. Use a clamp or zip tie to keep it high.
Check the sink’s branch tailpiece (if no disposal)
- If the hose is connected to a drain tailpiece, remove the hose clamp and inspect for any leftover plastic flashing or debris blocking the opening. - Clear anything you find and reattach firmly.
Test for proper drain
Turn the power and water back on, run a short cycle, and listen during the drain portion. The water should leave the tub and you should see a good flow into the disposal or drain.
When to call a pro:
If the dishwasher hums but doesn’t pump water out (and the hose/disposal inlet are clear), the drain pump or control board may be faulty—worth a warranty call if it’s brand new.
2. Wobbly Washing Machine After a “Quick” Delivery Setup
Those viral “lazy worker” photos often show half‑finished jobs. Washers suffer from the same issue: installers drop them in place and skip proper leveling to save time. The result is a washer that walks across the floor, bangs the walls, or throws error codes.
What usually went wrong
- Shipping bolts weren’t removed on front‑loaders.
- Leveling feet weren’t adjusted.
- The floor isn’t flat and no one compensated for it.
Step‑by‑step leveling
Check for shipping bolts (front‑loaders)
- Look at the back of the washer for large bolts or plastic brackets (usually 3–4) holding the drum. - Your user manual will show their exact location. Remove them with a wrench and install the provided hole covers.
Place a level on top of the machine
- Check side‑to‑side and front‑to‑back. - Even a slight tilt can cause violent shaking at high spin.
Adjust the front feet first
- Tilt the washer slightly back and lock it with a wedge or helper. - Turn the front feet: clockwise to lower, counterclockwise to raise. - Recheck with the level until it’s dead even.
Lock the jam nuts
- Most feet have a lock nut (jam nut) above the leg. Once level, tighten that nut against the bottom of the washer so the feet don’t move over time.
Stabilize the rear feet
- Some washers have self‑leveling rear feet—tip the unit forward about 1–2 inches, then gently set it back down. They auto‑adjust. - For manual rear feet, adjust like the front ones, using the level.
Test with a spin cycle
Run a spin‑only cycle with a few damp towels. If it still vibrates heavily, pause and redistribute the load. Light vibration is normal; walking is not.
When to call a pro:
If it’s level and unbolted but still slams hard or throws unbalanced codes with normal loads, the suspension rods, shocks, or drum bearings may be defective.
3. Gas Range That Smells “Off” After Being Swapped In
When gas appliances are rushed in by someone with a “not my problem” mindset, safety is the first casualty. A faint gas smell or uneven flames after a new install isn’t something to ignore.
What usually went wrong
- Flexible gas line not tightened fully or no gas‑rated pipe dope/tape used.
- Wrong orifices used (natural gas vs LP/propane).
- Range not leveled, causing uneven flame and poor oven baking.
Important: If you smell strong gas, hear hissing, or feel dizzy/nauseous—shut off gas at the main, ventilate, and call your gas utility or fire department. Do not troubleshoot.
Step‑by‑step basic checks (for minor issues only)
Level the range
- Place a level across the cooktop. - Adjust the leveling legs (usually accessed by removing the bottom drawer) until front‑to‑back and side‑to‑side are both level. - This helps burners burn evenly and keeps pans from sliding.
Check burner caps and heads
- Remove each burner cap and head, then reseat them carefully. Misaligned caps lead to yellow, lazy flames and poor performance. - Clean out visible debris in the ports with a soft brush or wooden toothpick—never a metal pin that can change the port size.
Observe the flames
- Turn burners on one at a time. - Healthy flame: mostly blue, small yellow tips okay, steady and quiet. - Troublesome flame: large yellow/orange flames, pulsing, or lifting away from the burner.
- Check supply type vs. range setup
- Confirm on your receipt or gas bill: natural gas or propane?
- Look at the rating plate on the range (inside drawer or door frame) to see what it’s configured for.
- If they don’t match, the installer should have converted it using the manufacturer’s LP or NG kit. Conversion is not a casual DIY—it affects safety and must be done per the manual.
Listen/smell near the flexible line (from a safe distance)
- With burners OFF, stand a couple of feet back and quietly listen for hissing. - If you’ve only got a faint, occasional whiff of gas when turning burners on/off and flames look normal, it may just be residual gas in the line—but any persistent smell is a sign to stop and call a licensed tech.
When to call a pro immediately:
Any continuous gas odor, noisy flames, or obvious mismatched gas type. Gas work isn’t the place to experiment.
4. Refrigerator Door That Doesn’t Seal After a Door‑Swap Install
Refrigerator doors get reversed or removed for delivery all the time. In a rush, installers may mis‑align the hinges or skip adjusting the feet. You end up with doors that don’t close fully, gaps in the gasket, or a fridge that constantly sweats and runs.
What usually went wrong
- Hinge bolts not tightened while doors were properly aligned.
- Unit not leveled front‑to‑back or side‑to‑side.
- Door gasket twisted or pinched during re‑hanging.
Step‑by‑step alignment
Level the cabinet first
- Use a level across the top front of the fridge. - Adjust front feet or rollers until it’s slightly higher in the front than the back. This helps doors swing closed on their own.
Check for cabinet twist
- Place the level on the left side, then the right side. - If one side is high or low, adjust that foot or roller until both sides match. A twisted cabinet makes doors sit crooked.
Inspect the gasket
- Run your hand around the entire gasket (door seal). Feel for twists, folds, or hard spots. - Use a hair dryer on low to gently warm wrinkled areas, then massage them into shape. Don’t overheat—warm, not hot.
Adjust top hinge (if available)
- Most fridges have some play in the top hinge. With the door open slightly: - Loosen (don’t remove) the hinge screws. - Lift or nudge the door so it lines up with the other door or cabinet. - Tighten the screws while holding it in place.
Test the seal with the “paper test”
- Close the door on a sheet of paper at several spots around the perimeter. - You should feel light resistance when pulling the paper out. - If it slides out easily in one area, focus hinge adjustments and gasket massage there.
Watch for automatic close
- Open the door about 3–4 inches and let go. On a properly leveled fridge, it should gently close itself.
When to call a pro:
If the gasket is torn, hardened, or shrunk, or if the frame itself looks twisted from transport damage.
5. Dryer Taking Forever After a New Vent Hookup
Many of those “Not My Job” photos show people doing just enough to say it’s “technically” done. Dryer vents are a classic victim of that mentality: flimsy ducts, long, crushed hoses, or vents shoved into walls without proper termination. The result is clothes that never fully dry and a major fire hazard.
What usually went wrong
- Foil or plastic duct used instead of rigid or semi‑rigid metal.
- Duct is too long, has sharp bends, or is crushed behind the dryer.
- Exterior vent flap stuck shut or clogged with lint.
Step‑by‑step airflow rescue
Unplug the dryer
Safety first—always disconnect power before moving the unit.
Pull the dryer out gently
- Create just enough space to work behind it without stretching the duct too hard. - Inspect the duct: look for kinks, crushed sections, or flimsy plastic tubing. Plastic or vinyl is a fire risk and should be upgraded to metal.
Check and shorten the duct if possible
- The shorter and straighter the run, the better. - Replace crushed or overly long flex duct with semi‑rigid metal. - Avoid sharp 90° bends right at the back of the dryer; use smooth, sweeping turns.
Secure all connections
- Use proper worm‑gear clamps, not duct tape, at joints. - Tape dries out and fails; you want mechanical connections that stay tight.
Inspect the exterior vent hood
- Go outside and locate the hood. Make sure the flap opens freely and isn’t jammed with lint, paint, or caulk. - Clean out any lint with a brush or vacuum attachment. - Run the dryer on air‑only (no heat) briefly and confirm strong airflow at the vent.
Look for signs of venting into walls or ceilings
- If the installer simply routed duct into a wall cavity or attic without a proper exit, stop using the dryer and have the vent corrected professionally. This is a serious fire and moisture risk.
When to call a pro:
If your vent run goes through multiple floors or the roof, or you suspect it’s not properly terminated outdoors. Roof penetrations especially are best handled by qualified techs.
Conclusion
Those viral “Not My Job” photos are funny until that same attitude is connected to your appliances—and your safety. In the real world, rushed or careless installations can make brand‑new machines behave like they’re broken, waste energy, and sometimes create real hazards.
By learning a few practical checks—leveling, gasket alignment, basic hose routing, and vent inspection—you can fix a lot of what the installers left undone and avoid unnecessary service calls. The key is knowing where DIY ends: gas leaks, major electrical work, or structural vent changes should go straight to licensed pros.
Next time a delivery crew rolls out in a hurry, take ten minutes to double‑check their work. Your dishwasher, washer, range, fridge, and dryer will last longer, run safer, and actually perform like the shiny “new” appliances you paid for.
Key Takeaway
The most important thing to remember from this article is that following these steps can lead to great results.


