If your car is making new noises or flashing warning lights, you don’t always have to sprint to the shop. Some issues really do require a pro—but plenty of basic repairs and checks are well within reach for a careful DIYer. With a few tools, some patience, and a bit of know‑how, you can safely tackle small jobs that keep your car reliable and your repair bills under control.
This guide walks through five practical, step‑by‑step repair tasks that are realistic for a weekend mechanic, plus how to know when to stop and call a professional.
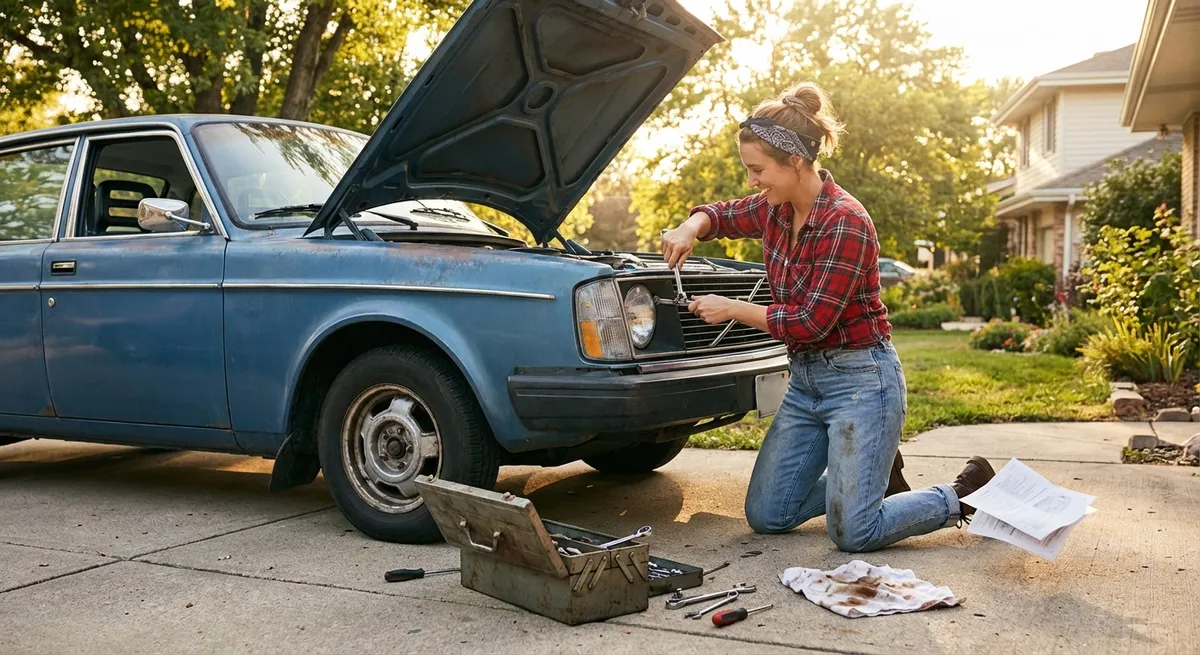
Safety and Prep: What to Do Before Any DIY Car Repair
Before you touch a bolt or pop a hood, get your setup right. Good preparation can be the difference between a clean fix and a painful mistake.
First, park on a flat, stable surface, engage the parking brake, and keep the car in Park (automatic) or in gear (manual). Never rely on a jack alone to hold up a car—always use jack stands rated for your vehicle’s weight, positioned at the manufacturer’s recommended jacking points. If you’re working around belts or fans, disconnect the negative battery terminal to prevent accidental starts and electrical shorts. Lay out your tools and parts beforehand so you’re not scrambling mid‑repair. Wearing safety glasses and gloves is not overkill: rusty brake dust, splashing coolant, or slipping tools can cause real damage in a split second. Finally, take photos before you disassemble anything. Those pictures are priceless when you’re trying to remember where that last clip or connector goes.
Step‑By‑Step Repair Tip #1: Replacing Worn Brake Pads
Brake pads are consumables—designed to wear out and be replaced. If you hear squealing when you brake (especially at low speeds), or a metal‑on‑metal grinding sound, your pads may be due. This is one job some DIYers can tackle, but if you’re unsure at any point, don’t experiment with your brakes—stop and seek help.
Basic steps:
- Confirm the problem. Look through the wheel spokes or remove the wheel to visually inspect pad thickness. A typical rule: if the friction material is about 3 mm (1/8 in) or less, it’s time to replace.
- Secure the vehicle. Loosen the lug nuts slightly, jack up the car, set it securely on jack stands, and remove the wheel completely.
- Remove the caliper. Locate the caliper bolts on the back side of the brake assembly. Remove them and carefully slide the caliper off the rotor. Don’t let it hang by the hose—support it with a bungee cord or wire.
- Remove old pads and hardware. Slide the old pads out of the caliper bracket. Note their position. Remove any old clips or shims the new kit replaces.
- Compress the caliper piston. Using a C‑clamp or a dedicated brake caliper tool, slowly push the piston back into the caliper housing so the new, thicker pads will fit. Keep an eye on brake fluid level in the master cylinder to avoid overflow.
- Install new pads and hardware. Clip in new abutment clips or shims if included, then slide in the new pads, applying high‑temp brake grease only where the pad backs contact the hardware (never on the friction surface).
- Reassemble and torque properly. Reinstall the caliper over the pads, torque the caliper bolts to the manufacturer spec, reinstall the wheel, and torque lug nuts in a star pattern.
- Bed in the pads. Before driving normally, pump the brake pedal until firm to seat the pads against the rotors. Follow your pad manufacturer’s bedding procedure—typically a series of controlled stops from moderate speeds.
Stop and get professional help if the caliper is seized, the rotor is heavily scored or cracked, or you see fluid leaks around brake hoses or calipers.
Step‑By‑Step Repair Tip #2: Diagnosing and Replacing a Dead Battery
A weak or dead battery is one of the most common reasons a car won’t start. If your engine cranks slowly, lights dim when you start, or you hear clicking without cranking, your battery may be failing.
Basic steps:
- Check for obvious issues. Pop the hood and inspect the battery terminals. Look for heavy white/green corrosion buildup, loose clamps, or damaged cables.
- Test the battery (if you can). A basic multimeter can give you a quick health check: around 12.6 volts or a bit higher with the engine off is healthy; below ~12.2 volts suggests a low or weak battery. Many auto parts stores will test batteries and charging systems for free.
- Disconnect safely. Turn the car off and remove the key. Disconnect the negative (–) terminal first, then the positive (+). This reduces the risk of short circuits.
- Remove the old battery. Loosen any hold‑down bracket or strap, then lift the battery straight up. They’re heavy—lift carefully and keep it upright to avoid spilling any residual acid.
- Clean the connection points. Use a battery terminal brush or small wire brush to clean the inside of the cable clamps and the battery tray. Remove corrosion from hardware.
- Install the new battery. Place it into the tray in the same orientation as the original, secure the hold‑down bracket, and confirm it doesn’t move.
- Reconnect terminals correctly. Connect the positive (+) terminal first, then the negative (–). Tighten clamps firmly but don’t overtighten.
- Verify operation. Start the car and watch for dash warnings. If the battery light stays on or lights flicker, your alternator or charging system may need attention.
If your new battery dies quickly or the car stalls while driving, don’t keep replacing batteries—have the charging system checked by a pro.
Step‑By‑Step Repair Tip #3: Swapping a Burned‑Out Headlight Bulb
Driving with one headlight could get you a ticket—and it’s a safety hazard. Replacing most headlight bulbs is straightforward once you can reach the bulb housing.
Basic steps:
- Confirm the bulb type. Check the owner’s manual or look up your make/model/year on a reputable parts site to find the correct bulb (e.g., H11, 9005, etc.).
- Access the headlight assembly. Open the hood and look behind the headlight. In many cars, you can access the bulb from the engine bay. In some models, you might have to remove a cover, air intake duct, or wheel‑well liner.
- Disconnect the wiring connector. Press the tab and gently pull the connector off the back of the bulb.
- Remove the old bulb. Typically, you’ll twist the bulb counterclockwise to release it. Note how it’s oriented.
- Install the new bulb correctly. Avoid touching the glass portion—skin oils can shorten bulb life. Hold it by the base, align the tabs, insert it, and twist clockwise until it locks.
- Reconnect and test. Plug the wiring connector back in securely, turn on the headlights, and verify both low and high beams (if applicable) work.
- Reinstall any covers or panels. Snap or screw back any components you removed for access.
Don’t upgrade to significantly higher‑wattage bulbs than stock without checking your wiring and housings; excess heat can damage plastic components.
Step‑By‑Step Repair Tip #4: Repairing a Slow Tire Leak With a Plug Kit
A nail or screw in your tire doesn’t always mean an instant replacement. A simple plug kit can fix many small tread punctures long enough to get you safely back on the road or to a tire shop.
Basic steps:
- Locate the leak. Inflate the tire to the recommended pressure. Spray soapy water over the tread and watch for bubbling to spot the puncture.
- Check if it’s plug‑eligible. Only repair small holes (usually up to about 1/4 in or 6 mm) in the tread area—not sidewalls or shoulder areas. If the damage is bigger or on the sidewall, replace the tire.
- Remove the object. Use pliers to pull out the nail or screw straight out from the tread.
- Prepare the hole. Use the rasp tool from your plug kit to clean and slightly enlarge the puncture, pushing in and out a few times. This helps the plug bond properly.
- Load the plug. Thread a plug strip into the eye of the insertion tool until it’s centered, forming a “U” shape.
- Insert the plug. Push the loaded tool into the puncture until about two‑thirds of the plug is inside the tire, then quickly pull the tool straight out. The plug should remain in the hole.
- Trim and test. Cut off excess plug material flush with the tread, inflate the tire to spec, and apply soapy water again to confirm there’s no more bubbling.
- Monitor carefully. Drive cautiously at first and recheck tire pressure the next day. Consider a professional patch‑from‑the‑inside repair if you want a longer‑term fix.
Never plug a tire with visible internal damage, a large gash, or any sidewall injury—those are safety‑critical failures that require replacement.
Step‑By‑Step Repair Tip #5: Fixing a Loose or Squealing Serpentine Belt
The serpentine belt drives your alternator, power steering pump, and sometimes your water pump and A/C compressor. If it squeals on startup or you see cracking or glazing, it may be loose or worn.
Basic steps:
- Identify the belt and routing. Look under the hood for a belt routing diagram sticker. If there isn’t one, take a clear photo before removing anything.
- Inspect the belt. With the engine off, look for cracks, missing chunks, shiny glazed areas, or fraying. If any are present, plan to replace the belt, not just adjust it.
- Locate the tensioner. Most modern cars use a spring‑loaded automatic tensioner with a pulley. You’ll typically need a wrench or ratchet to rotate it and relieve tension.
- Relieve tension and remove the belt. Place the wrench on the tensioner bolt, rotate it in the specified direction to slacken the belt, and slip the belt off one pulley. Then carefully release the tensioner and remove the belt entirely.
- Compare the new belt. Match the new belt’s length and rib count with the old one to ensure it’s correct.
- Route the new belt. Following your diagram, loop the belt around all pulleys except the tensioner’s. Keep ribs aligned in the pulley grooves and avoid twisting the belt.
- Set final tension. Rotate the tensioner again, slip the belt over its pulley, and slowly release tension so the belt tightens. Double‑check routing and alignment.
- Test run. Start the engine and listen for abnormal noises. Watch the belt briefly to confirm it’s running smoothly and centered on each pulley.
If the belt squeals even with a new belt and correct tension, you may have a failing pulley bearing or misaligned accessory, which is a job for a professional.
Conclusion
You don’t need a full shop or a mechanic’s badge to take control of basic auto maintenance. With common tools and a plan, you can replace brake pads, swap a dead battery, fix a headlight, plug a minor tire puncture, and install a new serpentine belt—all repairs that keep your car safer and more reliable while shrinking your repair budget.
Know your limits: any time a repair involves critical safety systems you’re unsure about, structural damage, or complex electronics, step back and call a pro. But for the straightforward jobs covered here, a little confidence and careful attention can make your next weekend in the driveway surprisingly productive—and a lot cheaper than another trip to the shop.
Sources
- [National Highway Traffic Safety Administration (NHTSA) – Vehicle Maintenance Tips](https://www.nhtsa.gov/equipment/tires) - Federal safety guidance on tire maintenance and repair basics
- [AAA – Car Battery Testing & Replacement](https://exchange.aaa.com/automotive/automotive-testing-and-research/car-battery-testing-and-replacement/) - Explains battery lifespan, failure signs, and safe replacement practices
- [Bridgestone – Tire Repair Guidelines](https://www.bridgestonetire.com/learn/maintenance/flat-tire-repair/) - Details when a punctured tire can be safely repaired and when it must be replaced
- [Bureau of Automotive Repair (CA.gov) – Consumer Automotive Repair Basics](https://www.bar.ca.gov/consumers/auto-repair-basics) - Government guidance on common auto repairs and when to seek professional help
- [CarTalk – How to Replace Brake Pads](https://www.cartalk.com/blogs/car-talk-service-advice/how-replace-brake-pads) - Step‑oriented overview of DIY brake pad replacement and safety notes
Key Takeaway
The most important thing to remember from this article is that this information can change how you think about Auto Repair.


