When something breaks at home, it’s easy to think, “I’ll deal with that later.” Then “later” turns into months of workaround solutions and growing frustration. The good news: many common issues don’t need a pro, just a bit of time, basic tools, and a clear plan.
This guide walks you through five practical, step‑by‑step home repairs that most DIY enthusiasts can handle safely. Each one is chosen because it actually makes your daily life easier and can prevent bigger problems (and bills) down the road.
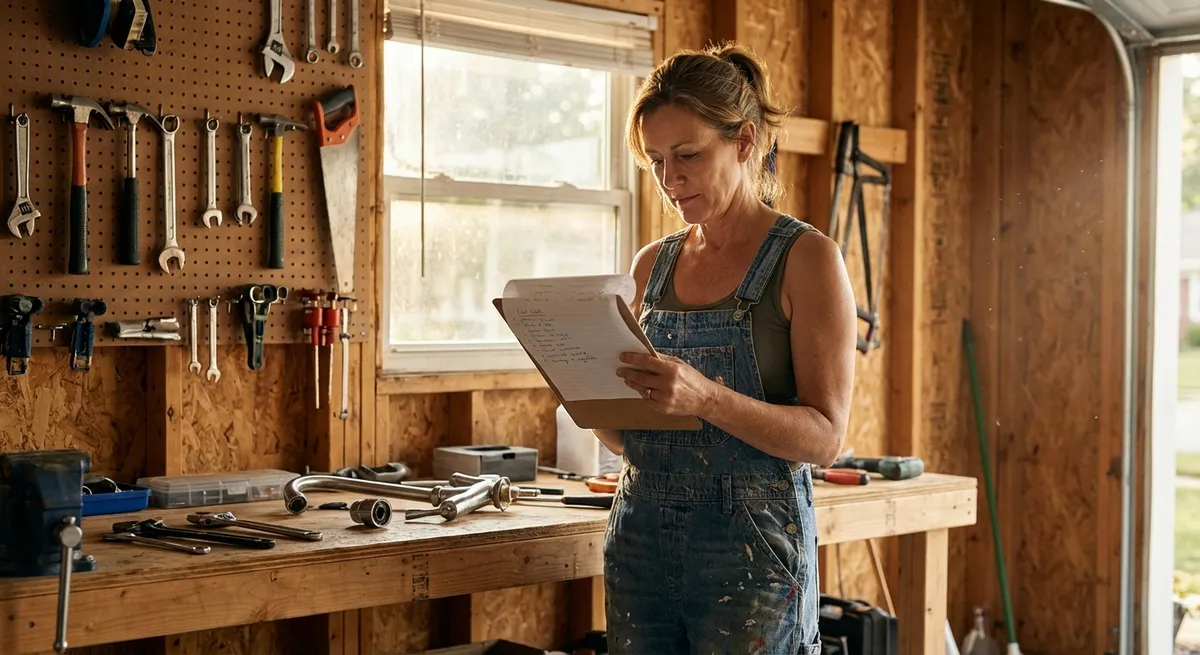
Before You Start: Safety and Setup
Even simple repairs can go wrong if you rush or skip basics. A calm, organized setup will save you time and prevent damage.
Key safety checks and prep:
- Power off first. For anything electrical or involving an outlet/switch: turn off the right circuit at the breaker panel and test that it’s truly off.
- Water off when needed. Any plumbing fix that opens a line or fitting should start with shutting off the water supply and relieving pressure.
- Use the right tools. A basic kit (screwdrivers, adjustable wrench, pliers, tape measure, utility knife, drill/driver, level, stud finder) covers most repairs here.
- Take photos before disassembly. A quick phone photo of wiring, parts, or hardware makes reassembly much easier.
- Know when to stop. If you see damaged wiring, structural issues, mold, or anything you don’t understand—pause and get professional advice.
Repair 1: Quiet a Loose, Wobbly Door (Without Replacing It)
A door that sticks, sags, or won’t latch can make the whole house feel poorly maintained. Often, the fix is as simple as tightening and adjusting what’s already there.
Step-by-step: Fix a sagging or misaligned interior door
- Inspect the hinges and screws.
Open the door halfway. Gently lift up on the doorknob. If you feel movement at the hinges, they’re likely loose. Check for missing or stripped screws.
- Tighten the existing screws.
Using a screwdriver (hand tool is safer than power here), tighten the screws in the hinge leaves on both the door and the frame. Don’t overtighten into soft wood; stop when snug.
- Replace stripped screws with longer ones.
If a screw just spins, it’s stripped. Remove it and replace with a longer screw (often 2.5"–3" wood screws), especially in the top hinge. Drive the new screw into the wall stud behind the jamb to pull the door back into alignment.
- Test the latch alignment.
Close the door gently. If it hits the frame before the latch engages, or the latch won’t catch, mark where it’s rubbing with a pencil or painter’s tape.
- Adjust minor rubbing with sandpaper or a hand plane.
For small rubs (paint scuffing, slight binding), sand the edge of the door where it contacts the frame. Take off a little at a time, test frequently, and repaint the edge if needed.
- Realign the strike plate if needed.
If the door closes smoothly but the latch doesn’t engage properly, remove the strike plate on the frame. Move it slightly up or down to match where the latch hits, then reattach. For a small change, you can file the opening larger with a metal file instead of moving the plate.
- Lubricate hinges to stop squeaks.
Place a rag under the hinge, apply a few drops of multipurpose oil or silicone spray to the hinge pin area, and swing the door open and closed several times to distribute it.
When to call a pro: If the frame itself is cracked, out of square, or pulling away from the wall, or if there’s evidence of water damage or shifting foundation, bring in a contractor.
Repair 2: Stop a Slow Sink Drain Without Harsh Chemicals
A sluggish bathroom or kitchen sink is usually caused by hair, soap scum, or grease buildup—not a broken pipe. Clearing it mechanically is safer for your plumbing and the environment than pouring chemicals.
Step-by-step: Clear a slow bathroom sink drain
- Remove standing water.
If the sink is backed up, bail out excess water with a cup into a bucket so you can access the drain.
- Check and clean the stopper.
Many clogs collect right at the stopper. If it’s a lift‑rod style:
- Look under the sink for the horizontal pivot rod going into the drainpipe.
- Loosen the retaining nut holding the rod (usually by hand or with pliers).
- Slide the rod out. Now you can pull the stopper straight up from the sink.
- Clean off hair and gunk, then rinse the stopper.
- Use a non‑metal drain snake or zip tool.
Insert a plastic drain cleaning strip or a small, flexible drain snake into the drain opening. Push down gently, then pull up slowly, twisting slightly. Remove debris, repeat until you’re not pulling anything out.
- Flush with hot water.
Reinstall the stopper assembly (reverse of step 2), then run very hot tap water for a few minutes to flush loosened residue.
- Clean the P‑trap if it’s still slow.
If the drain is still sluggish:
- Place a bucket under the curved P‑trap under the sink.
- Loosen the slip nuts on both ends of the trap by hand or with adjustable pliers.
- Remove the trap, dump water and debris into the bucket, and clean the inside.
- Reassemble the trap, ensuring washers are seated properly, and hand‑tighten the nuts.
- Check for leaks.
Run water and inspect all joints you loosened. Tighten slightly if you see drips—avoid overtightening plastic fittings.
Avoid: Chemical drain cleaners can damage older pipes and finishes, and they’re hazardous to handle, especially if you later need to open the plumbing.
Repair 3: Fix a Running Toilet That Wastes Water
A constantly running toilet is one of the most common (and costly) household leaks. The fix is usually in the tank and doesn’t require opening any pipes.
Step-by-step: Stop a toilet from running
- Remove the tank lid and observe.
Carefully lift off the porcelain lid (it’s heavy and fragile). Flush once while watching inside the tank so you see how the parts move.
Identify the main parts:
- Fill valve (where water comes in) - Float (controls water level) - Flapper (rubber seal at bottom of tank) - Overflow tube
- Check the water level.
When the tank is full and the toilet at rest, the water level should be about 1 inch below the top of the overflow tube. If it’s higher, it may be spilling into the tube and running constantly.
- Adjust the float.
- For a float arm and ball: Turn the screw at the top of the fill valve to lower the arm slightly.
- For a vertical float cup: Squeeze the adjustment clip on the rod and slide the float down a bit.
Flush and refill; adjust until the water stops at the correct height.
- Inspect and test the flapper.
Turn off the water at the shutoff valve behind the toilet and flush to empty the tank. Check the rubber flapper for warping, cracking, or buildup. If it’s stiff or deformed, replace it (they’re inexpensive and standardized by size).
- Replace the flapper if needed.
- Unhook the old flapper from the overflow tube and detach the chain from the flush handle.
- Install the new one in the same position, adjusting the chain so there’s a tiny bit of slack but not so much that it tangles.
- Turn water back on and test.
Refill the tank, watch for leaks, and listen. If the toilet stops running and doesn’t restart, you’re done. If it still cycles on and off, the fill valve may be worn and require replacement as a unit (still a DIY‑friendly job with the right kit).
Bonus tip: Put a few drops of food coloring in the tank (not the bowl). If color appears in the bowl without flushing, your flapper is definitely leaking and needs replacement.
Repair 4: Patch a Small Hole in Drywall So It’s Practically Invisible
Door knobs, kids’ toys, or moving furniture can leave annoying holes in drywall. With the right steps, you can repair them cleanly without a visible bump or crater.
(This method is for nail holes and small dings up to about 2" wide. Larger damage often needs a backing patch.)
Step-by-step: Repair a small drywall hole
- Clean and slightly shape the hole.
Use a utility knife to cut away loose paper and crumbly edges. Slightly bevel the edge of the hole so compound can grip better.
- Lightly sand around the area.
Using fine‑grit sandpaper (120–220), scuff about 2–3 inches around the hole to help new compound bond and feather smoothly.
- Apply patch (if needed).
For holes 1–2" wide:
- Use a self‑adhesive mesh patch slightly larger than the hole.
- Center it over the damage and press firmly.
- First coat of joint compound.
Using a 4–6" putty knife, apply a thin layer of premixed joint compound over the hole or patch, pressing firmly to push it into gaps. Smooth outward so it’s thin at the edges.
- Let it dry completely.
Dry time varies by product and humidity (often several hours or overnight). Rushing this step leads to cracking and roughness.
- Sand and apply a second coat.
Lightly sand the area to remove ridges, then apply a wider, thinner coat of compound using an 8–10" knife. Feather it out further to blend with the wall surface.
- Final sand and inspection.
After fully dry, sand again with fine‑grit paper until the patch is smooth and flush. Run your hand over it with your eyes closed—you’ll feel imperfections more easily than you see them.
- Prime before painting.
Apply primer over the repaired area to prevent flashing (a visible difference in sheen or color). Once dry, paint the patch and surrounding wall.
Pro tip: Keep a small labeled container of your wall paint on hand. If you repaint occasionally, write the color, brand, and finish on the can so touch‑ups actually match.
Repair 5: Replace a Cracked or Discolored Outlet Cover Safely
Outlet covers and switch plates get cracked, painted over, or grimy. Swapping them out is a fast fix that improves both safety and appearance—but you still need to treat it like an electrical job.
Step-by-step: Change a damaged outlet or switch cover
- Turn off power to the circuit.
Go to your breaker panel and switch off the circuit serving the outlet or switch. If you’re not sure which breaker, turn off the main room breaker and verify.
- Confirm power is off.
Plug in a small lamp or use a non‑contact voltage tester at the outlet/switch. Only proceed when you’re sure it’s dead.
- Remove the existing cover.
Use a flathead or Phillips screwdriver to remove the center screw(s) and gently pull the cover away. If it’s stuck to paint, score around the edges with a utility knife first to avoid tearing wall paint.
- Inspect the electrical box and device.
Check for signs of heat damage (burn marks, melted plastic), loose wires, or a loose outlet/switch. If you see any of these, stop and consult a licensed electrician.
- Clean the edges.
Wipe away dust or debris around the box and lightly scrape away paint ridges so the new cover sits flat.
- Install the new cover plate.
Align the new cover over the outlet or switch. Insert the screw(s) and hand‑tighten until snug. Don’t overtighten; it can crack the cover or distort the device.
- Restore power and test.
Turn the breaker back on, then test the outlet with a lamp or tester, or flick the switch to confirm everything works as before.
Important: This guide only covers replacing the cover plate, not rewiring an outlet or switch. If the device itself is damaged or loose, consider having a professional replace it unless you’re fully comfortable with basic electrical work and local code requirements.
Conclusion
Many problems around the house look bigger than they are. A crooked door, slow drain, running toilet, wall ding, or cracked outlet cover can all be tackled in an afternoon with simple tools and a calm, step‑by‑step approach.
Each repair you complete builds your confidence for the next one. Start with the issue that bothers you the most, set aside a focused block of time, and follow the steps carefully. If something seems unsafe or beyond your comfort zone, pause and get help—that’s part of being a smart DIYer too.
Sources
- [U.S. Department of Energy – WaterSense: Fixing Leaks at Home](https://www.epa.gov/watersense/fix-leak-week) - Explains how common household leaks (including toilets and faucets) waste water and offers basic guidance on fixing them
- [Family Handyman – How to Fix a Running Toilet](https://www.familyhandyman.com/project/how-to-fix-a-running-toilet/) - Detailed walkthrough of diagnosing and repairing running toilet problems
- [This Old House – How to Repair Drywall](https://www.thisoldhouse.com/walls/21016477/how-to-repair-drywall) - Step‑by‑step instructions and visuals for patching different sizes of drywall damage
- [Home Depot – Sink Drain Repair and Maintenance](https://www.homedepot.com/c/ab/how-to-fix-a-slow-draining-sink/9ba683603be9fa5395fab901d6baa4f) - Practical guide on clearing slow drains and cleaning P‑traps
- [U.S. Consumer Product Safety Commission – Electrical Outlet Safety](https://www.cpsc.gov/s3fs-public/513.pdf) - Safety recommendations related to outlets, covers, and electrical hazards in the home
Key Takeaway
The most important thing to remember from this article is that this information can change how you think about Home Repairs.


