Everyday driving quietly wears your car down long before anything “big” breaks. The upside: a lot of those small annoyances and early warning signs are fixable in your driveway with basic tools. This guide walks through five practical repair jobs many DIYers overlook—but absolutely can handle. Each one improves safety, comfort, or reliability, and helps you spot bigger problems before they get expensive.
Before You Start: Tools, Safety, and Setting Limits
Even simple repairs go smoother when you prep properly. At minimum, you’ll want a basic toolkit: metric and SAE sockets, a ratchet, screwdrivers, pliers, a torque wrench, jack and jack stands, a tire pressure gauge, a multimeter, and a work light or headlamp. Keep disposable gloves, shop towels, and a drip pan handy; they make cleanup and inspection easier.
Safety is non‑negotiable. Always work on a flat surface, engage the parking brake, and use wheel chocks when lifting the car. Never trust a jack alone—always support the vehicle on properly rated jack stands placed at manufacturer-recommended points. Disconnect the negative battery cable before working on electrical components near airbags or sensitive electronics. If you hit a step that requires special tools you don’t have (spring compressors, scan tools, press tools) or access to safety‑critical systems like airbags or high-pressure fuel lines, that’s your sign to pause and consider a professional.
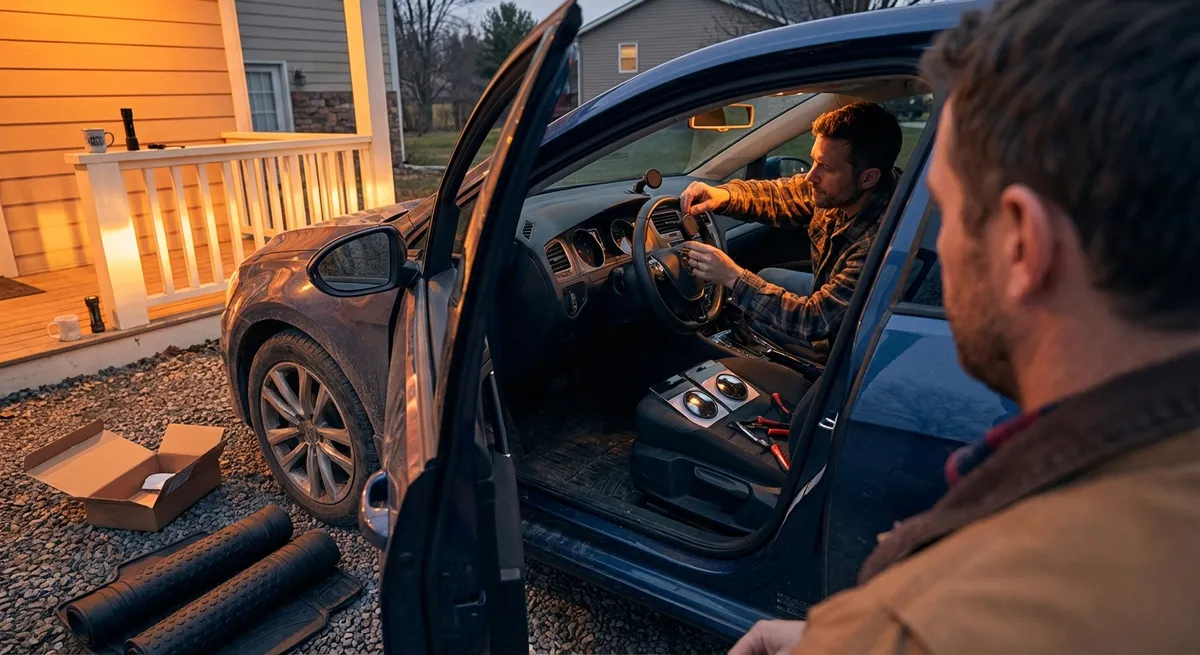
Step 1: Track Down and Fix That Mystery Rattle
Annoying rattles and clunks are more than just noise—they’re often early clues that something’s loose or wearing out. Start by confirming when the noise happens: over bumps, while braking, only at certain speeds, or when turning. A short, focused test drive with the radio off and windows slightly open can help you pinpoint the area (front, rear, left, right). Make a quick note; vague symptoms are harder to diagnose later.
With the car parked and cool, open the hood and gently push on major components: battery, airbox, coolant reservoir, and engine covers. Tighten any obviously loose brackets or fasteners. Next, check the underbody and wheel wells for loose plastic splash shields or liners—these commonly come loose and slap against the car at speed. Use the correct fasteners (clips or screws) to secure them; don’t rely on zip ties where heat or moving parts are nearby. Inside the cabin, inspect door pockets, glovebox, and the spare tire area for loose items. A seemingly “mechanical” rattle is often just a jack or lug wrench bouncing around. After each fix, repeat a short test drive. If the sound persists or you feel a thud that seems tied to steering, suspension, or braking, stop guessing and schedule a professional inspection—suspension and steering issues are safety-critical.
Step 2: Restore Headlight Clarity Instead of Replacing Assemblies
Cloudy, yellowed headlights reduce nighttime visibility and make your car look older than it is. You can restore a surprising amount of clarity in an afternoon without buying new assemblies. Start by washing the headlight lenses with car soap and water, then drying them thoroughly. Tape off the paint around the headlights with painter’s tape; plastic polishing can easily scuff painted surfaces if you slip.
Use a headlight restoration kit or wet/dry sandpaper (typically 600, 1000, then 2000 grit) following the product’s instructions. Work in horizontal or vertical strokes, keeping the surface wet and rinsing frequently to remove plastic dust. Once the lens looks evenly frosted, switch to the next finer grit until the surface is smooth and uniform. Then apply the included polish or plastic compound with a microfiber cloth or foam pad, buffing until the lens clears up. The most important step is sealing: apply the UV protectant from the kit or a clear headlight sealant to slow future yellowing. Skipping this step will make the haze return faster. Check your results at night in a safe area; if the beam still looks weak, you may also need to replace old bulbs or realign the headlights according to factory specs.
Step 3: Fix One Sticking Brake Caliper Before It Ruins the System
A sticking brake caliper often shows up as a burning smell, the car pulling to one side while braking, or one wheel that’s much hotter than the others after a short drive. If you suspect this, first confirm with a careful touch test: after a normal drive, park safely, don’t set the parking brake, and carefully hover your hand near each wheel (without touching metal parts). One wheel radiating noticeably more heat indicates a problem. Let everything cool completely before working.
Safely lift the car and remove the wheel from the suspected corner. Inspect the brake pads—if one pad is worn far more than its mate or the rotor looks discolored (blue or dark spots), the caliper may be binding. For a mild sticking issue, you can often improve things by cleaning and lubricating the caliper slide pins. Remove the caliper (following a repair manual for your specific car) and gently slide out the pins. Wipe off old grease and debris, then apply a high-temp brake lubricant specifically rated for caliper hardware. Avoid getting lubricant on the pad friction surfaces or rotor. Reassemble using the correct torque specs for caliper bolts. If the piston boot is torn, fluid is leaking, or the piston won’t retract smoothly even with the bleeder open, that caliper needs rebuilding or replacement—this is not the time to improvise. After any brake work, pump the brake pedal before driving to restore firm pedal feel, then test braking at low speed in a safe area.
Step 4: Solve Electrical Gremlins with Smart Fuse and Ground Checks
Intermittent power windows, flickering lights, and random accessory failures can often be traced back to simple issues: blown fuses or corroded grounds. Start with your owner’s manual to locate the main fuse boxes (often one under the dash and one under the hood) and identify the fuse that protects the failing circuit. With the ignition off, pull the suspect fuse using a fuse puller or needle-nose pliers and inspect it against a bright background. A broken internal link or burn mark indicates a blown fuse; replace it only with one of the same amperage rating.
If fuses keep blowing, don’t just keep feeding them—something is shorting in that circuit. That’s your cue to stop and either trace the wiring with a detailed diagram or involve a professional. For flaky or weak circuits (dim interior lights, odd sensor behavior), locate and inspect the main ground connections: typically thick black or braided straps connecting the battery negative to the body and engine. Look for white or green corrosion, loose bolts, or frayed strands. Disconnect the battery negative terminal first, then remove the ground bolt and clean both contact surfaces with a wire brush or abrasive pad until shiny metal is exposed. Reinstall tightly and reconnect the battery. Many “ghost” electrical issues clear up after this step alone. If you’re working near airbag modules, steering columns, or high-voltage hybrid components, follow manufacturer safety procedures or leave that area to a qualified technician.
Step 5: Refresh Cabin Air and Stop Window Fog with a Simple Filter Swap
Persistent window fog, musty smells when you run the fan, or weak airflow from the vents often point to a dirty cabin air filter. Many drivers don’t realize this filter exists, but it’s usually easy to replace and has a big impact on comfort and defogging performance. Check your owner’s manual for the filter location; common places include behind the glovebox or under the cowl at the base of the windshield. Clear out the glovebox or trim panel, then carefully unclip or unscrew any retainers to access the filter housing.
Before pulling the old filter, note the airflow direction arrow; you’ll need to match that orientation on the new filter. Slide the old filter out slowly—it may shed leaves, dust, and debris. Use a vacuum to clean out the housing and surrounding area, then install the new filter with the arrow pointing in the same direction as the original. Reassemble the glovebox or trim and test the fan at all speeds. You should notice stronger airflow and better defogging, especially in damp weather. If windows are still slow to clear, check that you’re using the A/C in defrost mode and that the recirculation setting is off when trying to remove moisture. This small maintenance task also takes stress off your blower motor, helping it last longer.
Conclusion
You don’t need a lift, a full toolbox, or a mechanic’s certification to make your car safer, quieter, and more pleasant to live with. By tackling “small” issues like rattles, cloudy headlights, mild brake drag, annoying electrical glitches, and clogged cabin filters, you’re not just solving daily headaches—you’re catching wear and tear before it snowballs into bigger repairs. Start with one job that matches your comfort level, follow each step carefully, and keep notes on what you’ve done. Over time, those small wins add up to a car that feels tighter, drives better, and costs less to keep on the road.
Sources
- [National Highway Traffic Safety Administration (NHTSA) – Vehicle Maintenance Tips](https://www.nhtsa.gov/features/vehicle-maintenance) - Official U.S. government guidance on basic maintenance and safety checks
- [Federal Trade Commission – Auto Repair Basics](https://consumer.ftc.gov/articles/auto-repair-basics) - Consumer-focused overview of common auto repair issues and how to handle them
- [AAA – Headlight Restoration and Visibility](https://newsroom.aaa.com/2019/10/cloudy-headlights-cut-night-visibility-80-percent/) - Data and recommendations on restoring cloudy headlights and improving night driving safety
- [Your Car’s Owner’s Manual (Example: Toyota Online Manuals)](https://www.toyota.com/owners/resources/owners-manuals) - Manufacturer documentation for fuse locations, maintenance intervals, and repair procedures
- [Pennsylvania Department of Transportation – Vehicle Inspection Criteria](https://www.dot.state.pa.us/public/dvspubsforms/BMV/BMV%20Fact%20Sheets/fs-inspect.pdf) - Illustrates how brakes, lights, and other systems are evaluated for safety compliance
Key Takeaway
The most important thing to remember from this article is that this information can change how you think about Auto Repair.


