Modern cars might seem intimidating, but not every problem needs a scan tool or a tow truck. A lot of the annoying issues that make your car feel “old” or “unreliable” are surprisingly fixable with basic tools, clear steps, and a bit of patience. Learning a few simple repairs can save you money, help you spot real problems sooner, and make you a more confident driver and owner.
Below are five practical, step-by-step fixes geared toward real-world car owners, not professional mechanics. Each one focuses on things you can safely do in your driveway or parking space with a small starter toolkit.
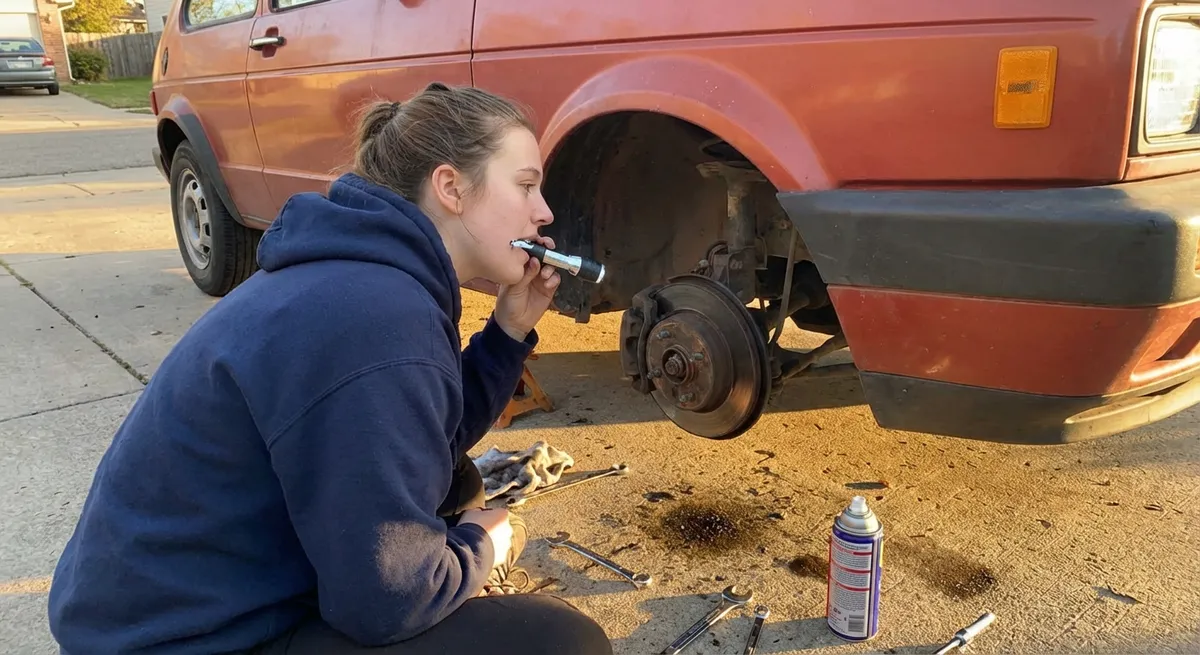
1. Silencing Squeaky Brakes (Without Swapping Everything)
A light brake squeak doesn’t always mean your pads are done. Sometimes it’s dust, glazing, or vibration that you can address before committing to a full brake job. Start by parking on a level surface, engaging the parking brake, and making sure the engine is off. Pop the hood and check your brake fluid level—low fluid can indicate worn pads or a leak; if it’s drastically low, stop here and see a pro. Next, visually inspect your brake pads through the wheel spokes if possible: you should see a few millimeters of pad material left; if it looks paper-thin, it’s time for replacement, not a DIY quieting trick.
If the pads look decent, remove the wheel (one at a time) with a lug wrench and jack/stands, then look for uneven wear, grooves, or shiny glazed surfaces on the pads and rotor. A can of brake cleaner sprayed on the rotor and caliper (never on hot parts) can flush away dust and road grime; let everything dry thoroughly. If your pads are still serviceable, apply a thin layer of high-temp brake grease to the back of the pads and the metal contact points where they slide in the caliper (never on the friction surface). Reassemble carefully, torque the wheel lugs in a star pattern, and test drive at low speed first. If noise remains, especially a grinding sound, stop driving and schedule a professional brake inspection—squeaks can wait, grinding cannot.
2. Restoring Headlight Brightness When Night Driving Feels Dangerous
Foggy, yellow headlights aren’t just ugly; they dramatically cut visibility and can make night driving stressful. The haze typically comes from UV-damaged plastic, and you can improve it with a basic restoration kit or common supplies. Begin by washing the headlights with car soap and water, then drying them completely. Use painter’s tape to mask off the edges around each headlight to protect your paint from accidental scratches. If you have a kit, follow the grit sequence included; if you’re DIY-ing, grab wet/dry sandpaper in two or three grits (for example: 800, 1500, 2000).
Start with the lowest grit, keep the surface and sandpaper wet, and sand in one consistent direction (horizontal passes work well). Don’t panic when the lens gets cloudy—that’s expected at this stage. Move to the finer grits, changing direction with each grit (e.g., first horizontal, then vertical) until the surface looks evenly frosted with no deep scratches. Wipe clean, then apply a plastic polish or the polishing compound from your kit using a microfiber cloth in circular motions until the lens clears up. The most important final step is sealing: use the UV sealant from your kit or a dedicated headlight UV protectant to keep them from fogging again. Let the sealant cure according to instructions before driving in rain or washing the car.
3. Fixing a Weak or Noisy Blower Fan (So Your A/C Actually Works)
If your A/C or heater “barely blows” even though the fan is set to high, the problem is often simpler than a bad compressor: a clogged cabin air filter or a tired blower resistor. Start inside the car by locating your cabin air filter; it’s commonly behind the glove box or under the cowl at the base of the windshield. Check your owner’s manual or an online guide for your specific model. Once found, open the access panel, slide out the old filter, and inspect it. If it looks like a mouse nest of leaves, dust, and debris, you’ve probably found your airflow problem.
Replace the filter with a new one, making sure the airflow arrow on the filter matches the direction printed on the housing. While you’re there, vacuum out any visible debris in the housing and kick panel area. If your fan still only works on the highest speed (or not at all), the blower motor resistor is a common culprit and is usually mounted near the blower motor under the dash. Disconnect the battery, unplug the resistor, remove the small screws, and swap in a new resistor of the same part number. Reconnect everything and test each fan speed. This simple upgrade often restores full power to the vents and can make your A/C feel “new” again without touching the expensive parts.
4. Tracking Down a Battery Drain Before It Strands You
If your car mysteriously dies after sitting overnight, you might have a parasitic battery drain—something drawing power when the car is off. You don’t need advanced gear to diagnose the basics. First, make sure your battery terminals are clean and tight; corrosion can mimic a weak battery. With the car off, check that all interior lights, trunk lights, and glove box lights turn off after you close doors and lids; a stuck switch is a classic slow-drain culprit. You can confirm this by gently peeking into the trunk or glove box through a small gap after closing—if the light is still on, you’ve found a problem.
For a more precise check, you’ll need a basic multimeter. With the engine off and key out, disconnect the negative battery cable and connect the multimeter in series (one lead on the battery post, the other on the removed cable) set to measure amps. Give the car a few minutes to “go to sleep”—many systems stay awake briefly. A typical healthy draw is often under about 50 milliamps (0.05A), but check your vehicle’s spec. If the reading is high, start pulling fuses one at a time from the fuse box while watching the meter. When the current suddenly drops, the circuit tied to that fuse is likely where the drain lives. At that point you’ve narrowed the issue enough to decide whether you can chase it further (like unplugging an aftermarket radio or dash cam) or if it’s time for a professional. Either way, you’ve walked into the shop with useful info instead of a mystery.
5. Cleaning a Rough Idle with a Simple Throttle Body Service
A rough or unstable idle, especially when the engine is warm, often comes from carbon buildup in the throttle body rather than something catastrophic. Because the throttle plate controls airflow, dirt around its edges can throw off the computer’s idle calculations. Start with the engine off and cool. Disconnect the negative battery cable as a precaution. Remove the intake tube or air duct going into the throttle body; you may need a screwdriver or small socket. Once open, inspect the inside: a dark, sticky ring around the throttle plate is common.
Use only throttle-body-safe cleaner (not generic carb cleaner unless it specifies compatibility) and a lint-free cloth. Spray a small amount on the cloth, not directly into the throat at first, and gently wipe the bore and both sides of the throttle plate while carefully opening it by hand (if it’s cable-operated) or with light pressure (if it’s electronic—be gentle). Avoid flooding sensors or electronics; a light, controlled cleaning is the goal. Once the visible gunk is gone, reassemble the intake tube securely and reconnect the battery. On first startup, the idle may flare or hunt slightly while the engine’s computer relearns; let it idle for a few minutes without touching the throttle, then take a short, gentle drive. If the roughness improves significantly, you’ve solved a common drivability issue with minimal tools.
Conclusion
You don’t have to tear down an engine to make a real difference in how your car drives and feels. Small, targeted fixes like quieting brakes, brightening headlights, restoring blower power, tracing a battery drain, and cleaning the throttle body can change daily driving from stressful to smooth. The more you understand what’s under the hood and behind the dashboard, the easier it is to know when you can handle it—and when it’s time to call in a pro.
If you found these step-by-step tips helpful, share this guide with a friend whose car “always has something wrong.” A little DIY confidence goes a long way toward keeping everyone’s ride safer, cheaper, and more reliable.
Key Takeaway
The most important thing to remember from this article is that this information can change how you think about Auto Repair.


