A lot of home repairs aren’t flashy “before and after” projects—they’re quiet fixes that prevent leaks, shocks, and expensive damage. Learning a few practical skills now can save you from emergency calls later. Below are five step‑by‑step repairs that most DIY‑minded homeowners can handle with basic tools and some patience.
> Safety first: If you’re ever unsure, stop and call a licensed pro—especially with electrical, gas, or structural issues.
1. Stop a Dripping Faucet (Without Replacing the Whole Thing)
A dripping faucet can waste gallons of water a day and drive you up the wall at night. In many cases, the fix is a worn cartridge or washer, not a full replacement.
Tools & materials: Adjustable wrench, screwdriver, replacement cartridge/washer (model‑specific), plumber’s grease, towel.
Steps:
- Shut off the water supply.
Look under the sink for the hot and cold shutoff valves and turn them clockwise. Open the faucet to relieve pressure and confirm the water is off.
- Plug the drain and protect the finish.
Use a sink plug or rag so you don’t lose small parts. Lay a towel in the sink to avoid scratching fixtures.
- Remove the handle.
Pop off the decorative cap (if present) to reveal a screw. Unscrew it, then pull the handle off. Some single‑handle faucets use a set screw on the side (use an Allen key).
- Access and remove the cartridge/valve.
Under the handle, you’ll see a retaining nut or clip. Carefully remove it with a wrench or pliers, then pull out the cartridge or stem. Note its orientation, or snap a quick photo.
- Match and replace the worn parts.
Take the old cartridge/washer to a hardware store to get an exact match. Install the new part in the same orientation, applying a thin coat of plumber’s grease to O‑rings if recommended.
- Reassemble and test.
Reinstall the retaining nut/clip, handle, and screws. Turn the shutoff valves back on slowly while the faucet is in the “on” position to prevent water hammer. Then close the faucet and check for drips.
If the drip persists, the valve seat may be damaged or the faucet body may be corroded. At that point, a full replacement might be more cost‑effective.
2. Fix a Running Toilet That Wastes Water
A constantly running toilet is usually caused by one of three things: a bad flapper, a faulty fill valve, or an improperly adjusted float. Most fixes don’t require removing the toilet or calling a plumber.
Tools & materials: Replacement flapper and/or fill valve (if needed), adjustable wrench, towel.
Steps:
- Remove the tank lid and observe.
Flush and watch what happens. Is water trickling into the bowl constantly? Is the water level getting too high in the tank?
- Check the flapper first.
When the tank is full and the toilet is “idle,” the flapper should be fully seated over the flush valve at the bottom. If it looks warped, slimy, or doesn’t sit flat, it’s likely the culprit.
- Replace the flapper (common fix).
Turn off the water supply valve behind the toilet and flush to empty most of the tank. Unhook the flapper chain from the flush handle, unclip the flapper from the overflow tube, and install the new one. Leave a bit of slack in the chain so the flapper can fully close.
- Adjust or replace the fill valve if the tank overfills.
Turn the small adjustment screw on top of the fill valve (or slide the float up/down if it’s on a rod) so the water level stops about 1 inch below the top of the overflow tube. If the valve won’t shut off or is corroded, replace the fill valve according to the manufacturer’s instructions.
- Turn water back on and test.
Let the tank fill, then listen. There should be no hissing or trickling once it stops. Flush several times to confirm the problem is gone.
A quiet, properly filling toilet saves water, avoids surprise high bills, and keeps the bathroom from sounding like it’s always “on.”
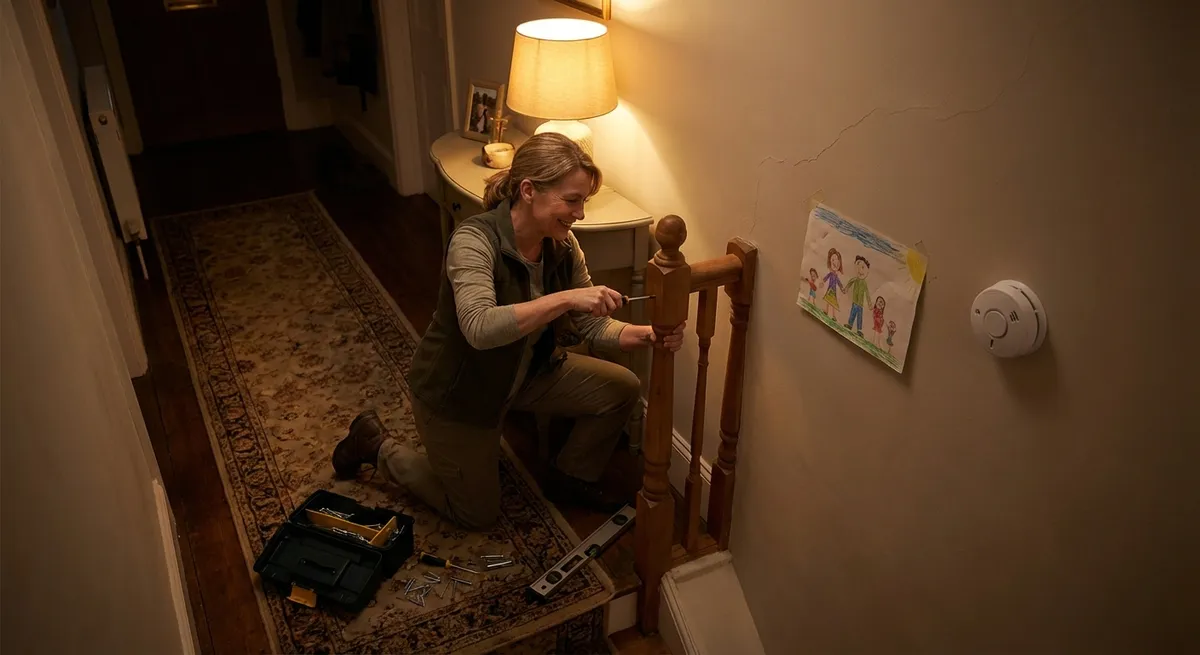
3. Secure a Wobbly Light Switch or Outlet Safely
Loose switches and outlets aren’t just annoying—they can be unsafe if wires are strained. Fortunately, tightening and shimming them is straightforward as long as you respect electrical safety.
Tools & materials: Non‑contact voltage tester, screwdriver, outlet/switch shims (or small pieces of plastic/cardboard), new cover plate if cracked.
Steps:
- Turn off power at the breaker.
Do not rely on just flipping the switch. Turn off the correct circuit at your breaker panel and label it if it isn’t already.
- Verify power is off.
Remove the cover plate screws and lightly pull the cover away. Use a non‑contact voltage tester near the switch or outlet terminals to confirm there’s no power.
- Tighten mounting screws.
Gently pull the device (switch or outlet) outward enough to access the top and bottom mounting screws. Tighten them snugly so the device sits firmly, but don’t overtighten and crack the plastic ears.
- Shim if the device sits too far back.
If the device is loose because the electrical box is recessed, use purpose‑made outlet/switch shims or small pieces of non‑conductive material to bring the device level with the wall surface. The goal is for the device to sit solidly when the cover is installed—no wobble when pressed.
- Inspect the cover plate and reassemble.
Replace any cracked cover plate. Carefully tuck wires back if needed (without bending sharply), install the cover, and tighten the screws until snug.
- Restore power and test.
Turn the breaker back on and test the switch or outlet. It should feel solid, with no movement when plugging/unplugging cords.
If you see damaged wires, burn marks, or melted plastic at any point, stop and call a licensed electrician.
4. Patch a Small Drywall Hole So It Actually Disappears
Whether it’s from a door handle or a poorly placed anchor, small holes in drywall are common. Done right, your patch should blend in so well you forget where it was.
Tools & materials: Spackle or joint compound, putty knife, sanding sponge or fine‑grit sandpaper, primer, touch‑up paint. For holes larger than a nickel, use a self‑adhesive patch.
Steps:
- Prep the area.
Lightly scrape around the hole with a putty knife to remove loose paint or crumbly drywall. Wipe off dust with a dry cloth.
- Fill tiny nail/screw holes with spackle.
For holes smaller than a pencil eraser, press spackle into the hole with the putty knife, then scrape nearly flush with the wall. Let dry fully (check product instructions).
- For larger holes, use a patch.
For holes up to a few inches:
- Stick a self‑adhesive mesh patch over the hole.
- Apply joint compound over the patch, feathering the edges out 2–3 inches beyond the patch.
- Let dry completely.
- Sand and apply a second coat.
Lightly sand the dried compound until smooth. Apply a second, thinner coat, feathering even wider. Let dry and sand again for a seamless transition.
- Prime before painting.
Raw compound absorbs paint differently than the wall. Spot‑prime the patch and let it dry. This step prevents “flashing” where the patch shows through.
- Touch up with matching paint.
Use leftover wall paint if you have it. If not, bring a paint chip to the store to get a close match. Feather your paint beyond the patch rather than creating a sharp edge.
Taking your time on sanding and feathering is what separates an obvious patch from an invisible repair.
5. Quiet a Squeaky Interior Door
Squeaky doors are small irritations that add up, especially at night. The fix is usually in the hinges, not the door itself, and can often be done in under 20 minutes.
Tools & materials: Hammer, nail or thin screwdriver, lubricant (silicone spray, white lithium grease, or petroleum jelly), rag. Optional: drill and new hinge screws if existing ones are stripped.
Steps:
- Identify the squeaky hinge.
Slowly open and close the door, listening to which hinge makes noise. Often it’s just one, sometimes all of them.
- Support the door if removing a pin.
For heavy doors, place a wedge or book under the door to support its weight so the hinge isn’t stressed.
- Remove the hinge pin.
Close the door. From the bottom of the hinge, use a nail or thin screwdriver and a hammer to gently tap the hinge pin upward until you can pull it out from the top. Start with just one hinge at a time so the door stays aligned.
- Clean and lubricate the pin.
Wipe off old grime and rust. Apply a thin layer of lubricant along the pin. If using spray, spray into a rag first, then wipe on to avoid overspray on the door.
- Reinstall the pin and work the hinge.
Slide the pin back into the hinge and tap gently with a hammer until seated. Open and close the door several times to work the lubricant in. Repeat for other squeaky hinges.
- Tighten hinge screws if the door sags.
If the door rubs the frame or doesn’t latch well, tighten hinge screws. Replace any that spin without tightening with slightly longer or thicker screws (be sure they bite into the framing, not just the jamb).
A quiet, smoothly closing door is a small fix that improves how the whole room feels.
Conclusion
You don’t need a full workshop or contractor experience to tackle meaningful home repairs. Learning how to stop a drip, calm a toilet, secure electrical devices, patch walls, and quiet doors gives you practical control over your space—and reduces those “I’ll deal with it later” annoyances that pile up.
Start with the repair that feels least intimidating, follow each step patiently, and don’t rush safety checks. Over time, these small wins build real confidence—and they’re exactly the kind of fixes that keep your home safer, quieter, and cheaper to run.
Sources
- [U.S. Environmental Protection Agency – Fixing Leaks at Home](https://www.epa.gov/watersense/fix-leak-week) - Explains how small plumbing leaks waste water and offers basic guidance on repairs
- [The Family Handyman – How to Fix a Leaky Faucet](https://www.familyhandyman.com/project/how-to-repair-a-compression-faucet/) - Practical, step‑by‑step faucet repair instructions with photos
- [Energy.gov – Electrical Safety in the Home](https://www.energy.gov/ceser/activities/electrical-safety-home) - Government guidance on staying safe when working around household electrical systems
- [University of Nebraska–Lincoln Extension – Home Toilet Repair](https://water.unl.edu/article/drinking-water-wells/toilet-leaks) - Educational resource covering common toilet leak causes and fixes
- [USG (United States Gypsum) – Patching and Repairing Drywall](https://www.usg.com/content/usgcom/en/resource-center/faq/how-to-repair-drywall.html) - Manufacturer instructions and best practices for drywall patching and finishing
Key Takeaway
The most important thing to remember from this article is that this information can change how you think about Home Repairs.


