Appliances look intimidating from the outside, but a lot of “call the repair tech” problems come down to simple parts, basic tools, and a bit of patience. If you’re comfortable with a screwdriver and can follow safety steps, you can tackle more than you think. This guide walks through five practical, step‑by‑step repairs that solve real problems without getting into risky, expert‑only territory.
Before you start: always unplug or switch off power at the breaker, turn off water or gas where relevant, and stop if you see burn marks, melted plastic, or smell burning. Those are signs for a professional, not a DIY project.
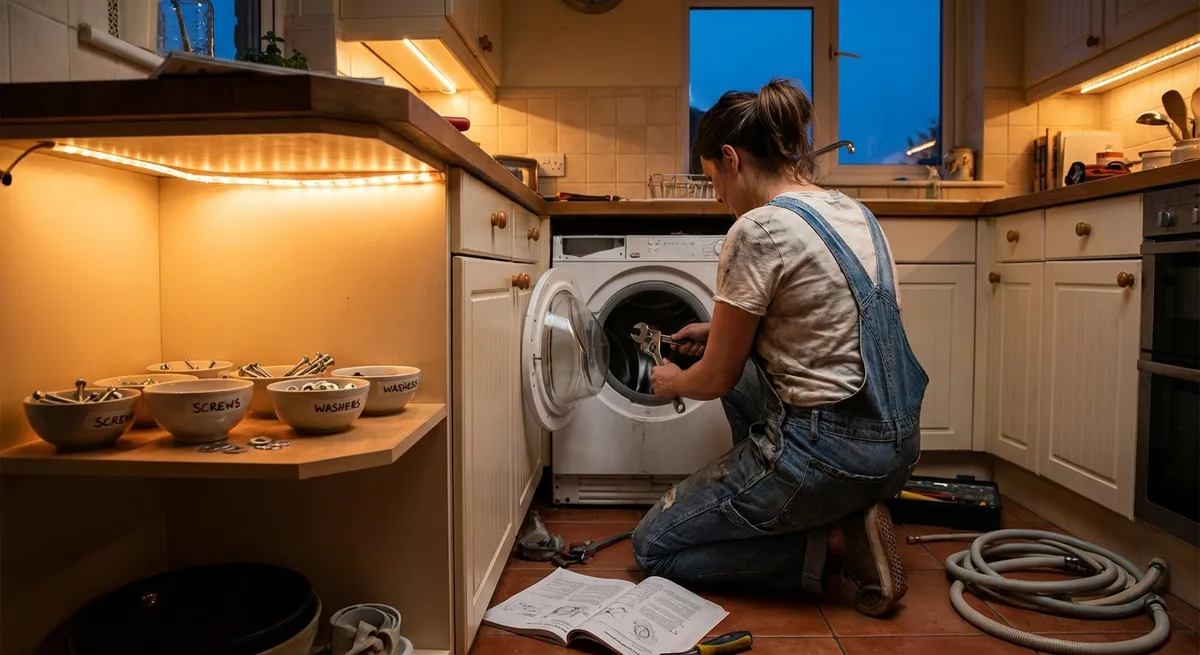
Tip 1: Stop a Washing Machine That Shakes Across the Room
A washer that “walks” or thumps loudly usually has a simple cause: it’s not level, or the load is out of balance. Left alone, it can damage internal components and hoses.
Step‑by‑step:
Kill the power and inspect the floor
Unplug the washer. Check that the floor is solid—no loose boards or uneven tiles under one corner. A sloped or weak floor will exaggerate vibration.
Check for shipping bolts (new or recently moved units)
If the washer was recently delivered or moved, look at the back for long bolts with plastic spacers. These are shipping bolts that lock the drum for transport. If they’re still installed, remove them as directed in the user manual; they cause severe vibration if left in.
Level the machine front-to-back and side-to-side
Place a bubble level on top of the washer. Adjust the front leveling feet by turning them with your fingers or a wrench until the bubble is centered in both directions. Many washers have lock nuts on the feet; tighten those once level so the setting doesn’t drift.
Stabilize by “forcing” the washer onto all four feet
Push down diagonally on each corner to feel for rocking. If it rocks, lower the high feet slightly until the rocking stops. You want all four feet in firm contact with the floor.
Improve load balance habits
When you run a load, spread heavy items (like towels or jeans) evenly around the drum instead of in one clump. If it starts banging during spin, pause, open the lid/door when safe, redistribute clothes, and restart.
If severe shaking continues after leveling and balancing loads, the suspension rods or shock absorbers may be worn—a still doable repair for some DIYers, but worth comparing parts cost vs. pro service.
Tip 2: Revive a Fridge That’s Running but Not Cooling Well
If your refrigerator runs constantly but feels warm, the problem is often airflow, dust‑clogged coils, or blocked vents—not a dying compressor.
Step‑by‑step:
Confirm temperatures and settings
Use an appliance thermometer: the fridge should be at or below 40°F (4°C), freezer around 0°F (-18°C). Check that controls weren’t bumped to a warmer setting or to “demo” or “vacation” mode.
Clear the interior vents
Look along the back and sides inside both compartments for vents. Move food away so nothing is pressed against them. Blocking vents stops cold air from circulating and can make the fridge compartment warm even if the freezer is okay.
Clean the condenser coils thoroughly
Unplug the fridge. Pull it away from the wall carefully. Find the condenser coils (on the back or underneath behind a toe‑kick panel). Use a coil brush and vacuum with a crevice tool to remove dust, pet hair, and debris. Dirty coils force the compressor to work harder and cool less efficiently.
Check the door gaskets for leaks
Inspect the rubber door seals for cracks, tears, or hardened sections. Close a sheet of paper in the door and gently pull—it should hold with some resistance all around. If it slides out easily in spots, the gasket may need cleaning (warm, soapy water) or replacement.
Give it time and listen for the fan
Plug the fridge back in. Keep the doors closed as much as possible for several hours. Listen for the evaporator fan (usually in the freezer section) when the compressor runs. If you hear the compressor but no fan, or you hear a loud scraping noise from the freezer, the fan could be blocked by frost or failing and may need attention.
If you see heavy frost buildup on the back wall of the freezer, you may have a defrost system problem. That’s still fixable at home, but involves testing heaters and thermostats—best handled by experienced DIYers who are comfortable with electrical checks.
Tip 3: Get a Dishwasher That “Looks Clean but Isn’t” Back in Shape
Cloudy glasses, food bits on plates, or a funky smell don’t always mean your dishwasher is done for. Detergent issues, partial clogs, and weak spray are more common culprits.
Step‑by‑step:
Clean the filter and sump area
Disconnect power at the breaker (or unplug if accessible). Pull out the bottom rack. Most dishwashers have a removable filter assembly in the bottom—twist and lift it out. Rinse it under warm water with a soft brush or old toothbrush. Check the sump (the hole under the filter) for glass, labels, or food chunks and remove them carefully.
Inspect and clear the spray arms
Remove the lower and, if accessible, upper spray arms (usually a clip or screw). Run water through them at the sink. Use a toothpick or thin wire to clear clogged spray holes—mineral deposits can plug them and weaken water pressure.
Use the right detergent and cycle
If you’ve recently changed detergents, especially from powder to pods or vice versa, confirm it meets your dishwasher’s specs. Modern machines often perform best with high‑quality pods and hotter cycles. Avoid pre‑rinsing dishes until they’re spotless; most sensors need some soil to trigger proper cleaning cycles.
Run a maintenance wash
Reinstall the filter and spray arms. With the dishwasher empty, place a dishwasher‑safe cup of white vinegar on the top rack and run a hot cycle. This helps break down grease and light mineral buildup. For heavy limescale, consider a dishwasher cleaner designed for your water hardness.
Check water temperature and supply
At the kitchen sink, run hot water and measure the temperature if possible. Most dishwashers work best with water around 120°F (49°C). If the water never gets hot, you may need to adjust your water heater. Also verify the dishwasher’s water supply valve under the sink is fully open—partial closing reduces cleaning power.
If the dishwasher still underperforms, the circulation pump or inlet valve may be failing. Those are replaceable parts, but require more disassembly; use a service manual or parts diagram before proceeding.
Tip 4: Quiet a Clothes Dryer That Takes Forever to Finish
Long dry times usually point to restricted airflow, not a weak heater. Poor airflow is also a fire risk, so this is one repair that boosts both performance and safety.
Step‑by‑step:
Clean the lint filter properly
Remove the lint screen and clean it with your fingers. Once in a while, wash it with warm water and a little dish soap, then dry completely. Fabric softener residue can create an invisible film that blocks airflow.
Vacuum the lint housing and internal areas you can reach
Unplug the dryer. Remove the lint filter and use a vacuum with a narrow attachment to clean deep into the lint trap. If the back panel is easily removable, take it off and carefully vacuum visible lint (avoid tugging on wires).
Inspect and shorten the exhaust duct
Pull the dryer away from the wall. Disconnect the duct and check for clogs, crushed sections, or sagging. Solid metal ducting is safer and more efficient than plastic flex hose. Keep the run as short and straight as possible; long, twisty ducts trap lint and slow airflow.
Clean the exterior vent hood
Go outside and find the dryer vent. Clear away lint, leaves, or nests. The vent flap or louvers should move freely. If it sticks, clean and, if necessary, replace the vent hood.
Test airflow and watch a full cycle
Reconnect everything, plug in the dryer, and run it on a normal cycle. Go outside and feel the air flow at the vent—strong, warm air is a good sign. If airflow is weak even after cleaning, the blower wheel or internal ducting might be blocked or damaged and may need deeper disassembly.
If clothes still stay damp and the drum is tumbling but not heating, heaters, fuses, or thermostats may be the problem. At that point, check your model’s service manual and consider whether you’re comfortable doing electrical continuity tests with a multimeter.
Tip 5: Fix a Gas or Electric Range Burner That Won’t Cooperate
A stubborn burner can turn cooking into a chore. Fortunately, many issues come down to dirty igniters, loose caps, or worn elements rather than full appliance failure.
For gas burners:
Kill the gas and power
Turn off the burner knobs. If you’re doing more than a surface cleaning, shut off the gas supply valve behind or under the range, and unplug the unit or switch off the breaker.
Re-seat burner caps and check alignment
Remove the grates and burner caps. Wipe off food residue. Replace the caps so they sit flat and centered. Misaligned caps often cause weak or uneven flames, or clicking without ignition.
Clean the igniter and burner ports
The small ceramic or metal tip near the burner is the igniter. Gently clean around it with a soft brush or a toothbrush—never use abrasive pads. Use a paperclip to clear clogged burner holes (ports) where the flame comes out.
Test the spark and flame pattern
Restore gas and power. Turn the burner knob to “light” and look for a strong, even spark and a blue flame with minimal yellow tips. If there’s no spark but you hear clicking, the igniter may be cracked or oily; more cleaning or replacement may be needed.
For electric coil or smooth‑top burners:
Power down and inspect the element
Switch off the breaker. For coil tops, gently pull the element straight out from its socket. Look for blisters, cracks, or breaks in the coil. For smooth tops, visually inspect the burner area through the glass for obvious damage or discoloration.
Clean contacts and burner surface
For coil elements, wipe the plug‑in ends and the sockets with a dry cloth to remove corrosion or residue—never use water inside the socket. For smooth tops, use a cleaner approved for glass‑ceramic surfaces to remove cooked‑on spills that can cause hot spots.
Swap elements for a quick diagnosis
If one coil doesn’t heat but others do, swap it with a working element of the same size. If the “bad” element works in a different spot, the issue is the socket or control switch. If it still doesn’t heat, the element itself is likely failed and can be replaced.
Reassemble and test on low first
After cleaning and swapping, turn the power back on and test burners starting on low. Monitor for unusual smells (some odor is normal after heavy cleaning) and shut off immediately if you see sparks or smoke.
If you ever smell gas continuously, see soot forming around burners, or the control knobs get excessively hot, stop using the appliance and call a professional—those are safety‑critical issues.
Conclusion
Many “my appliance is dying” moments turn out to be clogged filters, misaligned parts, or neglected cleaning. With basic tools and sensible safety habits, you can tame noise, improve performance, and stretch the life of your washer, fridge, dishwasher, dryer, and range. Start with issues that are easy to see and reach, stop when you hit electrical or gas systems you’re not comfortable with, and always prioritize safety over squeezing out one more DIY victory.
The more you understand what’s happening inside your appliances, the better you can decide when to grab a screwdriver—and when to grab the phone.
Sources
- [U.S. Department of Energy – Appliance Energy-Saving Tips](https://www.energy.gov/energysaver/appliances-and-electronics) - Background on how appliances work and how maintenance affects efficiency
- [Consumer Product Safety Commission – Clothes Dryer Safety](https://www.cpsc.gov/ClothesDryerSafety) - Guidance on lint buildup, venting, and fire prevention for dryers
- [CDC – Food Safety: Refrigeration and Freezing](https://www.cdc.gov/foodsafety/food-safety-by-type/food-service-workers/refrigeration-freezing.html) - Recommended refrigerator and freezer temperatures and safety practices
- [Whirlpool Product Help – Dishwasher Not Cleaning Well](https://producthelp.whirlpool.com/Dishwashers/Product_Assistance/Dishwasher_is_not_cleaning_dishes_well) - Manufacturer troubleshooting steps for poor dishwasher performance
- [GE Appliances – Gas Range Burner Troubleshooting](https://www.geappliances.com/ge/range-stove-oven-troubleshooting.htm) - Official guidance on common gas and electric range burner issues
Key Takeaway
The most important thing to remember from this article is that this information can change how you think about Appliances.


