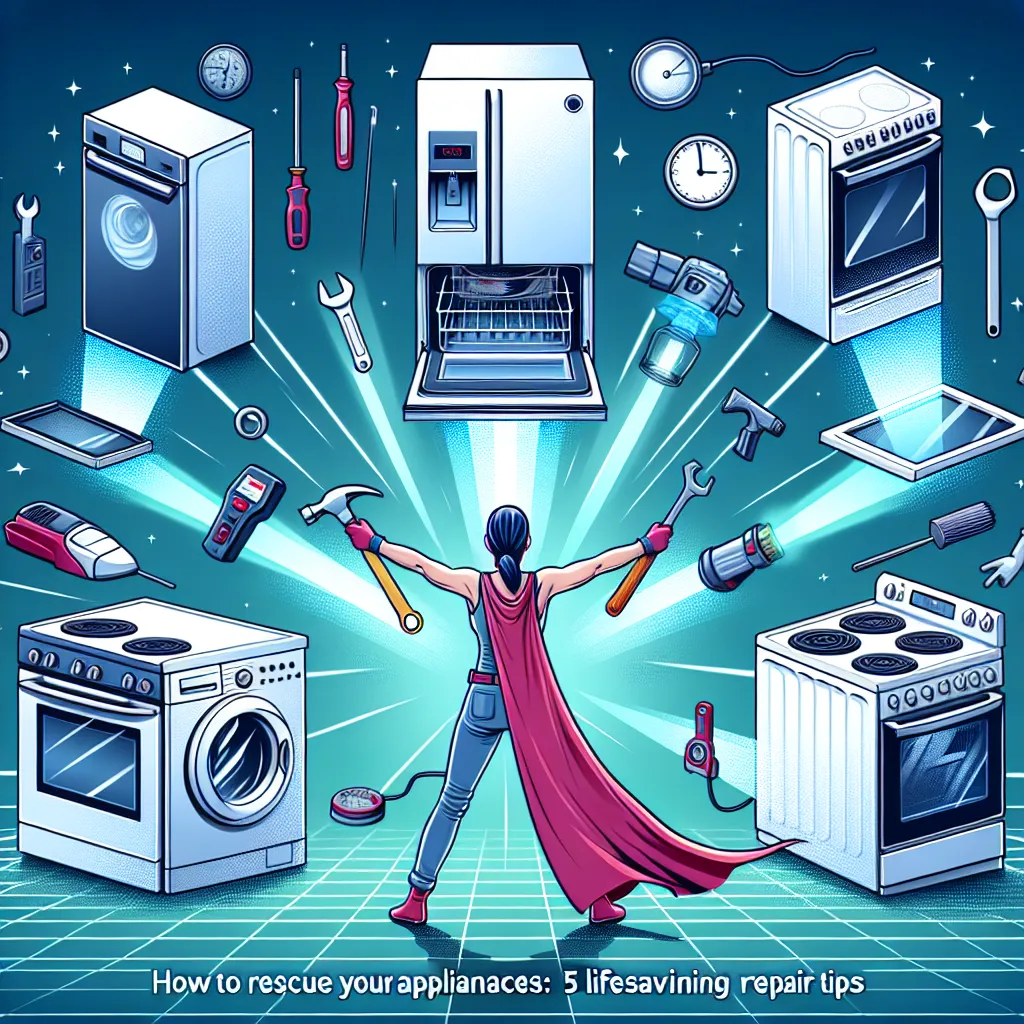
There's nothing quite like the sense of accomplishment you get from a successful DIY repair. When your trusty appliance starts acting up, don't immediately rush to the store for a replacement. These 5 practical repair tips might just be the lifeline your appliance needs. Let's dive in.
1. Get to Know Your Appliance
The first step in any DIY repair is understanding what you're working with. Take time to read the owner's manual of your appliance. This might sound tedious, but it often contains valuable troubleshooting information and specific instructions for common repairs.
2. Regular Maintenance is Key
Preventive care goes a long way in keeping your appliances running smoothly. Regularly check for and remove any dust, grease, or food debris that might have accumulated. For refrigerators, regularly defrost and clean the coils. For ovens, clean them frequently to prevent buildup that can cause malfunctions.
3. Use the Right Tools
Using the wrong tool can cause more damage than good. Invest in a basic toolkit that includes a multimeter, a set of screwdrivers, pliers, and a wrench. These tools will cover most of your DIY appliance repair needs.
4. Safety First
Before you start any repair, always remember to disconnect the appliance from its power source. For repairs involving gas appliances, turn off the gas supply to avoid any accidents. Never attempt a repair if you're not confident about the safety measures involved.
5. Don't Be Afraid to Call in the Pros
Sometimes, despite your best efforts, you might find yourself in over your head. It's important to know when to call in a professional. If a repair involves electrical components, gas lines, or if you're just not comfortable with the task, it's better to get professional help.
Conclusion
With these practical repair tips, you'll be well on your way to becoming a DIY repair enthusiast. Remember, patience is key when it comes to DIY repairs, and safety should always be your top priority. So go ahead, roll up your sleeves, and show your appliances some love.


