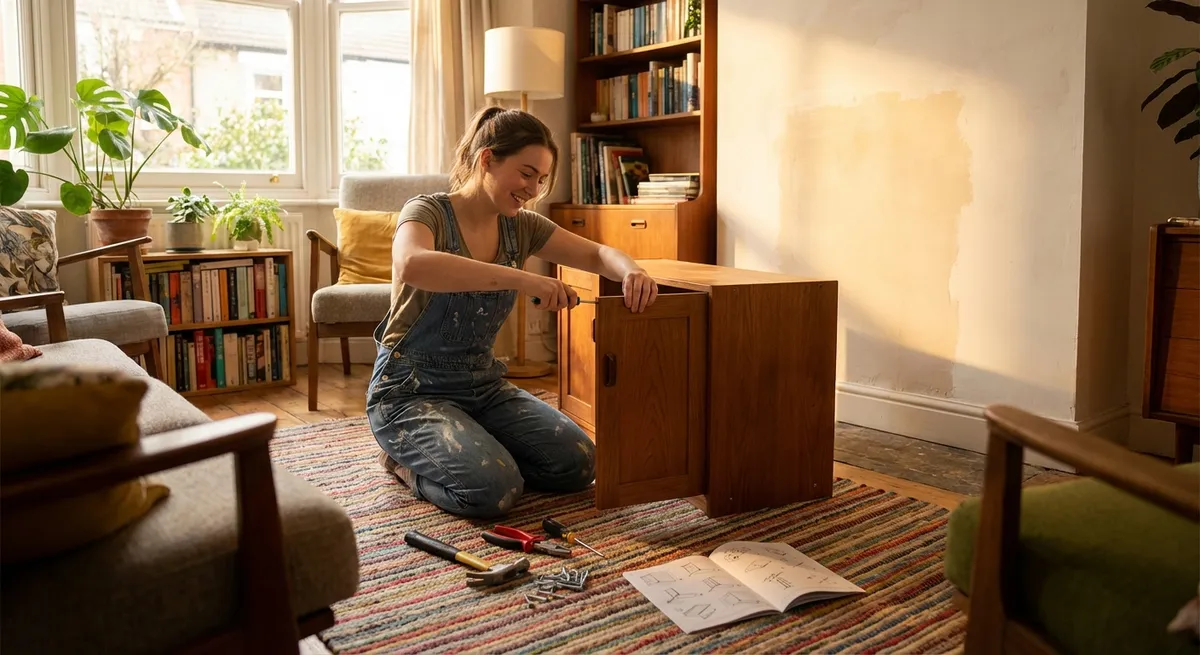
Home repairs don’t have to swallow your entire weekend or your savings. With a few practical, repeatable techniques, you can handle a surprising number of problems yourself—safely and confidently. This guide walks you through five step‑by‑step fixes that come up in real homes all the time and that most DIYers can tackle with basic tools and a little patience.
Each repair is broken down into clear actions so you can follow along without guessing, and the skills you’ll use here will carry over to a lot of other projects around the house.
Fixing a Dripping Faucet (Without Replacing the Whole Thing)
A dripping faucet can waste gallons of water a day and quietly inflate your utility bill. Most of the time, the issue is a worn cartridge, washer, or O‑ring—parts that are cheap and relatively easy to replace.
Tools & materials: Adjustable wrench, Phillips/flat screwdriver, replacement cartridge or washer set (match your faucet brand/model), plumber’s grease, towel, small container for parts.
Step‑by‑step:
Shut off the water supply
Look under the sink for the hot and cold shutoff valves. Turn both clockwise until they stop. Open the faucet to verify the water is off and to relieve pressure.
Plug the drain and prep your workspace
Use a sink stopper or a rag in the drain so small screws or parts can’t fall in. Lay a towel in the sink to protect surfaces and catch drips.
Remove the handle and trim
Pry off decorative caps with a small flathead if needed. Unscrew the handle screw and pull the handle straight up or out. Remove any decorative collars or retaining nuts you see next.
Take out the cartridge or stem
Use an adjustable wrench or pliers (with a cloth to avoid scratching) to loosen the retaining nut. Pull the cartridge or stem straight out. Take note of its orientation or snap a photo—it matters when reinstalling.
Match and replace the internal parts
Take the old part to a hardware store or check the manufacturer’s site to get an exact match. If it’s a compression faucet, you’ll typically replace the rubber washer and possibly the seat; if it’s a cartridge faucet, you’ll replace the cartridge and O‑rings.
Lubricate and reinstall
Lightly coat O‑rings and moving parts with plumber’s grease. Insert the new cartridge or reassembled stem in the same orientation as before. Tighten the retaining nut snugly but don’t over‑torque.
Reassemble and test
Reinstall trim and handle. Open the shutoff valves slowly. Turn on the faucet and let water run briefly, then close it and watch for drips. If you still see a slow drip, double‑check that the cartridge is seated correctly and the nut is tight.
Restoring a Wobbly Interior Door That Won’t Latch Right
Doors that won’t latch or that rub the frame are usually suffering from loose hinges, settlement, or both. You can often fix the problem with careful adjustments instead of replacing the whole door or frame.
Tools & materials: Screwdriver or drill/driver, wood glue, wooden toothpicks or matchsticks, hammer, chisel (optional), utility knife, longer wood screws (2.5–3 in).
Step‑by‑step:
Diagnose what’s wrong
Close the door slowly and watch: Is the latch hitting below or above the strike plate hole? Is the top corner rubbing? Is there a gap near the latch side but not the hinge side? This tells you if it’s a hinge issue, alignment issue, or both.
Tighten hinge screws first
Open the door fully. Tighten all exposed hinge screws on both the door side and the frame side. If any spin without biting, move to the next step—those holes are stripped.
Repair stripped screw holes
Remove the loose screw. Dip 2–3 wooden toothpicks (or matchsticks with no flammable head) in wood glue and push them into the hole. Tap gently with a hammer, then snap flush. Let the glue set per instructions, then drive the screw back in. This gives the screw new wood to bite into.
Use longer screws to straighten a sagging door
If the door sags toward the latch side, replace one or two short screws in the top hinge (frame side) with longer 2.5–3 in screws. Angle them slightly toward the stud behind the jamb. Snug them up gradually; you’ll feel the door pull back toward the hinge side.
Adjust the strike plate if needed
If the latch still hits high or low, remove the strike plate screws. Use a utility knife to score around the mortise and a chisel to carefully enlarge or shift the mortise up, down, or sideways by a few millimeters. Reinstall the strike plate and test. For small adjustments, sometimes just loosening the plate and shifting it slightly is enough.
Fine‑tune latch engagement
Close the door slowly and watch how the latch engages the strike plate. If it just barely catches, bend the strike plate’s tab slightly inward with pliers to pull the door tighter when closed. If it’s too tight, bend it slightly outward.
Check for smooth swing and clearances
Open and close the door several times. Listen for rubbing and check gaps around the door. If there’s still minor rubbing on the top or latch side, carefully plane or sand the edge, then seal any exposed wood with paint or finish.
Patching a Small Drywall Hole Like It Never Happened
Drywall dings and small holes from doorknobs, curtain rods, or wall anchors can make a room look tired. With basic materials and some patience between coats, you can get a clean, paint‑ready surface.
Tools & materials: Utility knife, sanding sponge (medium and fine grit), putty knife, premixed joint compound or lightweight spackle, self‑adhesive mesh patch (for larger holes), primer, touch‑up paint.
Step‑by‑step:
Assess the hole size
For nail and screw holes, lightweight spackle is enough. For holes up to about 4–5 inches, a self‑adhesive mesh patch plus joint compound works well. Anything larger usually calls for backing or a drywall plug.
Clean and shape the damaged area
Use a utility knife to remove loose paper and crumbling gypsum. Slightly bevel the edges of the hole so the compound has a better surface to grab. Wipe dust away with a dry cloth.
Apply patch (if needed)
For larger holes, stick a mesh patch centered over the damage. Press firmly so it adheres flat without bubbles. This reinforces the area and helps prevent cracks.
First coat of compound
Load your putty knife with compound or spackle and press it firmly into the hole or over the patch, drawing it across at a slight angle. Feather the edges out 1–2 inches beyond the damage. Scrape off excess so the patch is just covered.
Let it dry completely
Follow the dry time on the product (often a few hours to overnight). Rushing this step is the fastest way to end up with cracks or ridges.
Sand and apply a second coat
Lightly sand with medium grit to knock down high spots. Apply a second, slightly wider, thinner coat, feathering even farther out. The goal is a gentle, invisible slope from the surrounding wall to the patched area.
Final sand and prep for paint
Once dry, sand with fine grit for a smooth finish. Wipe away dust. Prime the patched area—especially if the wall is a darker color or has a sheen—then touch up with matching paint. For best blending, paint from baseboard to ceiling over a larger area, not just a tiny circle.
Quieting a Banging Water Pipe (Water Hammer) at the Source
If your pipes thud or bang when a faucet or washing machine shuts off, you may be dealing with water hammer—sudden pressure changes that can stress your plumbing. You can often reduce or eliminate it with a few simple interventions.
Tools & materials: Adjustable wrench, screwdriver, access to main water shutoff, possibly a water hammer arrestor (brand/model to match your plumbing connection), Teflon tape if threaded connections are used.
Step‑by‑step:
Confirm it’s water hammer
Listen for a sharp bang or series of thuds when a valve closes quickly (like a dishwasher, washing machine, or single‑handle faucet). If noise is associated with pipe movement in walls or ceilings, water hammer is a likely culprit.
Try draining the system to recharge air chambers
Many older homes have vertical “air chambers” that cushion surges. Shut off your main water supply. Open every faucet (hot and cold) and flush all toilets to drain the lines. Wait until water stops flowing.
Refill the system gradually
Close all faucets and toilets. Slowly open the main shutoff valve. Then, starting from the lowest level of the house, open faucets one at a time to purge air, moving upward. This can restore air cushions and reduce hammering.
Secure loose accessible pipes
In basements or crawl spaces, look for pipes that can move or vibrate when water runs. Add or tighten pipe straps or hangers so the lines are secure but not overly constricted. Use padded straps or rubber between clamp and pipe where possible.
Focus on problem appliances
If the noise is primarily when the washing machine or dishwasher shuts off, consider installing a water hammer arrestor at the appliance supply line. These devices contain a sealed air chamber to absorb the pressure spike.
Install a water hammer arrestor (basic DIY type)
Turn off the shutoff valve for the appliance. Relieve pressure by running the appliance’s water for a second or opening a nearby faucet. Disconnect the supply hose, wrap threads on the arrestor with Teflon tape if required, and install between the shutoff valve and the hose. Tighten connections snugly, restore water, and test for leaks.
Evaluate pressure if problems persist
Excessively high water pressure can worsen water hammer. A simple pressure gauge on an outdoor spigot can tell you if your system is in the typical 40–60 psi range. If it’s much higher, you may need a pressure‑reducing valve installed by a pro.
Replacing a Worn Weatherstrip to Cut Drafts Fast
Old or flattened weatherstripping around doors is one of the easiest energy leaks to fix. Replacing it can quickly improve comfort and lower heating or cooling costs, and it only requires basic tools.
Tools & materials: New weatherstripping (match type and length—foam, vinyl, or magnetic for steel doors), tape measure, scissors or utility knife, screwdriver or pry tool (for old strips), optional adhesive remover.
Step‑by‑step:
Inspect existing seals
Close the door and check all sides for light or air movement. Note whether the weatherstrip is nailed, stapled, screwed, or press‑fit into a groove. Determine the type so you can buy a similar replacement that fits your door jamb style.
Remove the old weatherstrip carefully
Open the door. Pull out press‑fit types from the groove; for nailed or screwed strips, remove fasteners with a screwdriver or pry tool. Take a short piece with you to the store for comparison.
Clean the contact surfaces
Scrape off old adhesive or debris. Wipe the jamb area with a mild cleaner and let it dry. A clean surface helps new adhesive or press‑fit strips stay in place longer.
Measure and cut new strips
Measure the height of each side of the door and the width of the top. Cut the weatherstrip slightly long (1/8–1/4 in) so you can trim for a snug fit. If your strip has a compression bulb, make sure it will contact the door evenly.
Install side strips first
Starting at the top hinge‑side corner, press or fasten the new strip in place, working downward. The compressible edge should just touch the closed door, not crush against it. Repeat on the latch side. Check that screws or nails don’t distort the strip.
Install the top strip
Close the door. Fit the top strip between the side pieces so they meet neatly at the corners. Secure it while the door is closed to ensure proper alignment and consistent contact.
Test the door for smooth operation
Open and close the door several times. It should latch easily without needing to be slammed, and you shouldn’t see light around the perimeter. Make small adjustments by loosening and shifting the strips if needed.
Conclusion
Home repairs feel much more manageable when they’re broken into clear, repeatable steps. The fixes here—stopping a drip, straightening a door, patching walls, calming noisy pipes, and sealing drafts—address problems almost every homeowner faces, and they build skills you’ll reuse on countless other projects.
Start with the repair that bothers you most, gather your tools before you begin, and take your time on each step rather than rushing. A careful DIY fix not only saves money; it also makes your home feel more under your control every time something needs attention.
Sources
- [U.S. Environmental Protection Agency – Fix a Leak](https://www.epa.gov/watersense/fix-leak-week) - Explains the impact of household leaks and basic guidance on tracking and fixing them
- [Family Handyman – How to Fix a Leaking Faucet](https://www.familyhandyman.com/project/how-to-fix-a-leaking-faucet/) - Detailed walkthroughs for different faucet types and common replacement parts
- [This Old House – Adjusting Interior Doors](https://www.thisoldhouse.com/doors/21015128/how-to-fix-a-sticking-door) - Practical methods to correct sagging or sticking doors with hinge and strike adjustments
- [U.S. Department of Energy – Air Sealing Your Home](https://www.energy.gov/energysaver/air-sealing-your-home) - Guidance on identifying and sealing air leaks, including weatherstripping best practices
- [The Spruce – How to Patch and Repair Drywall](https://www.thespruce.com/how-to-patch-and-repair-drywall-1822870) - Step‑by‑step instructions with photos for repairing various drywall hole sizes
Key Takeaway
The most important thing to remember from this article is that this information can change how you think about Home Repairs.


