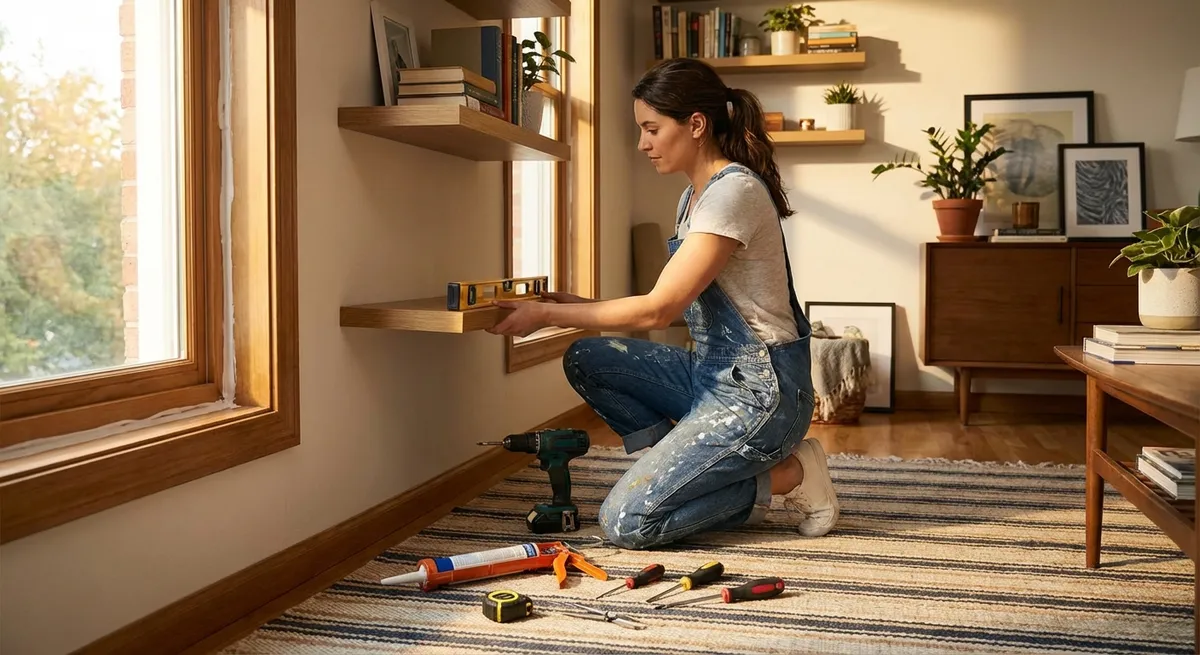
Home repairs don’t have to mean tearing your house apart or spending half your paycheck at the hardware store. With a few simple tools and a calm, step-by-step approach, you can tackle lots of small problems before they turn into expensive emergencies.
The key is choosing projects that are realistic, safe, and truly useful. Below are five common repairs that DIY enthusiasts can handle with basic tools and a little patience. Each one walks you through exactly what to do, what to watch out for, and how to know you did it right.
Stop a Dripping Faucet Without Calling a Plumber
A dripping faucet wastes water, raises your bill, and is just plain annoying. Most of the time, the fix is a worn-out cartridge or washer, and you can replace it in under an hour.
- Turn off the water under the sink. Look for the shutoff valves and turn them clockwise until they stop. Open the faucet to relieve pressure and confirm the water is off.
- Plug the drain with a stopper or rag so you don’t lose small screws or parts.
- Remove the handle. Pop off any decorative cap with a flathead screwdriver, then loosen the screw underneath and lift the handle off.
- Take out the cartridge or stem. Use an adjustable wrench or pliers to loosen the retaining nut, then gently pull the cartridge/stem straight up.
- Match the part. Bring the old piece to a hardware store to get an exact replacement (brand and model matter here).
- Install the new cartridge or washer in the same orientation as the old one. Reinstall the retaining nut, handle, and decorative cap.
- Turn the water back on slowly and test the faucet. If it still drips, double-check that the cartridge is seated correctly and the retaining nut is snug—but don’t overtighten.
If you see corroded parts or cracked faucet bodies, that’s the point where replacement or a pro might make more sense than more tinkering.
Fix a Running Toilet That Never Stops Refilling
A constantly running toilet can waste hundreds of gallons of water a month. The usual culprit is a worn flapper, a misadjusted float, or a fill valve that’s seen better days.
- Remove the tank lid and set it somewhere safe—these crack easily.
Identify the problem:
- If water is flowing into the overflow tube, the water level is set too high. - If the flapper doesn’t fully seal, water will constantly seep into the bowl. 3. Test the flapper. Push it down manually. If the running noise stops, you’ve found the issue.
Replace the flapper (if needed):
- Turn off the water supply at the valve near the floor. - Flush to empty most of the tank. - Unclip the old flapper from the overflow tube and disconnect the chain. - Attach the new flapper, connect the chain with a little slack, and turn the water back on. 5. Adjust the water level. Most fill valves have a screw (for float arms) or a sliding clip (for float cylinders). Adjust so the water line sits about 1 inch below the top of the overflow tube. 6. Flush and observe. The toilet should fill, stop, and stay quiet. Check again after 10–15 minutes to confirm no slow leaks.
If adjustments don’t solve it, a full fill-valve replacement kit is still a DIY-friendly project and often under $25.
Quiet a Squeaky Door Without Replacing the Hinges
A squeaky interior door is more than an annoyance—it’s usually a sign the hinge pin is dry or slightly corroded. You can fix this quickly and make the door swing more smoothly.
- Open and close the door a few times to confirm which hinge is squeaking. Often it’s the top one.
- Support the door slightly with a wedge or sturdy book under the latch side to prevent it from shifting when you remove the pin.
- Tap out the hinge pin. Use a small screwdriver or nail set on the bottom of the pin and gently tap upward with a hammer. Catch the pin as it comes free.
- Clean the pin. Wipe off old grease, dust, or rust with a rag or fine steel wool.
- Apply lubricant. Use a few drops of light machine oil, silicone spray, or a dab of lithium grease. Avoid cooking oils—they gum up over time. Coat the pin lightly.
- Reinsert the pin from the top and tap it down until seated. Remove the wedge under the door.
- Test the door. Open and close it several times. If you still hear squeaks, repeat for the remaining hinges.
If a hinge feels loose or the screws won’t tighten, you may need to fill the screw holes with wooden toothpicks and wood glue, then re-drive the screws once the glue dries.
Patch a Small Drywall Hole So It Actually Blends In
From door handles to picture hooks, drywall takes a beating. Small holes are easy to repair cleanly if you follow a simple layering process instead of globbing on a single thick coat of compound.
- Clean the damaged area. Knock off loose drywall or peeling paint with a putty knife. Wipe off dust.
For nail or screw holes:
- Use lightweight spackle and a 2–3" putty knife. - Press the spackle into the hole, then scrape almost all of it off, leaving just a thin layer.
For larger holes (up to 2–3"):
- Use a self-adhesive drywall patch over the hole. - Press it firmly, then spread joint compound over it, feathering the edges outward. 4. Let the first coat dry completely (check package directions; usually a few hours). It should turn solid white. 5. Lightly sand with fine-grit sandpaper (120–220 grit) until smooth and level with the wall. Wear a dust mask if possible. 6. Apply a second thin coat of compound, extending slightly wider than the first. Let dry and sand lightly again. 7. Prime the patched area before painting so the finish color matches and doesn’t flash (look different) on the repaired spot. Then touch up with matching wall paint.
If you can still see an outline, you probably need your compound feathered a bit wider around the repair and one more very thin coat.
Revive a Stuck or Slow-Closing Window
A window that’s hard to open, slams shut, or refuses to stay put isn’t just annoying—it can be unsafe. Basic cleaning, lubrication, and balance checks can bring most double-hung and slider windows back to life.
- Inspect the tracks and sashes. Open the window as far as you can and look for dirt, paint drips, or debris lodged in the track.
- Vacuum the tracks using a crevice attachment to pick up dust, dead insects, and loose fragments.
- Clean with a mild cleaner and a cloth or non-scratch scrub pad. Avoid soaking wooden frames; use a lightly damp cloth instead.
- Lubricate the moving parts.
- For vinyl or aluminum: use a silicone-based spray on the tracks. Spray lightly, then move the sash up and down to distribute.
- For wood: keep lubricant off painted surfaces; a small amount of paste wax or a dry lubricant on friction points works well.
- Check the balances (for double-hung windows). If the sash won’t stay up or slams down, a sash balance or spring mechanism may be disconnected or broken. Many vinyl windows have removable covers for these—consult the window brand’s instructions if available.
- Tighten loose screws on locks, handles, and hinges (for casement/awning windows). Loose hardware can cause misalignment and sticking.
- Test operation several times. If you feel grinding or see visible damage (bent tracks, broken springs), stop and consider replacement parts or a professional repair.
Keeping windows clean and moving freely not only improves comfort but also helps them seal better, which can trim your heating and cooling costs.
Conclusion
Tackling small repairs before they grow saves money, prevents damage, and makes your home a lot more pleasant to live in. None of these projects require advanced skills—just basic tools, a bit of research on your specific fixtures, and patience to follow each step.
If you’re unsure about a step, take clear photos, label parts as you remove them, and don’t rush reassembly. When safety or major systems (like electrical work or structural changes) are involved, it’s always worth pausing and calling a pro. For everything else, these kinds of manageable fixes are how confident DIYers get started—and how you keep your home working the way it should.
Key Takeaway
The most important thing to remember from this article is that this information can change how you think about Home Repairs.


