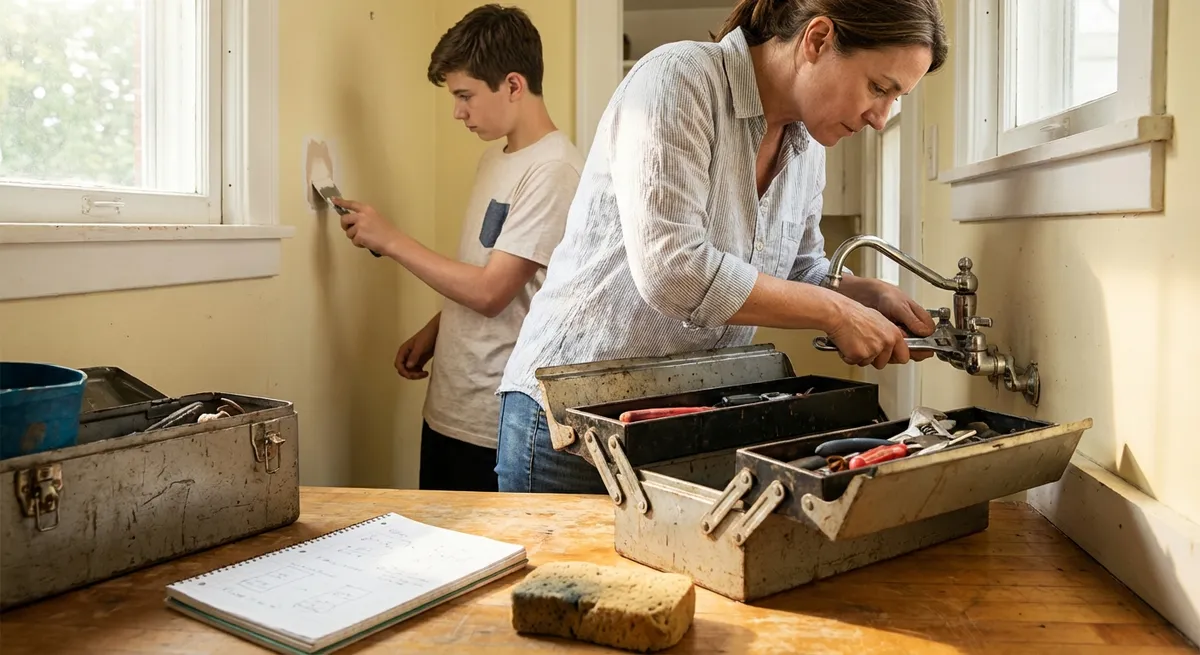
If you own or rent a home long enough, small problems start whispering for attention: a weak outlet here, a wobbly step there, a door that never quite latches. Ignore them, and they turn into expensive shouts. Tackle them early, and you keep both your home and your budget in better shape. This guide walks through five practical, step‑by‑step repairs most DIY‑minded people can handle with basic tools and a bit of patience.
Fixing a Loose Electrical Outlet (So It Stops Wiggling in the Wall)
A loose outlet isn’t just annoying—it can stress the wiring and crack the cover plate. Tightening it correctly makes it safer and easier to use.
What you’ll need:
Flathead and Phillips screwdrivers, outlet shims (or small washers), voltage tester, new cover plate if cracked.
Steps:
Cut the power at the breaker panel
Find the correct circuit breaker and switch it off. Don’t rely on a wall switch—kill the breaker.
Confirm power is off
Use a non‑contact voltage tester on the outlet slots. If it still beeps or lights up, you have the wrong breaker. Go back and verify.
Remove the cover plate
Use a screwdriver to take out the center screw and gently pull off the plate. Inspect it—if it’s cracked, plan to replace it.
Check the outlet’s mounting screws
You’ll see two screws (top and bottom) that secure the outlet to the electrical box. If they’re loose, gently tighten them. If tightening doesn’t pull the outlet snug to the box, move to the next step.
Add outlet shims to close the gap
Use plastic outlet shims or small washers around the mounting screws between the outlet ears and the box. Add enough to bring the outlet flush with the wall surface—but not bowed or under strain.
Reinstall the cover plate
Align it carefully and tighten the screw just until snug. Overtightening can crack the plate.
Restore power and test
Flip the breaker back on, plug in a simple device (like a lamp), and confirm the outlet is solid and functioning.
When to stop and call an electrician:
If you see damaged or burned wires, aluminum wiring, or you don’t feel confident about what you’re looking at, put the cover back on and call a pro.
Silencing a Squeaky Interior Door Without Removing It
That squeak every time someone opens a door can make a house sound older than it is. Good news: most hinge squeaks are easy to quiet.
What you’ll need:
Old towel or rag, small flathead screwdriver or nail, hammer (optional), lubricant (silicone spray, white lithium grease, or petroleum jelly), paper towels.
Steps:
Identify the noisy hinge
Open and close the door slowly to figure out which hinge (top, middle, or bottom) is making the sound. Usually, it’s the top or middle.
Protect the floor and trim
Place an old towel under the hinge area to catch drips. If using spray lubricant, have paper towels handy.
Test a quick, hinge‑on fix
Open the door and apply a small amount of lubricant directly to the hinge pin area and around the knuckles. Work the door open and closed 10–15 times to let it penetrate.
Remove and lubricate the hinge pin (if squeak persists)
- Partially open the door to reduce tension on the hinge. - Use a small screwdriver or nail at the bottom of the hinge pin and gently tap upward with a hammer. - Pull the pin out, wipe it clean, and apply a thin coat of lubricant along the entire pin.
Reinstall the hinge pin
Slide the pin back down into the hinge from the top. Tap gently with a hammer to seat it fully. Wipe away any extra lubricant that squeezes out.
Work the door and listen
Open and close the door a few more times. If you still hear noise, repeat the process on the other hinges.
What to avoid:
Cooking oil or WD‑40 as a long‑term fix—these can attract dust and grime. Choose a lubricant meant for hardware.
Repairing a Small Drywall Hole So the Patch Disappears
From door handles to picture hooks, small holes in drywall are almost unavoidable. With a simple patching process, you can make them virtually invisible.
What you’ll need:
Spackle or lightweight joint compound, putty knife (2–4"), fine‑grit sandpaper (120–220 grit), damp sponge, primer, touch‑up paint, optional self‑adhesive mesh patch (for larger holes).
Steps (for nail/screw holes up to about ½"):
Clean the area
Use your putty knife or a fingertip to remove loose crumbs of drywall or paint. Wipe dust away with a dry cloth.
Apply spackle
Scoop a bit of spackle onto the putty knife and press it firmly into the hole, slightly overfilling it. Scrape the knife flat across the surface to smooth it.
Let it dry completely
Follow the product’s instructions—usually 30 minutes to a few hours for small holes. Don’t rush to sand; damp compound will smear.
Lightly sand flush
Use fine‑grit sandpaper to smooth the patch level with the surrounding wall. Feather the edges so you can’t feel a ridge with your fingers.
Spot prime (important for a seamless look)
Apply a small amount of primer over the sanded area to seal the patch and help the paint match. Let it dry fully.
Touch up with paint
Use the same paint and sheen type already on the wall (e.g., eggshell, satin). Feather the paint slightly beyond the patch so it blends.
For holes around 1–2":
- Stick a self‑adhesive mesh patch over the hole.
- Apply a thin coat of joint compound over the mesh, feathering beyond the edges.
- Let dry, sand, add a second thinner coat, then repeat the sand/prime/paint steps.
Stopping a Running Toilet That Won’t Quiet Down
A toilet that runs periodically or constantly wastes water and hikes your bill. Inside the tank, though, the mechanism is straightforward and usually fixable without special tools.
What you’ll need:
Adjustable wrench (maybe), replacement flapper or fill valve if needed, towel.
Steps:
Take off the tank lid and observe
Flush once and watch what happens. Note the flapper (rubber piece at bottom), the chain, and the fill valve (tall assembly on one side).
Check the flapper seal first
If water continues to trickle into the bowl when the tank should be full, gently press down on the flapper. If the running stops, the flapper isn’t sealing well.
Adjust or replace the flapper
- Make sure the chain has a bit of slack when the flapper is closed—too tight and it can’t seal. Adjust chain length as needed. - If the flapper looks warped, brittle, or slimy, shut off the water valve behind the toilet, flush to empty the tank, and swap in a matching replacement flapper (follow package instructions).
Adjust the water level
If water keeps running into the overflow tube (the open tube in the middle), the fill valve is setting the water line too high. - For float‑cup valves: turn the adjustment screw or slide the clip down to lower the float. - For float‑ball valves: gently bend the metal arm downward so the valve shuts off sooner.
Inspect the fill valve for wear
If adjusting doesn’t stop the running or the valve is very old, replacing the fill valve might be the easiest route. Most kits include clear diagrams and require just turning off water, draining the tank, swapping the assembly, and reconnecting the supply line.
Test for a full cycle
Turn the water back on, let the tank fill, and watch one complete flush. Confirm the flapper closes firmly and the water stops at the correct level without creeping into the overflow tube.
Tip:
A few drops of food coloring in the tank (with the water shut off to the supply) can help detect slow flapper leaks—if it shows up in the bowl without flushing, you’ve got a leak.
Re‑Securing a Loose Handrail for Safer Stairs
A wobbly stair handrail is more than a nuisance; it’s a safety hazard. Often, the bracket screws have loosened from drywall or missed solid framing. Re‑anchoring properly makes a big difference.
What you’ll need:
Drill/driver, wood screws, wall anchors (if needed), stud finder, level, pencil, wood filler (optional), touch‑up paint.
Steps:
Test each bracket
Gently pull on the rail near each bracket to see which ones move. Some may be solid while others are barely attached.
Locate studs where possible
Use a stud finder along the rail line to find solid framing near each bracket. Mark stud centers with a pencil. Attaching brackets to studs is always best.
Remove loose brackets
Unscrew the bracket from the wall. If screws were only in drywall or shallow material, note that for anchor selection.
Reposition or reinforce the bracket
- If a stud is close: shift the bracket slightly so you can drive new screws into the stud. - If no stud is available: use heavy‑duty wall anchors rated for the expected load (look for ones labeled for handrails or grab bars).
Drill new pilot holes
Mark new screw positions, making sure the bracket will still align with the rail and other brackets. Drill pilot holes into studs or for anchors as directed by the anchor packaging.
Install anchors (if needed)
Push or tap anchors flush with the wall surface according to manufacturer instructions. Avoid overtightening.
Reattach the bracket firmly
Use appropriate length wood screws into studs or anchor screws into anchors. Tighten until snug—don’t strip the hardware or crush the drywall.
Check alignment and stability
Use a small level on the rail to ensure it’s reasonably straight. Pull firmly on the rail along its length. If any bracket still moves, reassess that connection.
Finish cosmetic touch‑ups
Fill any old, unused holes with wood filler or spackle, sand smooth, and touch up with paint.
Safety note:
For households with children, seniors, or anyone with mobility issues, err on the side of stronger anchors and more frequent brackets.
Conclusion
Small, nagging problems around the house rarely fix themselves. But with a modest toolkit, a methodical approach, and a willingness to learn, you can handle many of them before they turn into bigger bills. Tightening a loose outlet, silencing a door, patching damaged drywall, stopping a running toilet, and securing a handrail are all practical, high‑impact wins that boost safety, comfort, and confidence.
Each time you complete one of these repairs, take a moment to notice what you learned—how the parts fit together, which tools helped most, and where you might upgrade your supplies next. That knowledge compounds, turning “I hope this doesn’t break” into “I can probably fix that.”
Sources
- [U.S. Consumer Product Safety Commission – Electrical Receptacle Safety](https://www.cpsc.gov/s3fs-public/5134.pdf) – Guidance on safe use and maintenance of electrical outlets and receptacles
- [Family Handyman – How to Fix a Squeaky Door](https://www.familyhandyman.com/project/how-to-fix-a-squeaky-door/) – Practical hinge lubrication and adjustment methods for doors
- [USGS – Household Water Use](https://www.usgs.gov/special-topics/water-science-school/science/household-water-use) – Background on how leaks like running toilets impact water consumption
- [This Old House – How to Patch a Hole in Drywall](https://www.thisoldhouse.com/walls/21015007/how-to-patch-a-hole-in-drywall) – Detailed drywall repair techniques for different hole sizes
- [Centers for Disease Control and Prevention – Older Adult Home Safety Checklist](https://www.cdc.gov/steadi/pdf/STEADI-Brochure-CheckForSafety-508.pdf) – Home safety considerations, including handrails and fall prevention
Key Takeaway
The most important thing to remember from this article is that this information can change how you think about Home Repairs.


