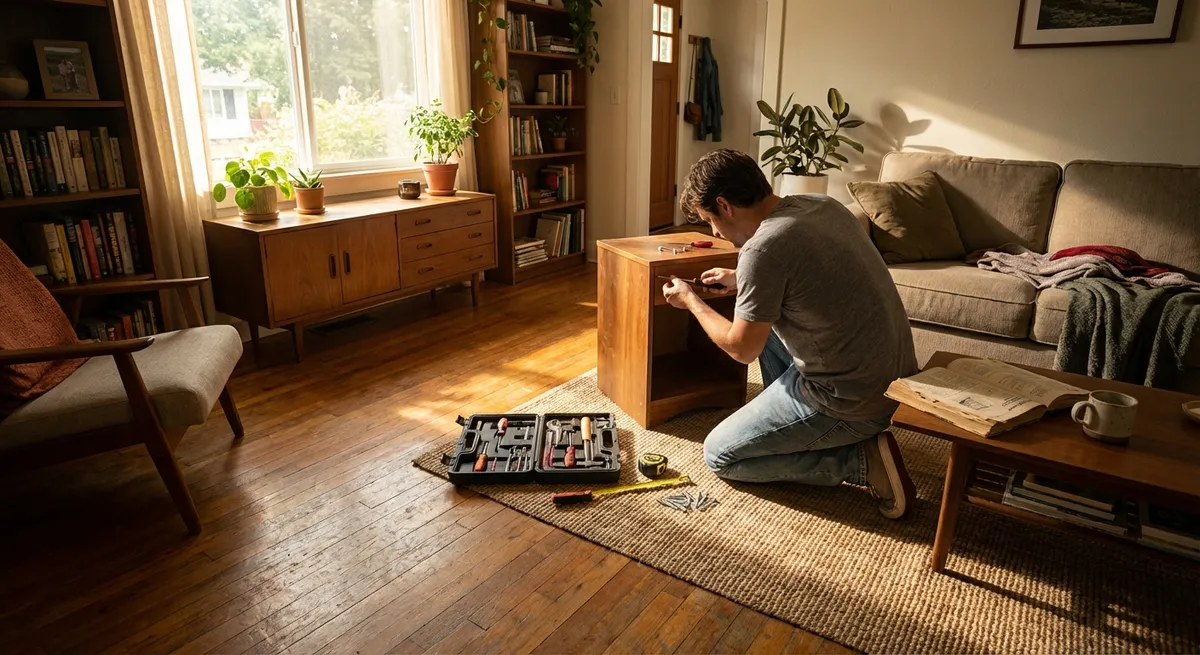
When something breaks at home, you don’t always need a contractor—or a panic attack. With a bit of planning, a few basic tools, and the right approach, you can tackle a surprising number of everyday repairs yourself. This guide walks through five practical, step‑by‑step fixes that build real DIY confidence while keeping your home safer, quieter, and more comfortable.
Repair 1: Silencing a Dripping Faucet
A dripping faucet wastes water and slowly drives you up the wall. The good news: most drips come from worn internal parts you can replace with basic tools.
Identify your faucet type
Look at the handle and body: common types are compression, cartridge, ball, and ceramic disk. Search your faucet brand and model (often printed on the faucet) to confirm. Knowing the type helps you buy the right replacement parts.
Shut off the water supply
Look under the sink for shutoff valves on the hot and cold lines. Turn them clockwise until snug. Open the faucet to confirm water is off and to relieve pressure.
Disassemble the handle and valve
Pry off decorative caps with a small flathead screwdriver, then remove the screw underneath. Lift off the handle. Use an adjustable wrench to loosen the packing nut or retaining nut holding the valve or cartridge in place. Take your time—avoid scratching the finish.
Inspect and replace worn parts
For compression faucets, replace the rubber washer and possibly the O‑ring. For cartridge or disk faucets, replace the entire cartridge or seals as a set. Take old parts to the hardware store so you can match them exactly.
Reassemble and test
Reinstall the stem or cartridge, tighten the nut snugly (don’t overtighten), and reattach the handle. Turn the shutoff valves back on slowly. Open the faucet and run water for a minute, then close it and check for drips.
Repair 2: Patching a Small Drywall Hole the Right Way
From doorknob dents to wall anchors, small drywall holes are common—and very fixable with a clean, durable patch that disappears under paint.
Prep the area
Use a utility knife to trim any loose paper or crumbling edges around the hole. Lightly sand the area so the surface is smooth and dust-free. Wipe with a dry cloth.
Choose the right patch method
- Nail/screw hole (pin-size to pencil-size): spackle only - Hole up to ~2 inches: adhesive mesh patch or self-adhesive metal patch - Larger hole: requires a backing piece (not covered here)
Apply the patch or filler
For tiny holes, press lightweight spackle into the hole with a putty knife, slightly overfilling. For mesh patches, stick the patch over the hole, then apply joint compound over the patch, smoothing outward to feather the edges.
Sand and repeat if needed
Once dry (follow product directions), sand with fine-grit sandpaper until smooth and flush with the wall. If you can still see a depression or ridges, apply a second thin coat, let dry, and sand again.
Prime and paint
Bare drywall and patches tend to “flash” through paint. Use a small brush or roller to apply primer over the repair, then paint the entire section of wall from corner to corner when possible for the best blend.
Repair 3: Fixing a Running Toilet That Won’t Stop Refilling
A toilet that runs constantly wastes a lot of water and often just needs a few adjustments or inexpensive parts.
Take off the tank lid and observe
Flush the toilet and watch what happens inside the tank. Focus on the flapper (rubber piece over the flush valve), the chain, and the fill valve (where water comes in).
Check the flapper for leaks or warping
If the toilet keeps refilling without you touching it, the flapper might not be sealing. Turn off the water at the shutoff valve behind or below the toilet, then drain the tank by flushing. Inspect the flapper for mineral buildup, brittleness, or distortion. Replace it if it’s not flexible or smooth.
Adjust or replace the chain
The chain that connects the handle to the flapper should have a little slack but not so much that it gets caught under the flapper. Shorten or lengthen it by changing the hook position. Test a few flushes to ensure the flapper opens fully and then drops cleanly.
Set the correct water level
The water should stop about 1 inch below the top of the overflow tube. On float‑cup style fill valves, squeeze and slide the clip on the float rod to adjust height. On float ball types, bend the arm slightly downward. Turn water back on and check where it stops.
Clean or replace the fill valve if necessary
If water keeps trickling into the tank or is spraying erratically, mineral buildup may be the culprit. Some valves can be disassembled for cleaning; others are easiest to replace entirely. Follow the new valve’s instructions carefully and use the included gasket and washers to prevent leaks.
Repair 4: Replacing a Broken Light Switch Safely
A crackling, loose, or nonworking light switch is more than annoying—it can be unsafe. Swapping it for a new one is a straightforward electrical repair if you follow safety steps.
Turn off power at the breaker panel
Don’t rely on just flipping the switch. Go to your service panel, locate the correct breaker, and switch it off. Back at the switch, flip it on and off to confirm lights don’t work.
Remove the cover plate and test for power
Unscrew the faceplate. Use a non-contact voltage tester on the wires or screw terminals to confirm there is no power. If your tester beeps or lights up, the wrong breaker is off—go back and find the right one.
Take a photo of the existing wiring
Before you touch any wires, take a clear photo of how each wire is connected. This is your backup “map” for reconnecting the new switch correctly.
Disconnect and swap the switch
Loosen the terminal screws and gently remove the wires. On a typical single‑pole switch, you’ll have two hot wires and sometimes a ground wire. Attach the wires to the new switch in the same positions: hot wires to brass screws, ground to the green screw. Ensure the bare copper or ground wire isn’t touching other terminals.
Secure and test
Carefully fold the wires back into the box without pinching or crimping them. Screw the switch to the box, reinstall the cover plate, and restore power at the breaker. Test the switch. If anything flickers, feels hot, or seems off, turn power back off and recheck connections—or consult a licensed electrician.
Repair 5: Weatherstripping a Drafty Exterior Door
Drafty doors raise energy bills and make rooms uncomfortable. Adding or replacing weatherstripping is a simple way to improve comfort and cut heating and cooling costs.
Inspect for gaps and drafts
On a windy day or with a fan blowing toward the door, look for light peeking around the edges and feel for air leaks with your hand. Pay attention to the sides, top, and under the door (threshold area).
Choose the appropriate weatherstripping
- Foam tape: good for small, uneven gaps on the jamb - V‑strip (tension seal): durable, good for sides and top - Door sweep: for sealing the gap at the bottom of the door Measure your door frame so you buy enough length for all sides.
Clean and prep the surfaces
Remove old, damaged weatherstripping and adhesive. Clean the jamb and door edge with a mild cleaner and let dry. A clean surface helps new strips adhere properly and last longer.
Install weatherstripping along the jambs and header
Start at the top (header) and work down the sides. Peel off backing as you stick foam tape or V‑strip in place, pressing firmly. Close the door to check for fit—the door should seal firmly but still close without excessive force.
Add or adjust a door sweep
For the bottom gap, install a door sweep on the inside bottom edge of the door. With the door closed, position the sweep so its rubber or bristles just touch the threshold, then screw it in place. Test by opening and closing the door; adjust if it drags too much.
Conclusion
Building real DIY confidence doesn’t require major renovations—it starts with small, practical repairs like these. Each fix teaches you something new about how your home works, which tools you’re comfortable with, and when a project is within your reach. Keep your steps methodical, respect safety rules (especially with plumbing and electrical work), and document what you do. Over time, you’ll spend less time waiting for service calls and more time living in a home you know how to maintain.
Sources
- [U.S. Environmental Protection Agency – Fix a Leak](https://www.epa.gov/watersense/fix-leak-week) - Explains how small leaks (like dripping faucets and running toilets) waste water and offers basic troubleshooting guidance
- [Family Handyman – How to Repair a Leaky Single-Handle Cartridge Faucet](https://www.familyhandyman.com/project/how-to-repair-a-leaky-single-handle-cartridge-faucet/) - Detailed, illustrated instructions for common faucet repairs
- [Lowe’s – How to Patch and Repair Drywall](https://www.lowes.com/n/how-to/patch-and-repair-drywall) - Step-by-step guidance and material recommendations for fixing drywall holes of different sizes
- [U.S. Department of Energy – Air Sealing Your Home](https://www.energy.gov/energysaver/air-sealing-your-home) - Covers where drafts commonly occur and how weatherstripping improves comfort and efficiency
- [Occupational Safety and Health Administration (OSHA) – Working with Electricity](https://www.osha.gov/sites/default/files/publications/electrical_safety_hazards_handbook.pdf) - Safety principles and best practices to keep in mind when doing any electrical work at home
Key Takeaway
The most important thing to remember from this article is that this information can change how you think about Home Repairs.


