A lot of home repairs look intimidating until you break them into clear, doable steps. Instead of adding another “someday” project to your list, this guide walks you through five common fixes you can realistically tackle in an afternoon or weekend—with basic tools and a bit of patience. These are the kinds of repairs that make your home feel better right away: quieter, safer, and less annoying.
Below you’ll find straightforward, step‑by‑step instructions, what you’ll need, and when it’s time to stop and call a pro.
Stop a Dripping Faucet (Without Replacing the Whole Thing)
A faucet that drips all day is basically money going down the drain. In most cases, the culprit is a worn cartridge or washer—cheap parts you can replace yourself.
Tools & supplies
- Adjustable wrench or basin wrench
- Screwdrivers (Phillips and flathead)
- Replacement cartridge or faucet repair kit (match your brand/model)
- Plumber’s grease
- Towel and small container for parts
Step‑by‑step
Shut off the water
Look under the sink for shutoff valves and turn them clockwise until they stop. Open the faucet to release pressure and confirm water is off.
Plug the drain and remove the handle
Use a sink plug or cloth so you don’t lose screws. Remove the decorative cap on the handle (if present), then unscrew the handle. Lift it off gently.
Take a photo before disassembly
Snap a quick picture of the internal setup. It’s your road map for putting everything back correctly.
Remove the cartridge or stem
Loosen the retaining nut with your wrench and pull the cartridge or stem straight up. If it’s stuck, wiggle gently—don’t twist too hard or you can damage the body.
Match and replace the parts
Take the old cartridge/washer to the hardware store to match it, or use the faucet brand and model number. Install the new part in the same orientation as the original.
Grease and reassemble
Apply a thin layer of plumber’s grease to O‑rings and moving parts. Reinstall the retaining nut, then the handle and screws. Don’t overtighten.
Turn water back on and test
Slowly open the shutoff valves and run the faucet. Check for leaks at the base and handle. If it still drips, double‑check that the cartridge is seated correctly.
When to call a pro
- Corroded or cracked faucet body
- Shutoff valves won’t close or are leaking
- You see water stains or dampness inside the cabinet
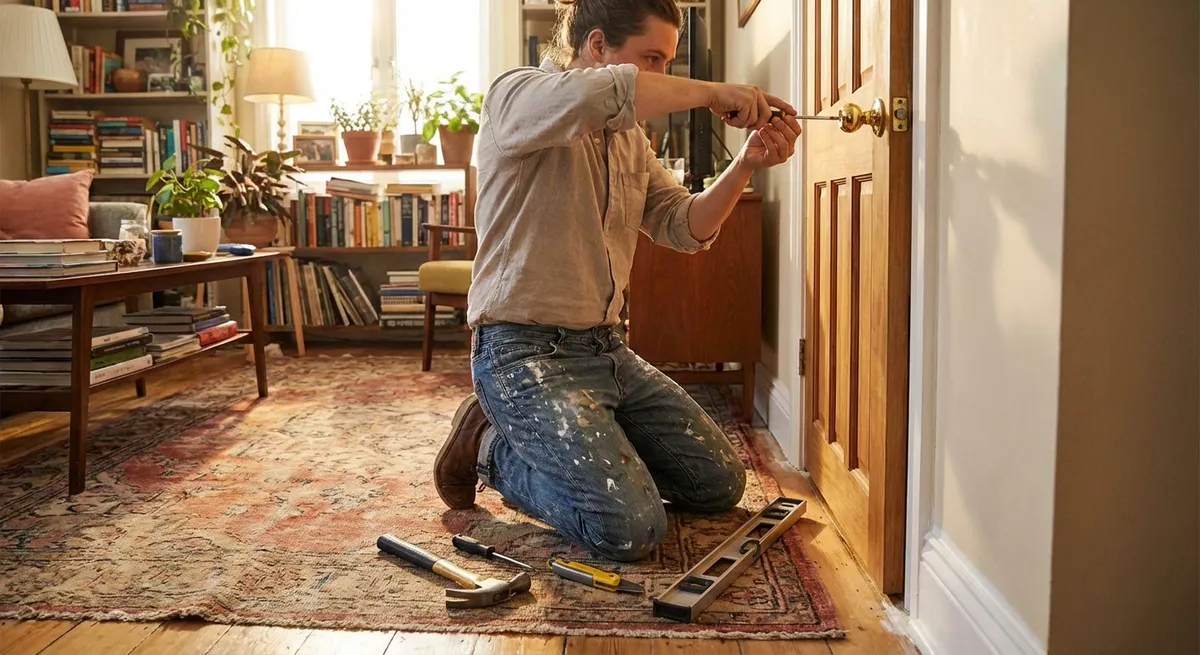
Quiet a Squeaky Door the Right Way
A squeaky interior door usually comes from dry or slightly misaligned hinges. Instead of blasting it with random spray, a careful, clean fix lasts much longer.
Tools & supplies
- Hammer and small nail punch (or thin screwdriver)
- Rag or paper towels
- Silicone‑based lubricant or white lithium grease
- Optional: drill/driver and wood toothpicks for loose screws
Step‑by‑step
Identify which hinge squeaks
Open and close the door slowly. Put your ear near each hinge to find the noisy one.
Support the door if needed
For heavier doors, place a wedge or doorstop under the door so it doesn’t sag when you pull hinge pins.
Remove the hinge pin
Starting with the top hinge, tap the bottom of the pin with a nail punch or thin screwdriver and hammer until it lifts enough to grab. Pull it out with your fingers or pliers.
Clean the pin and hinge barrel
Wipe off old grease, paint chips, and dust. If there’s rust, lightly sand it with fine sandpaper or steel wool and wipe clean.
Lubricate lightly
Apply a thin coat of silicone spray or a dab of white lithium grease along the pin and inside the barrel. Avoid cooking oils—they attract dust and turn gummy.
Reinsert and work the hinge
Tap the pin back in, then slowly open and close the door 10–15 times to distribute the lubricant. Repeat for any remaining noisy hinges.
Tighten or repair loose screws
If the door still rubs or sags, tighten hinge screws. If a screw spins without biting, remove it, fill the hole with wood glue and toothpicks, let it set, then reinstall the screw.
When to call a pro
- Door frame is cracked, splitting, or separating from the wall
- Exterior door is badly misaligned and won’t latch or lock securely
Fix a Running Toilet and Cut Down Your Water Bill
A toilet that runs long after flushing can waste hundreds of gallons a month. The fix is usually a worn flapper, misadjusted float, or a faulty fill valve—simple parts, no special plumbing skills required.
Tools & supplies
- Adjustable wrench or pliers
- Replacement flapper and/or fill valve kit (universal kits fit most toilets)
- Sponge or towels
- Bucket (if replacing fill valve)
Step‑by‑step
Diagnose the noise
- Constant trickling into the bowl? Likely a bad flapper. - Hissing or refilling on and off? Float or fill valve issue.
Turn off the water
Twist the shutoff valve behind the toilet clockwise. Flush to empty most of the tank. Use a sponge or towel to soak up remaining water if replacing the fill valve.
Replace the flapper (most common fix)
- Unhook the chain from the flush handle. - Unclip the flapper from the overflow tube. - Clip on the new flapper, then reattach the chain with a bit of slack (flapper should close fully but respond promptly to the handle).
Adjust water level
- For float‑cup valves, squeeze the clip and move the float up or down so water stops about 1 inch below the top of the overflow tube. - For older ball floats, gently bend the arm downward to lower the water level.
Replace the fill valve (if needed)
- Disconnect the water supply line under the tank with a wrench. - Unscrew the large plastic nut securing the fill valve and remove the valve from inside the tank. - Insert the new valve following the kit instructions and adjust height to match your tank. - Tighten the nut hand‑tight plus a quarter turn. Reconnect the supply line.
Turn water on and test
Open the shutoff valve slowly. Let the tank fill, then flush several times. Listen for ongoing hissing or trickling and adjust the float as needed.
When to call a pro
- Cracks in the tank or bowl
- Persistent leaks around the base of the toilet
- Shutoff valve is stuck or leaks when turned
Patch a Small Drywall Hole So It Actually Blends In
Whether it’s from a door handle or a misplaced anchor, small drywall holes are simple to repair when you follow the right order: fill, smooth, prime, paint.
Tools & supplies
- Putty knife (2–4 inch)
- Lightweight spackle or joint compound
- Self‑adhesive mesh patch (for holes larger than a nail but under 3–4 inches)
- Fine‑grit sandpaper or sanding sponge
- Primer and matching wall paint
- Damp cloth
Step‑by‑step
Prep the area
Use the putty knife to scrape away loose paint or crumbs around the hole. Wipe with a damp cloth and let dry completely.
Choose the right approach
- Nail/screw holes: spackle alone is fine. - Larger holes (up to a few inches): use a mesh patch plus compound.
Apply spackle or patch
- Small holes: press spackle into the hole with the putty knife, then smooth it flat, feathering beyond the edges. - Larger holes: stick the mesh patch over the hole, then spread compound over the patch, extending beyond the edges to blend into the wall.
Let it dry fully
Follow the product’s drying time—often 30 minutes to a few hours. Rushing this step makes sanding messy and leads to visible patches.
Sand smooth
Lightly sand the area until it’s flush with the surrounding wall. Run your hand over it; you shouldn’t feel a ridge.
Prime before painting
Apply a small amount of primer to the repaired area. This keeps the patch from flashing (showing through) under your paint sheen.
Paint to blend
Use matching paint and a small roller or brush, feathering the edges into the surrounding wall. Sometimes two light coats blend better than one heavy one.
When to call a pro
- Large holes (bigger than a standard electrical box)
- Cracks that keep returning or appear around doorways and windows (could indicate settling issues)
- Signs of moisture or mold in or behind the drywall
Re‑Caulk a Moldy or Cracked Bathtub Joint
Old, cracked caulk around your tub or shower isn’t just ugly—it can let water sneak behind walls and under flooring. Re‑caulking looks tedious, but it’s mostly about taking your time with removal and smoothing.
Tools & supplies
- Utility knife and/or caulk removal tool
- Painter’s tape
- Bathroom‑grade silicone or siliconized acrylic caulk (mold‑resistant)
- Caulk gun (for standard tubes)
- Rubbing alcohol or mild cleaner
- Paper towels or rags
- Bucket or trash bag for old caulk
Step‑by‑step
Remove all the old caulk
Use the knife or removal tool to cut along both sides of the old bead. Gently pull out the strip of caulk. Scrape away any stuck bits—new caulk won’t stick over old.
Clean and dry the area thoroughly
Wipe joints with cleaner, then with rubbing alcohol to remove soap scum and residue. Let everything dry completely; moisture under new caulk leads to early failure.
Tape your lines for a clean edge
Run painter’s tape parallel to the joint, leaving a gap about as wide as your planned caulk bead (usually 1/8–1/4 inch). This helps keep the bead straight and professional‑looking.
Cut the caulk tip correctly
Cut the nozzle at a 45‑degree angle, making a small opening. You can always enlarge it, but you can’t go smaller once cut.
Apply a steady bead
Hold the gun at about 45 degrees and move smoothly along the joint, squeezing the trigger steadily. Aim for a continuous bead without stopping and starting.
Tool the caulk (smooth it)
Within a few minutes of applying, run a damp finger or caulk tool along the bead to press it into the joint and smooth the surface. Wipe excess onto a rag as you go.
Remove tape and let it cure
Carefully pull the painter’s tape away at a 45‑degree angle while the caulk is still wet. Follow the tube for cure time (often 24 hours) before using the shower or tub.
When to call a pro
- Soft, spongy walls or floors around the tub
- Visible gaps between tub and wall that caulk alone can’t bridge
- Repeated mold growth even after proper cleaning and ventilation
Conclusion
Most everyday home problems don’t require a truck full of tools or a contractor on speed dial—just clear steps, a little patience, and knowing when to stop if something looks off. By tackling small repairs like drippy faucets, squeaky doors, running toilets, damaged drywall, and failing caulk, you not only save money but also learn skills that compound over time.
Start with the problem that annoys you most, gather your tools before you begin, and work slowly enough to do it once instead of twice. If at any point you see signs of structural damage, major leaks, or electrical issues, pause and bring in a licensed pro. Fix what you can, safely—and let the tougher jobs confirm just how much you’ve already learned.
Sources
- [U.S. Environmental Protection Agency – Fixing Leaks at Home](https://www.epa.gov/watersense/fix-leak-week) – Explains how common household leaks (like faucets and toilets) waste water and offers basic repair guidance.
- [The Family Handyman – How to Fix a Leaky Single-Handle Faucet](https://www.familyhandyman.com/project/how-to-repair-a-compression-faucet/) – Step‑by‑step faucet repair instructions with photos for visual reference.
- [Lowe’s – How to Fix a Running Toilet](https://www.lowes.com/n/how-to/fix-a-running-toilet) – Clear walkthrough of toilet diagnostics and repairs, including flapper and fill valve replacements.
- [University of Maryland Extension – Repairing Holes in Drywall](https://extension.umd.edu/resource/repairing-holes-drywall) – Educational guide to drywall patching techniques and materials.
- [Mayo Clinic – Mold Exposure and Health](https://www.mayoclinic.org/diseases-conditions/mold-allergy/symptoms-causes/syc-20351550) – Background on mold concerns that reinforces why maintaining proper caulk and sealing in wet areas matters.
Key Takeaway
The most important thing to remember from this article is that this information can change how you think about Home Repairs.


