Modern cars feel complicated, but a surprising amount of maintenance and basic repair is still absolutely doable in your driveway. Learning a few practical skills doesn’t just save money—it also helps you spot problems earlier and avoid being upsold on work you don’t need.
This guide walks through five straightforward, step‑by‑step auto repair tasks most DIYers can handle with basic tools, clear thinking, and a little patience.
Safety and Setup: What to Do Before Any DIY Car Work
Before picking up a wrench, set yourself up to work safely and efficiently. Good prep prevents broken bolts, stripped threads, and emergency tow trucks.
First, choose a flat, solid surface—concrete or packed asphalt—not gravel or soft ground. Engage the parking brake and keep the key out of the ignition unless a step specifically requires it. If you’re lifting the car, use a proper jack and always support the vehicle with jack stands at the designated lift points (your owner’s manual usually shows these). Never rely solely on a floor jack.
Gather tools before you start: a basic socket set, combination wrenches, flathead and Phillips screwdrivers, a torque wrench if possible, nitrile gloves, rags, and a bright work light. Keep your phone handy to take photos as you go; these are incredibly useful when reassembling. Finally, check the service information for your exact vehicle—fluid types, torque specs, and maintenance intervals can vary a lot between models. When in doubt, stop and double‑check; forcing parts is how simple jobs turn expensive.
Step‑By‑Step Tip 1: Replacing Worn Wiper Blades (Small Job, Big Safety Win)
Clear vision is non‑negotiable, yet wiper blades are one of the most neglected items on any car. If they smear, chatter, or leave streaks, it’s time for new ones.
What you’ll need: New wiper blades (correct size for your vehicle), a clean rag, glass cleaner.
Steps:
- Confirm blade sizes.
Check your owner’s manual, look up your car on the wiper brand’s website, or use the parts store’s fitment guide. Driver and passenger sides may be different lengths.
- Lift the wiper arms.
Gently raise the wiper arm away from the windshield until it locks into a raised position (many do). Be careful—a bare metal arm can crack a windshield if it snaps back.
- Release the old blade.
Most blades use a small tab or button on the plastic connector. Press the tab and slide the blade down (or off) the hook. If it’s stuck, don’t pry violently; wiggle and inspect the clip to see how it’s designed to release.
- Attach the new blade.
Slide the new blade into the hook or connector until it clicks firmly. Tug gently to ensure it’s locked in; a loose blade can fly off in bad weather.
- Clean the glass and test.
Before lowering the arms, wipe the windshield with glass cleaner and a microfiber cloth. Lower the arms gently, then test your wipers with washer fluid. If there’s noise or skipping, verify the blades are seated correctly and the connectors are fully locked.
This job takes 10–15 minutes and immediately improves driving safety, especially at night and in heavy rain.
Step‑By‑Step Tip 2: Swapping Out a Weak 12V Battery
If your car cranks slowly, interior lights dim when starting, or you hear clicking but no start, your 12V battery may be near the end of its life. Replacing it yourself is straightforward, but must be done carefully to avoid short circuits and voltage spikes.
What you’ll need: Correct replacement battery, wrench or socket set, battery terminal brush or wire brush, protective gloves and eye protection, memory saver (optional for some vehicles with sensitive electronics).
Steps:
- Identify the right battery.
Check size (group number), terminal layout (positive/negative orientation), and cold cranking amps (CCA) recommended for your vehicle in the owner’s manual or parts guide. Don’t downsize; equal or slightly higher CCA is usually safe.
- Shut everything down.
Turn the engine off, remove the key, and switch off all electrical accessories. Open the hood and locate the battery; some newer cars may have it in the trunk or under a cover.
- Disconnect the negative terminal first.
Loosen the nut on the negative (–) terminal and remove the cable. Tuck it aside so it can’t spring back to the post. Then loosen and remove the positive (+) cable. Disconnecting negative first reduces the risk of accidental short circuits.
- Remove hold‑down hardware and lift out the battery.
Most batteries are held with a bracket or clamp at the base. Remove those bolts and carefully lift the battery straight up—it’s heavy, so use proper form and keep it level to avoid spilling any residual acid.
- Clean terminals and tray.
Use a battery brush or wire brush to clean corrosion from cable ends and tray surfaces. If there’s heavy crusty buildup, a baking soda and water solution can neutralize it; rinse and dry thoroughly afterward.
- Install the new battery.
Place the new battery in the tray in the same orientation as the old one. Reinstall the hold‑down bracket snugly—tight enough that the battery doesn’t move, but not so tight you crack the case.
- Reconnect positive first, then negative.
Attach and tighten the positive (+) cable first, then the negative (–) cable. A firm connection reduces resistance and starting issues. Don’t overtighten; terminals can crack.
- Test start and check for warnings.
Start the vehicle and look for warning lights. Some cars may need a radio code or window initialization after power loss; your manual should outline any required reset steps.
Dispose of the old battery at an auto parts store or recycling center—they’re usually accepted for free and sometimes even earn you a small credit.
Step‑By‑Step Tip 3: Fixing a Slow Tire Leak with a Plug Kit
A tire losing a few PSI every week is more than a nuisance; under‑inflated tires reduce fuel economy, wear unevenly, and can overheat. If the puncture is in the tread (not the sidewall) and is from a nail or screw, a plug repair can often get you safely back on the road.
What you’ll need: Tire plug kit (rasp tool, insertion tool, plugs), pliers, utility knife, air compressor or portable inflator, soapy water in a spray bottle, tire pressure gauge.
Steps:
- Find the leak.
Inflate the tire to the recommended pressure. Spray soapy water over the tread and valve stem; bubbling indicates escaping air. Roll the car slightly to inspect the full circumference.
- Check if it’s repairable.
Only plug punctures in the tread area, not the sidewall or shoulder. If the hole is large, irregular, or near the sidewall, skip DIY and let a tire shop handle it—some damage is unsafe to repair.
- Remove the object.
Use pliers to pull out the nail or screw. As soon as it’s removed, air will escape faster, so be ready with your tools.
- Ream the hole.
Insert the rasp tool from the kit into the puncture and work it in and out several times to clean and slightly enlarge the hole. This feels wrong but is necessary for the plug to seal correctly.
- Load and insert the plug.
Thread a rubber plug halfway through the eye of the insertion tool. Push the tool and plug into the hole until about 1/2 inch of plug remains outside. Then quickly pull the tool straight out, leaving the plug behind.
- Trim and test.
Use a utility knife to trim the excess plug nearly flush with the tread. Reinflate the tire to spec, then spray soapy water on the repair; if no bubbles appear, the plug is holding.
- Monitor pressure.
Check that tire over the next several days. If it keeps losing air, have a shop inspect it. For long‑term safety, many tire experts recommend a plug‑patch from inside the tire, especially at higher speeds or under heavy loads.
Plug repairs, done correctly on suitable punctures, can be a solid short‑term (and often long‑term) solution, but know when to call in a pro.
Step‑By‑Step Tip 4: Replacing Front Brake Pads (For Confident DIYers)
Brakes are critical to safety, so if this job feels beyond your comfort level, there’s no shame in going to a shop. That said, front pad replacement on many vehicles is a manageable project if you work carefully and methodically.
What you’ll need: Jack and jack stands, lug wrench, socket set, C‑clamp or dedicated brake caliper tool, new brake pads (correct type), brake cleaner, shop rags, torque wrench, mask/gloves (to avoid breathing dust).
Steps:
- Loosen lugs and safely raise the car.
Slightly loosen the lug nuts while the car is on the ground (don’t remove them). Jack up the front at the proper lift point and support the vehicle securely on jack stands. Remove the wheels.
- Inspect the braking system.
With the wheel off, locate the caliper and rotor. Look for fluid leaks, severely scored rotors, or damaged hoses. If anything looks questionable, pause and research before proceeding.
- Remove the caliper and old pads.
Remove the caliper slide bolts (usually two) and carefully lift the caliper off the rotor. Don’t let it hang by the hose—support it with wire or a bungee cord. Slide the old pads out of their brackets.
- Compress the caliper piston.
Place an old pad against the piston and use a C‑clamp to slowly push the piston back into the caliper housing. Do this gradually; check the brake fluid reservoir under the hood to ensure it doesn’t overflow (you may need to siphon out a little if it’s too full).
- Clean and prep the hardware.
Use brake cleaner to remove dust and grime from the caliper bracket and hardware. Replace any pad shims or slider clips included with your new pads. Lightly lubricate slider pins and pad contact points with high‑temp brake grease—keep it off the pad friction surface and rotor.
- Install new pads.
Slide the new pads into the bracket, ensuring they’re fully seated and oriented correctly (wear indicators, if present, usually go on the inside pad). Reposition the caliper over the new pads.
- Reinstall and torque bolts.
Reinstall caliper bolts and tighten them to the specified torque from your service manual. Reinstall wheels, hand‑tighten lug nuts, lower the car, then torque lug nuts in a star pattern to spec.
- Pump the brake pedal before driving.
With the engine off, pump the brake pedal several times until it feels firm—this seats the pads against the rotors. Take a short, low‑speed test drive, listening for noises and ensuring consistent braking.
New pads often require a gentle “bed‑in” period; follow the pad manufacturer’s instructions to maximize performance and longevity.
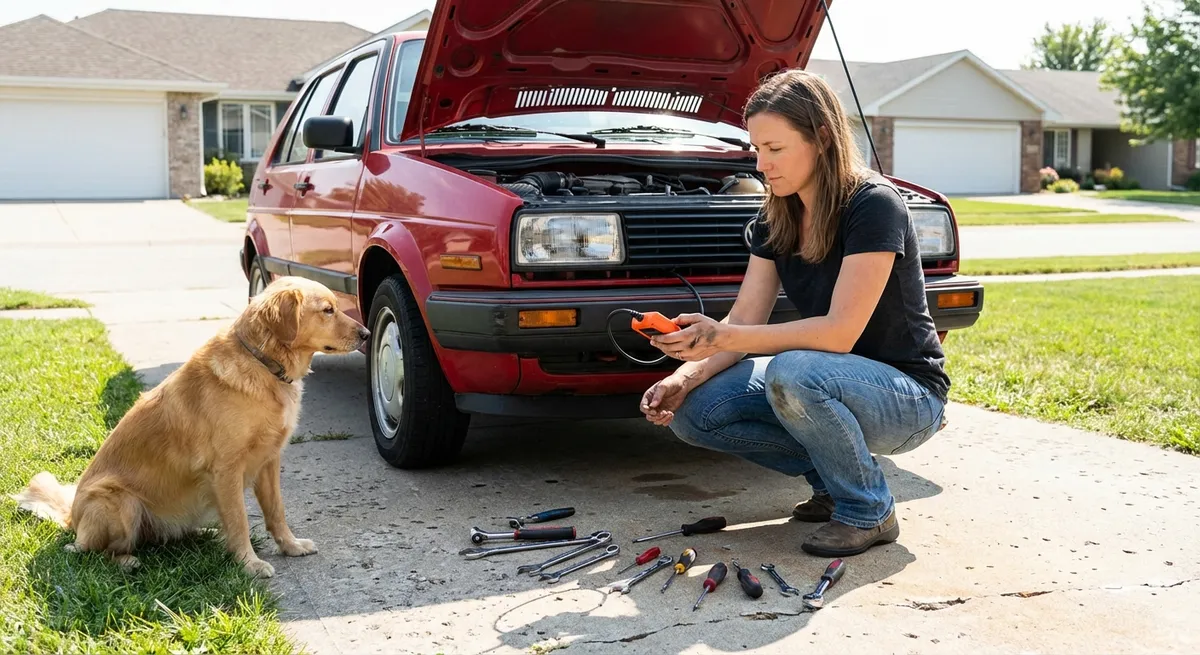
Step‑By‑Step Tip 5: Tracking Down an Electrical Drain That Kills the Battery
If your battery keeps dying overnight or after a couple of days, and you’ve already replaced it, you may have a parasitic draw—something in the car staying on when it shouldn’t. You can do basic diagnostics at home to narrow this down.
What you’ll need: Digital multimeter (with 10A current setting), basic hand tools, notepad or phone for notes, patience.
Steps:
- Confirm the symptom.
Fully charge the battery, then let the car sit overnight with everything off (doors closed, trunk latched). If it cranks slowly or won’t start the next day, you may have an excessive draw.
- Prepare the car for testing.
Turn off all accessories (lights, radio, HVAC), close doors, and remove the key. Some cars need several minutes after locking to enter “sleep” mode—wait 15–30 minutes for modules to power down.
- Set up your multimeter.
Set the meter to measure amps (A), not volts, and ensure the red lead is in the 10A (or high current) port. Always double‑check this—incorrect settings can blow a fuse in your meter.
- Connect in series with the battery.
Carefully disconnect the negative (–) battery cable. Connect the meter’s black lead to the negative battery post and the red lead to the removed cable, so the meter is now “in line” between the battery and car. Don’t open doors or turn anything on once connected; sudden current spikes can exceed the meter’s rating.
- Read the draw.
After a minute or two for things to settle, note the current. Many modern cars draw around 20–50 milliamps (0.02–0.05 A) at rest. Anything significantly over ~0.1 A for long periods can drain a battery.
- Pull fuses to isolate the culprit circuit.
With the meter still connected, locate your fuse box and remove one fuse at a time, watching the meter. When the current suddenly drops to a normal level, you’ve found the circuit feeding the drain. Note the fuse number and its description (e.g., interior lights, audio, power seats).
- Investigate specific components.
Once you know the circuit, inspect its components: stuck relays, glove box or trunk lights staying on, aftermarket accessories wired poorly, or malfunctioning modules. In many cases, unplugging one suspect component at a time while watching the meter will identify the problem.
- Decide on your next step.
Simple issues (like an always‑on trunk light switch) are often fixable at home. Complex module or wiring problems may be best handled by an auto electrician. But now you can give them a precise starting point, saving diagnostic time and cost.
Working slowly and methodically here is crucial; electrical gremlins reward patience much more than guesswork.
Conclusion
You don’t need a full shop or advanced tools to make meaningful improvements to your car’s reliability and safety. Simple tasks like replacing wiper blades, maintaining your battery, repairing basic tire punctures, refreshing brake pads, and tracking down battery drains are all within reach for a careful DIYer.
The key is preparation: understand the job, gather the right tools, follow steps in order, and know your limits. If something feels wrong—parts don’t fit, bolts won’t start by hand, or a warning light appears—stop and reassess rather than forcing it.
Every successful repair builds your confidence and helps your budget. And even when you decide a job is better left to a professional, the knowledge you gain puts you in a stronger position to understand, question, and approve the work being done on your vehicle.
Sources
- [National Highway Traffic Safety Administration – Vehicle Maintenance Tips](https://www.nhtsa.gov/equipment/tires) – Official guidance on tire safety, inflation, and inspection practices.
- [U.S. Department of Energy – Fuel Economy: Keeping Your Car in Shape](https://www.fueleconomy.gov/feg/maintain.jsp) – Explains how basic maintenance like tire pressure and alignment affect efficiency and operating costs.
- [AAA – Car Battery Care and Replacement](https://exchange.aaa.com/automotive/automotive-tips/car-battery-care-and-replacement/) – Covers battery lifespan, warning signs, and safe replacement practices.
- [Tire Industry Association – Tire Repair Basics](https://www.tireindustry.org/tire-safety/tire-repair) – Industry standards for when and how passenger tires should be repaired.
- [Your Car’s Owner’s Manual (Example: Toyota Official Manuals)](https://www.toyota.com/owners/resources/owners-manuals) – Factory specifications for fluid types, torque values, and recommended maintenance procedures.
Key Takeaway
The most important thing to remember from this article is that this information can change how you think about Auto Repair.


